🗺️ The Humap Newsletter
Sign up for:
- Unique offers and discounts
- News and updates from the heritage, EdTech, and mapping world
- Spotlighted content from across every Humap instance
Don’t worry – we only send one email a month 😉
This tutorial is available in video and text/image.
To access the admin area, make sure you have the proper permissions and go to your-humap-url.humap.site/admin.
If you’re not already logged in you will be redirected to your-humap-url.humap.site/log-in and presented with a log in screen.
You can also go to the homepage of your Humap and click Humap Admin, in the top-right of the screen by Explore the Map button.
You can then log in with your email and password.
This takes you to the home screen of Humap’s content management system:
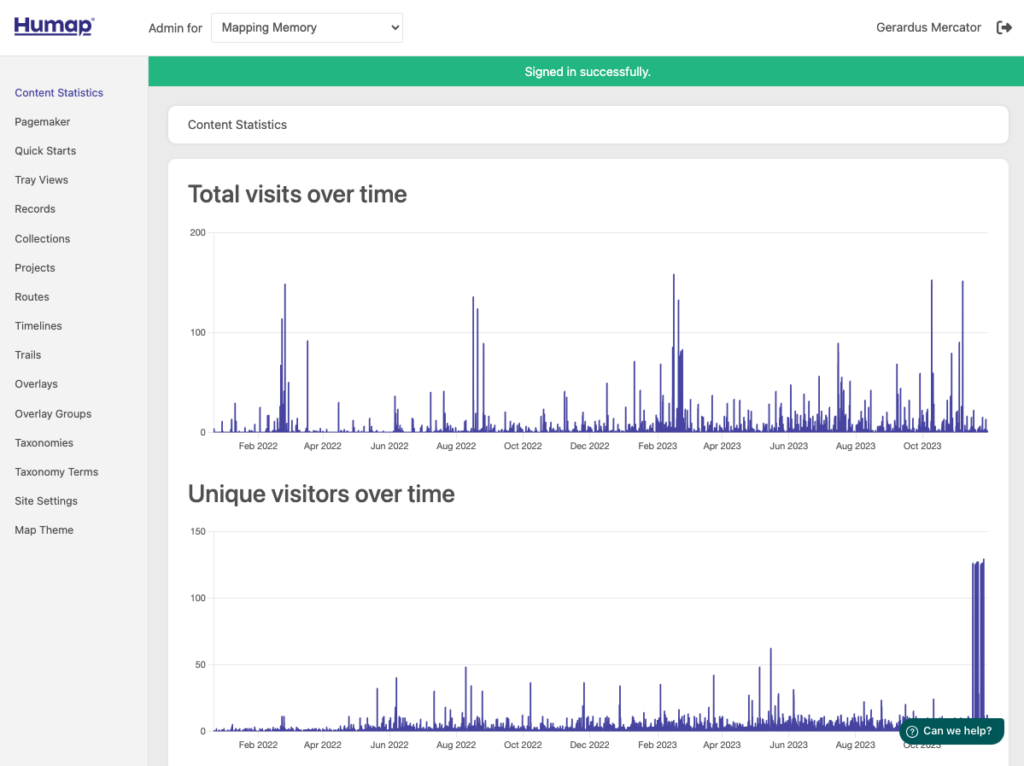
Click Site Settings in the menu on the left to get to this screen:
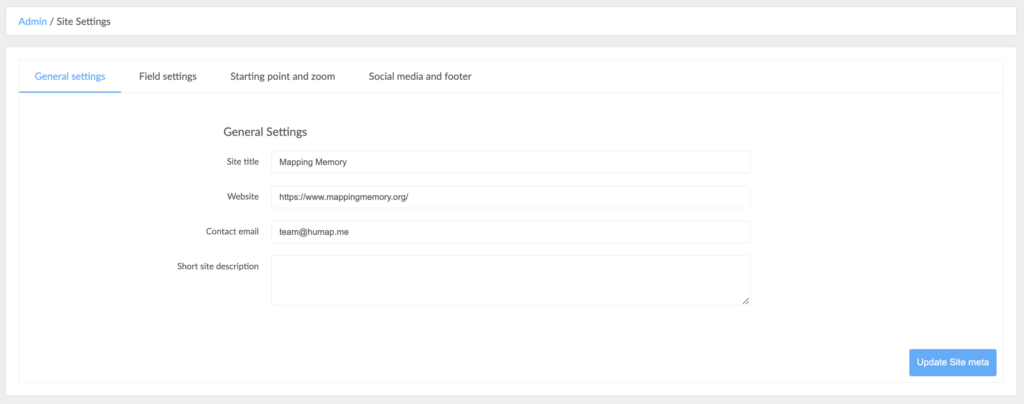
Here’s how to fill it out:
Add a name into the Site Title text box. Don’t worry; you can come back and change this later. The site title is the name that will appear in the tab and on Google search pages.
Copy and paste a URL into the Website text box. This can link to your Humap instance, a project page, or an institutional webpage.
Add an email into the Contact Email box. This will be prominently displayed on your Humap.
Write a short description of your sites purpose in the Short Site Description Box.
When you’re done, click Field Settings in the dashboard.

Do you want/need at least a start date for every record? Click the ‘yes’ tickbox if so.
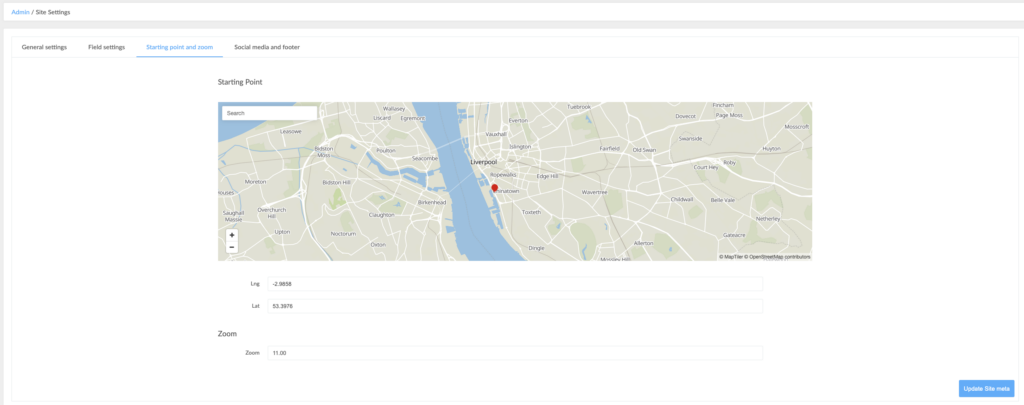
The starting point is the centre of your map, as it will appear when someone goes to your-humap.site/map.
Type the name of a location in the search field at the top right of the map to find your desired map centre.
Click on the map to drop the red pin. Click somewhere else to move it.
You can also type in the lat/long fields below if you have a specific geographic coordinate.
Use the zoom level field to indicate how much you would like the map to zoom in on the starting point location. If your map is specific to a small area of one city, higher zoom is better. Likewise, for projects that cover a larger area a lower zoom level is needed. This may require some trial and effort!
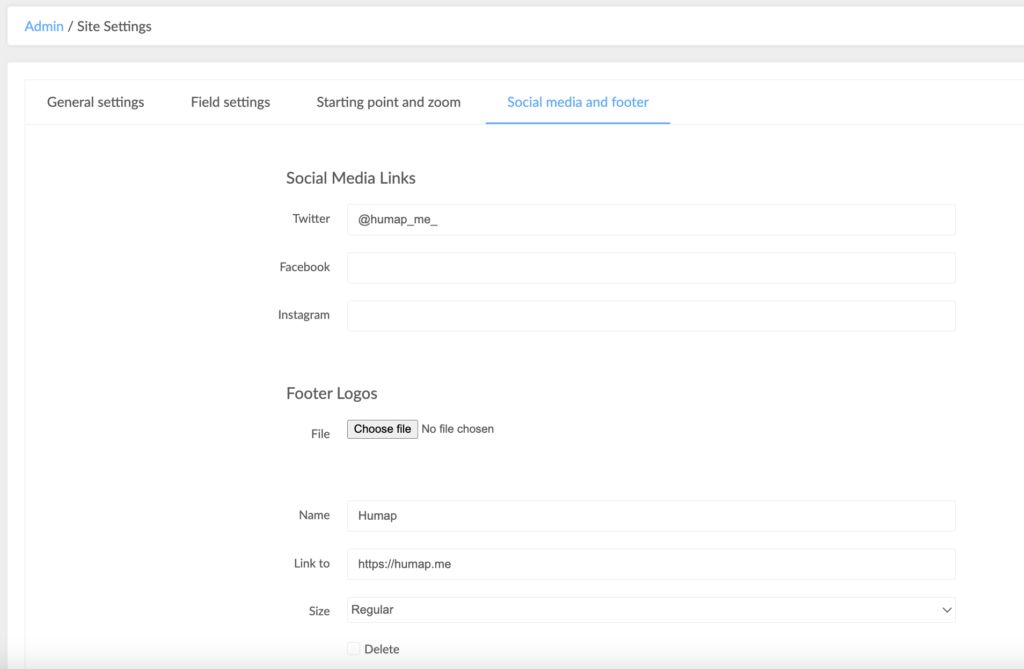
You can add a footer and social media links here.
If your organisation or project has social media, copy and paste the links into the Twitter/Facebook/Instagram fields.
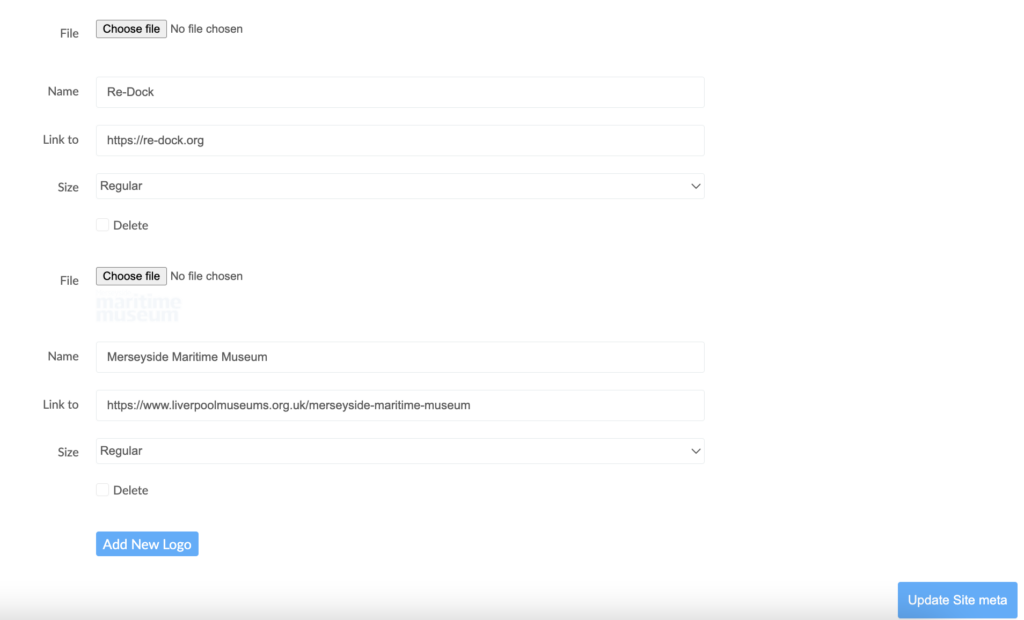
You can then add logos by clicking Add New Logo and uploading and then naming an image from your computer.
This information will appear at the bottom of the home and about webpages.
Click Update Site Meta for the website to update.


We usually respond in a few hours