🗺️ The Humap Newsletter
Sign up for:
- Unique offers and discounts
- News and updates from the heritage, EdTech, and mapping world
- Spotlighted content from across every Humap instance
Don’t worry – we only send one email a month 😉
You can turn a group of records into a walkable trail with this feature.
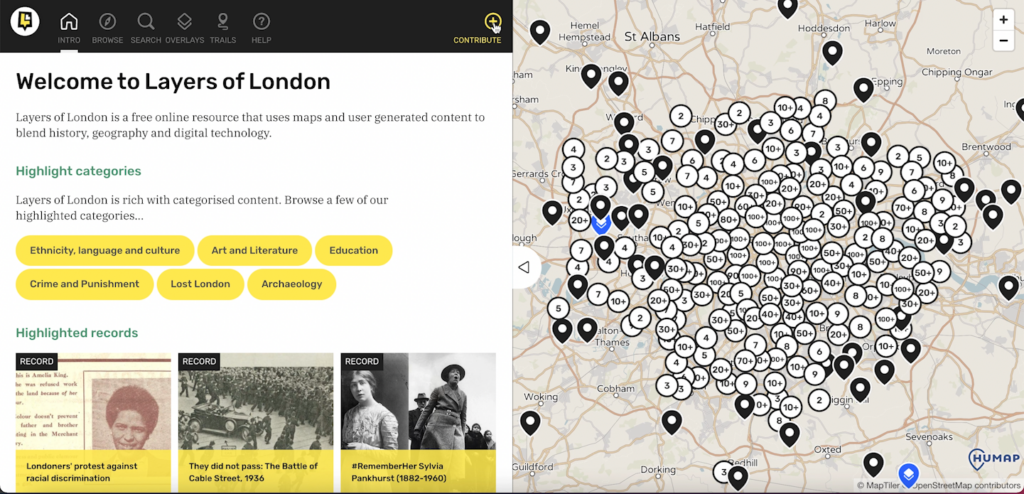
Go to the home page of the Humap instance you’d like to contribute to and click Explore the Map.

From the map home page, click the plus icon in the top right corner of the information tray. If you’re not logged in, you’ll need to log in now. If public signups have been enabled you’ll be able to create an account now. If not, you’ll need to be invited to contribute by the project owner.
That will take you to the contribution home screen.
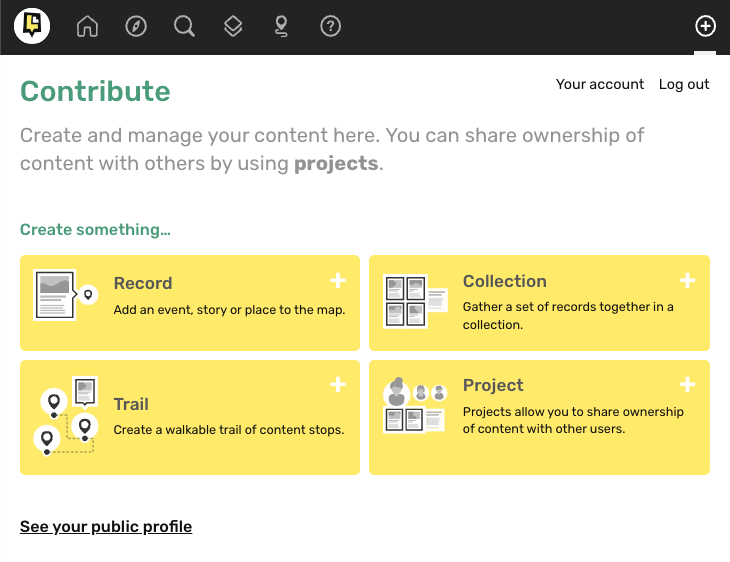
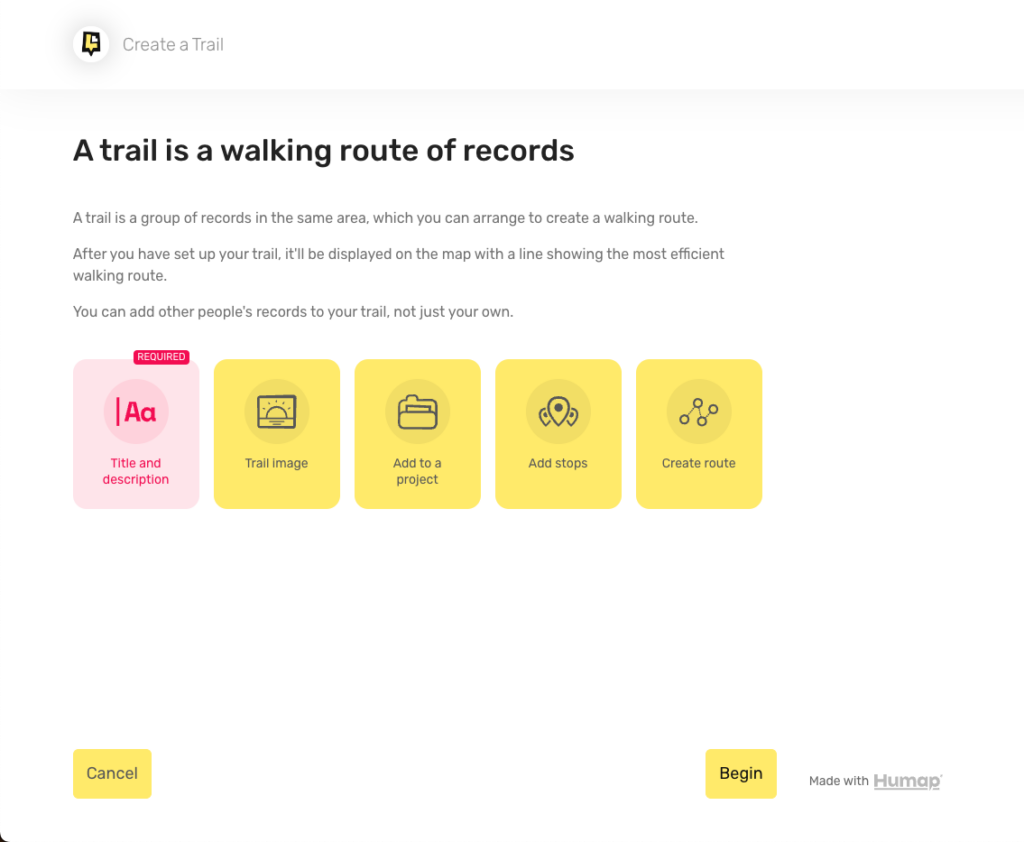
Click Trail to get to this welcome screen:
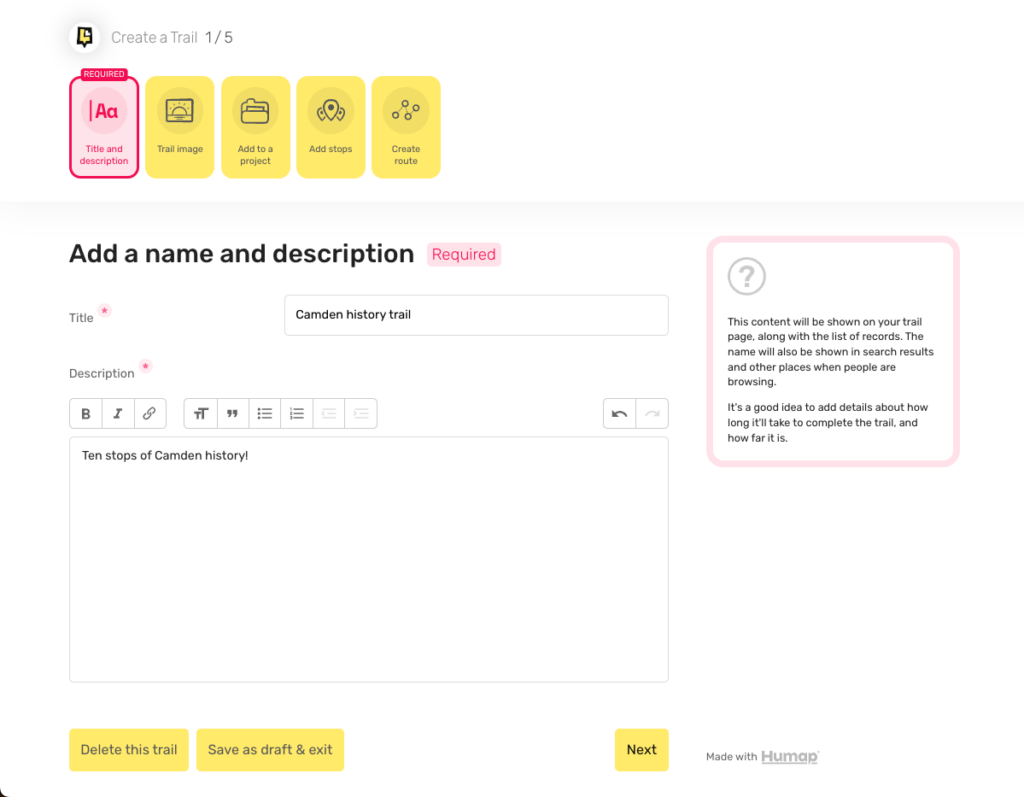
Name your walking trail in the Title box and add a description into the box below. You can use the formatting options to make the text pop.
On this page you can upload an image. Select the image you would like to upload, and upload it by dragging and dropping a file into this box, or by clicking browse files, selecting the image you would like to upload, and clicking enter. You can only pick one image.
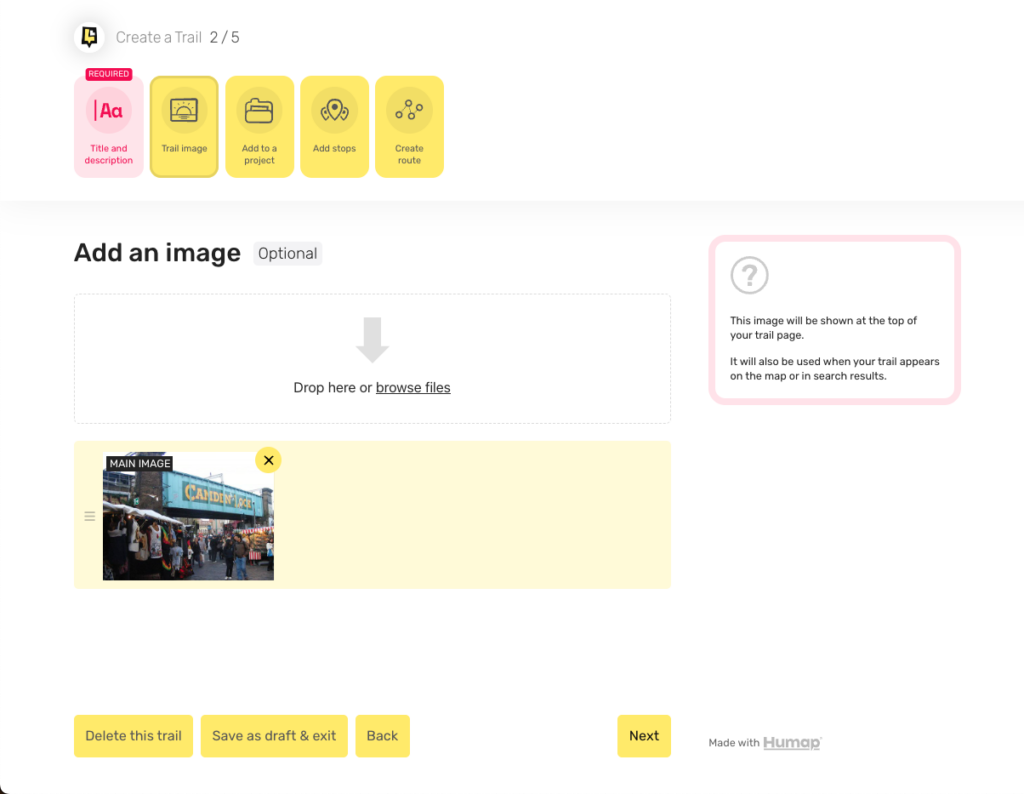
When you’ve added your image, click Next.
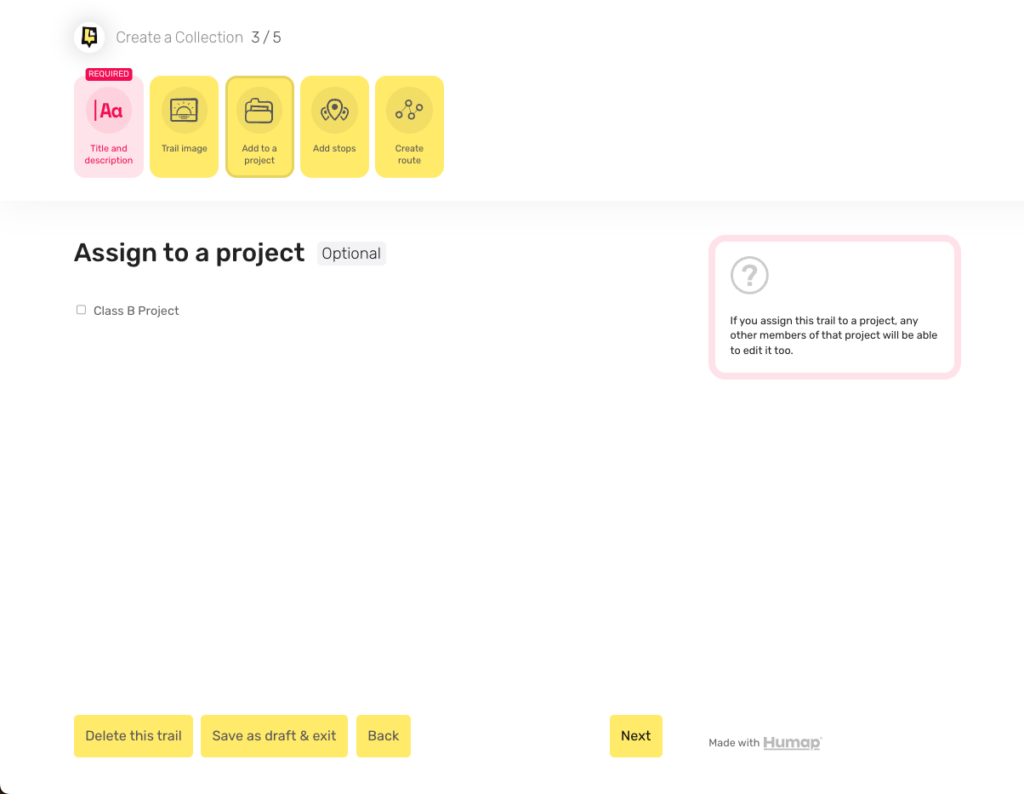
If you’ve joined any projects, you’ll be able to assign this walking trail to a project here. Trails that are assigned to projects can be edited by other members of that project.
To assign your trail to a project, click the tickbox next to the project name. Then click Next.
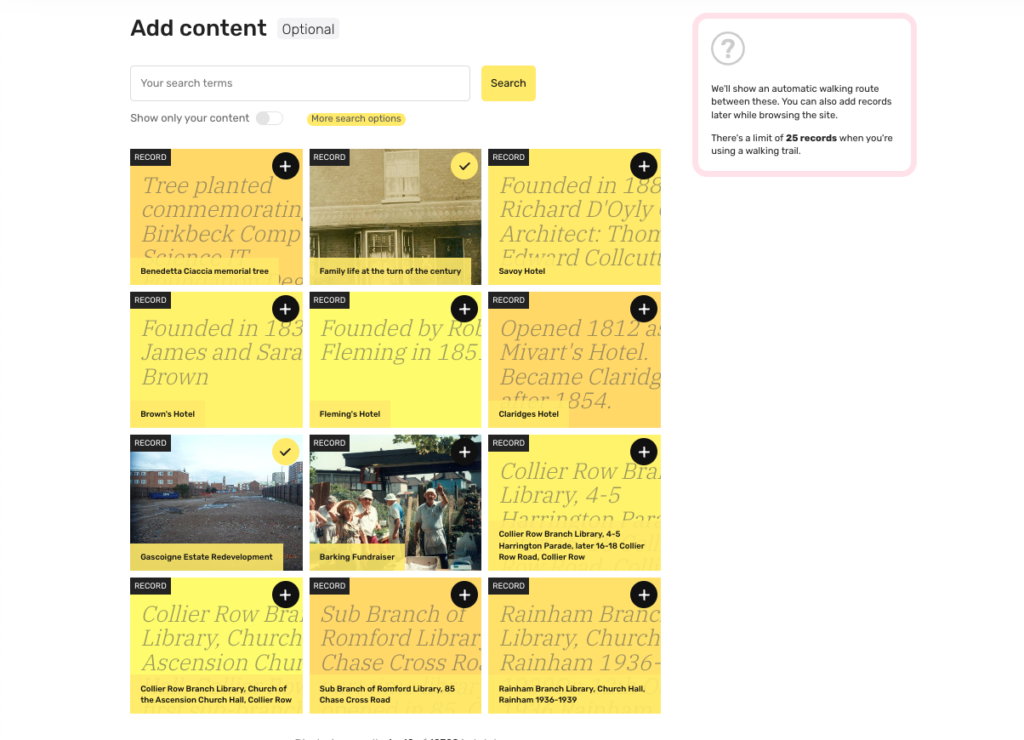
Now it’s time to add content to your walking trail. A list of content will automatically generate. You can then use the options at the top of the page to narrow down the search results.
You can type in the search box at the top of the page and click More search options to use the pre-existing search terms for that Humap project:
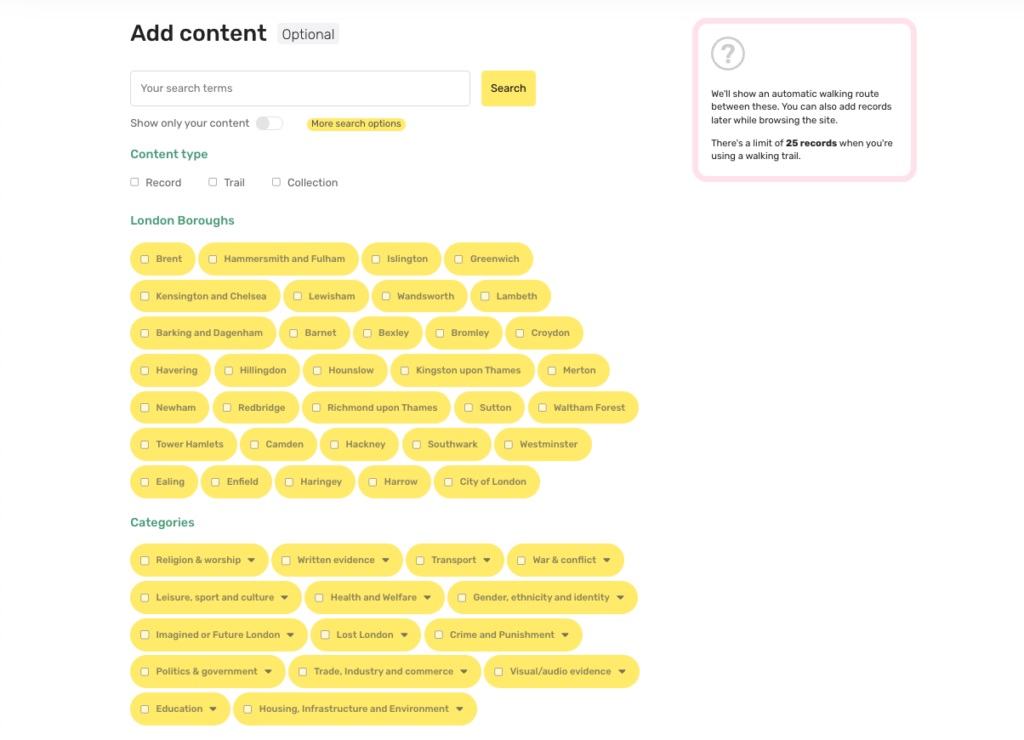
Tick the boxes that are relevant to your trail, and then click Search.
The records below will reload, returning relevant content. You can then click which records you would like to appear, up to 25.
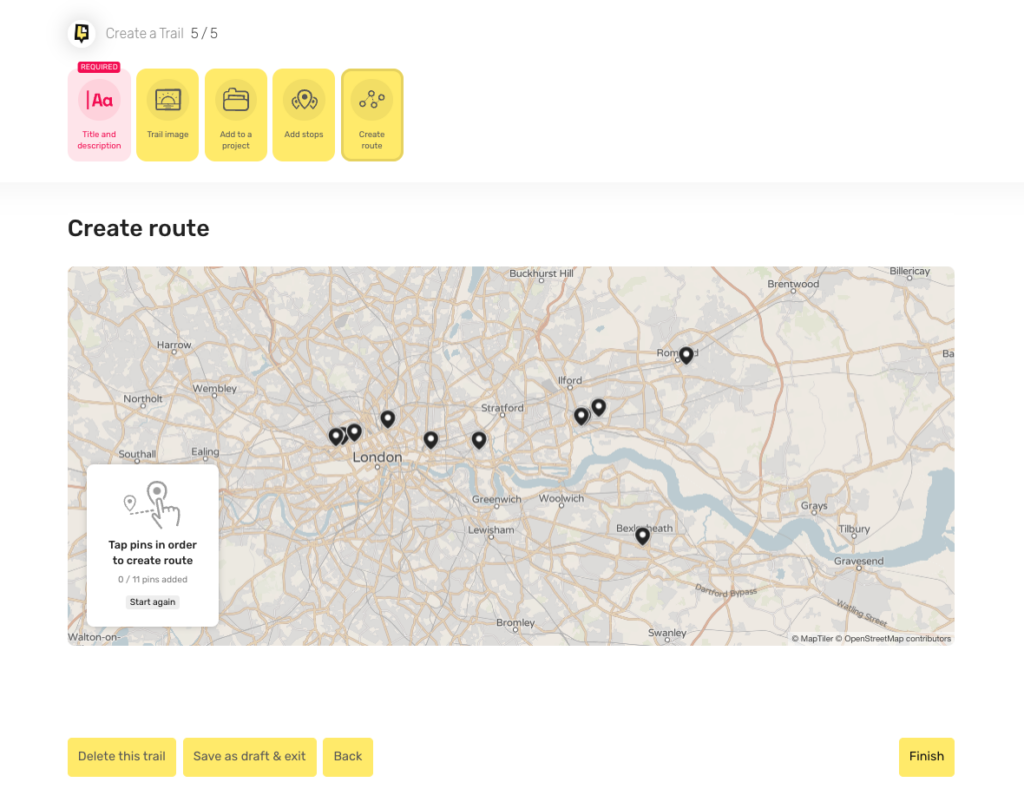
On this screen you can put the records in your trail in order by clicking them.
Once their in order, green lines will appear linking each record. To manually order the route, click the green line and drag it into position.
Alternatively you can click Auto-create route to generate your walking trail.
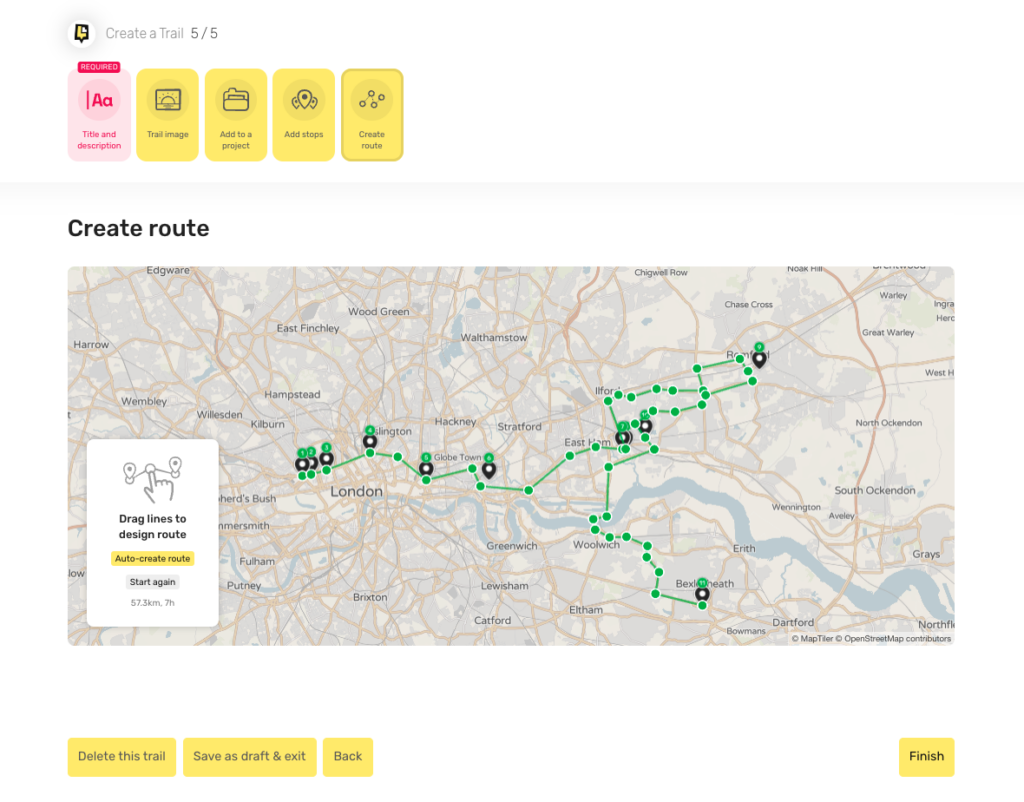
Click Finish to get to this screen.
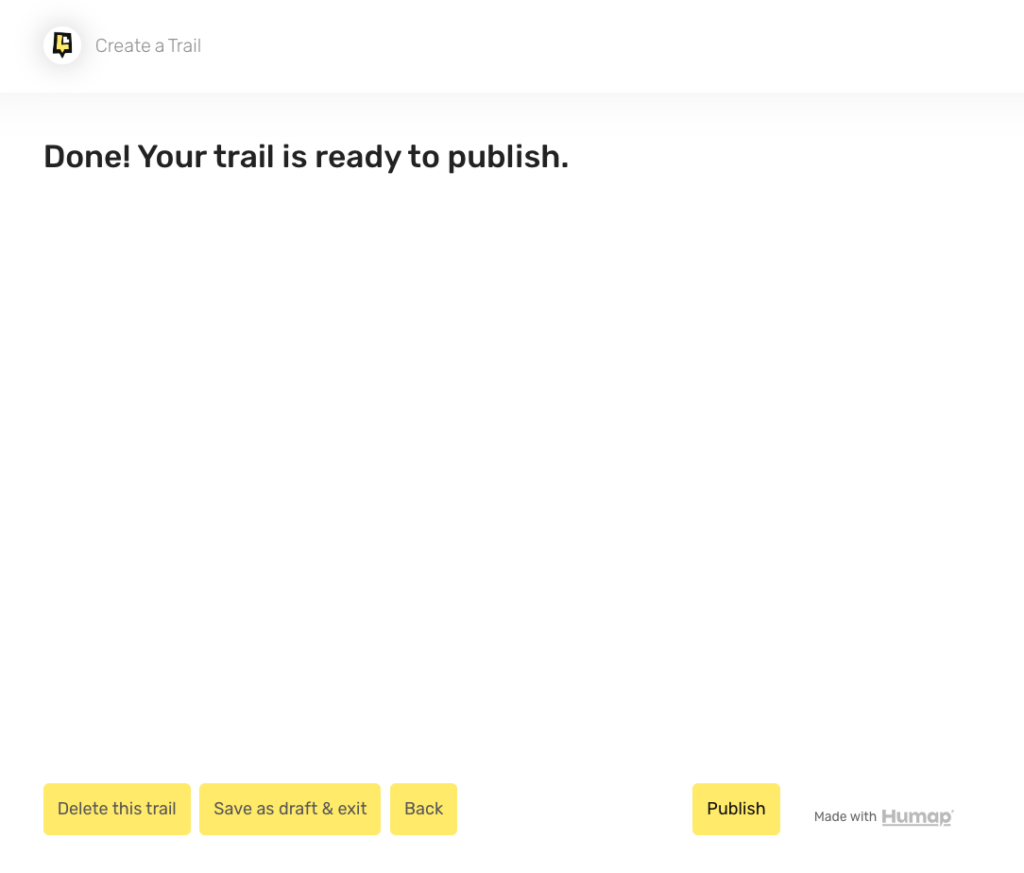
If you’re ready to publish your walking trail, click Publish.


We usually respond in a few hours