Timelines
What are Timelines?
Timelines are collections of content organised by date that your users can click through for a time-based narrative experience. These could tell the story of a life, a journey, the development of a city – the only limit is imagination.
Timelines can contain Records, Overlays, Trails, Journeys, Collections and even other Timelines.
Before you can create a Timeline, you’ll at least need some Records.
Timelines can also be combined with Journeys.
Published Timelines look like this:
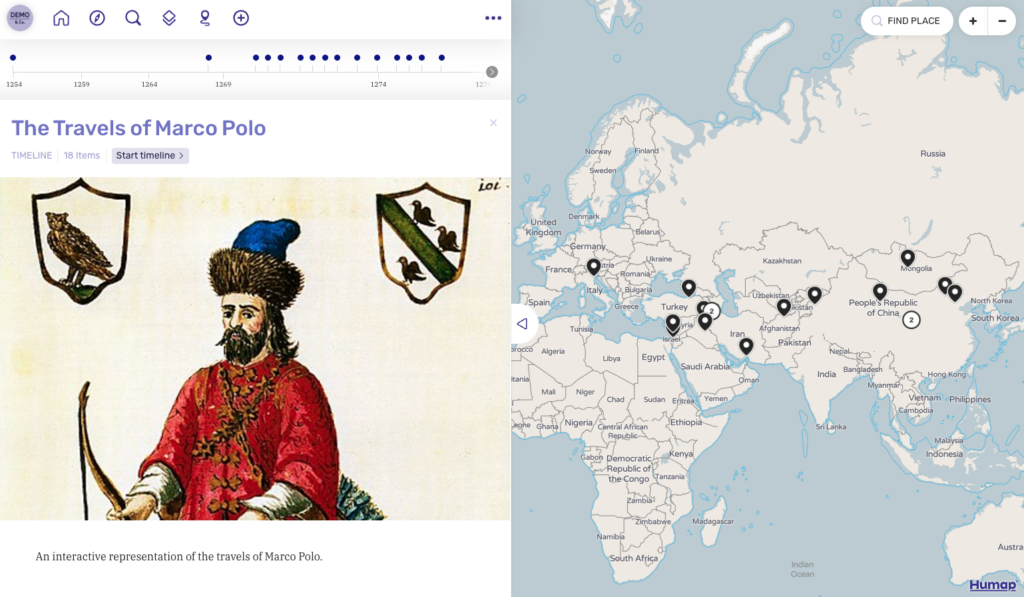
Example:
- Wilhelm Polak on the Refugee Map. This Timeline also uses a Journey to show the route Wilhelm took.
Resources:
Logging in
- To access the admin area, make sure you have the Project Admin level permissions and go to your-humap-url.humap.site/admin.
- If you’re not already logged in you will be redirected to your-humap-url.humap.site/log-in and presented with this screen:

- You can then log in with your email and password.
- You can also access the admin area via the Subscription Platform, if your organisation has an institutional license and you have Subscription Admin level permissions.
- Go to https://subscription.humap.site/users/sign_in and log in with your user name and password.

- That will take you to the Subscription Platform home screen.
- There will be a list of map projects created on your subscription.
- Click Admin next to the project you would like to access, and you will be taken to the admin dashboard of that project.

- That will take you into the admin content management system.
Creating and managing Timelines
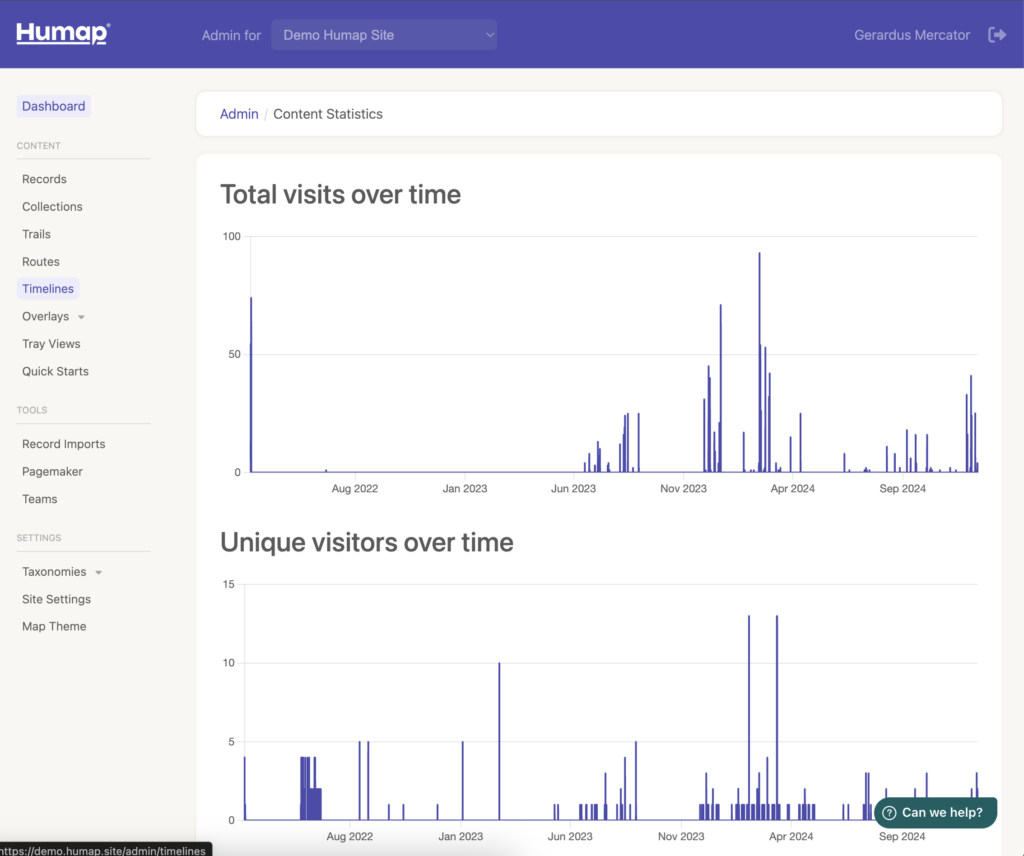
- Clicking Timeline will take you to this screen:
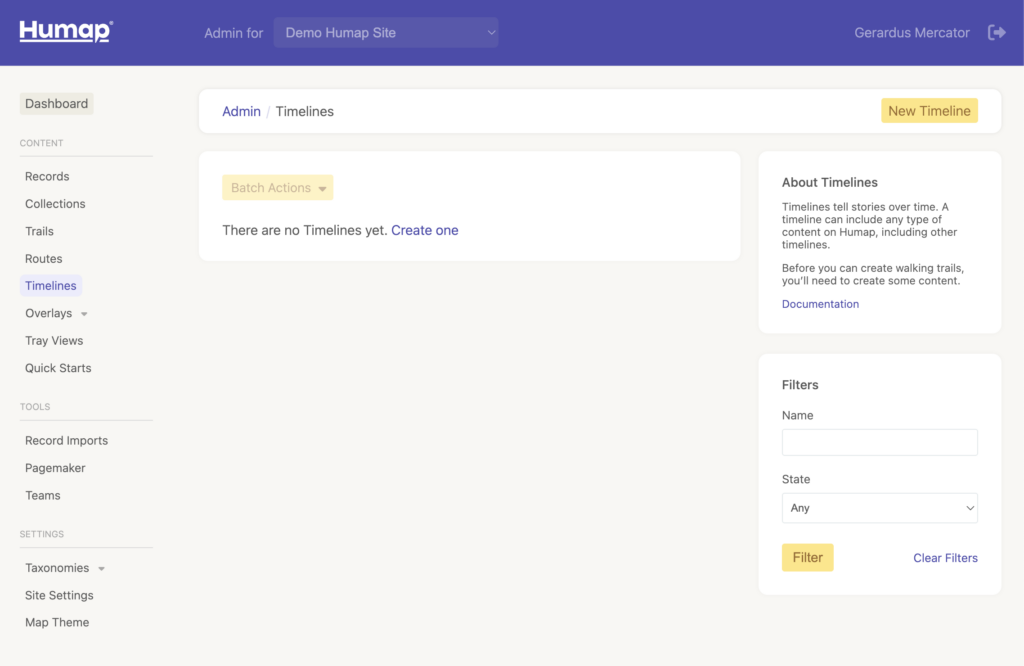
- Click either New Timeline in the top right of the screen or Create one in the middle of the screen.
- This will take you into the Timeline creation wizard.
Introduction
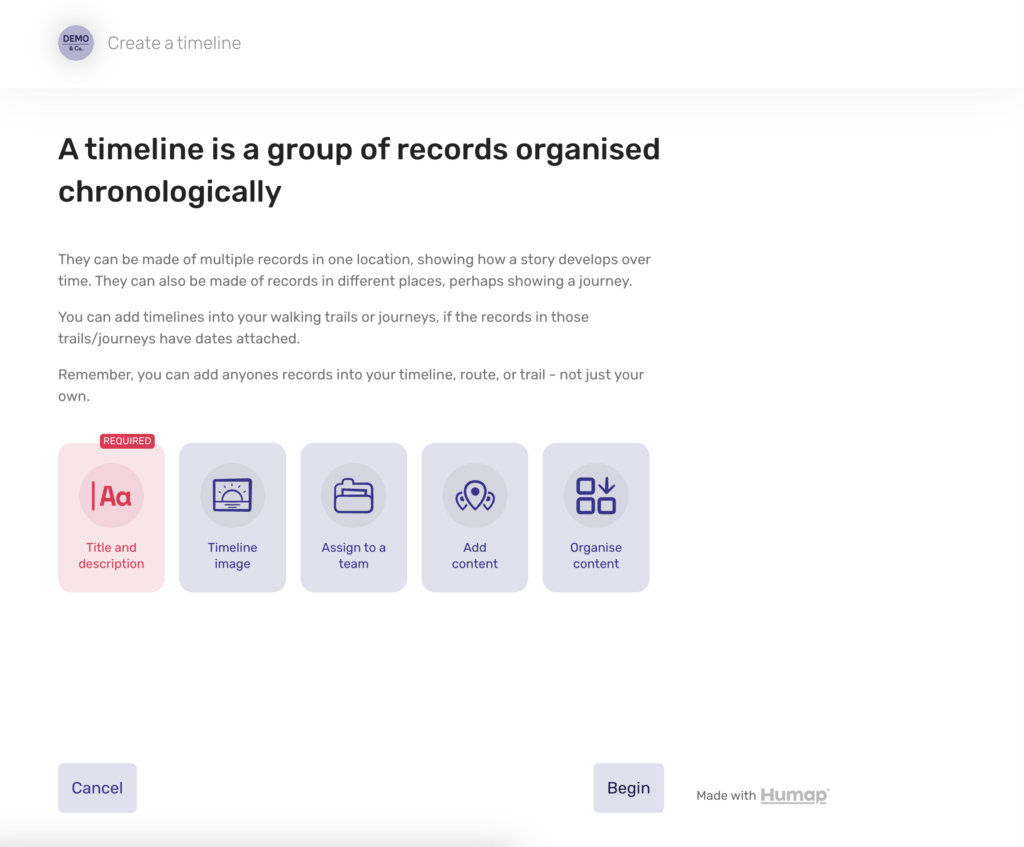
- Click Begin to get to the next screen.
Add a name and description
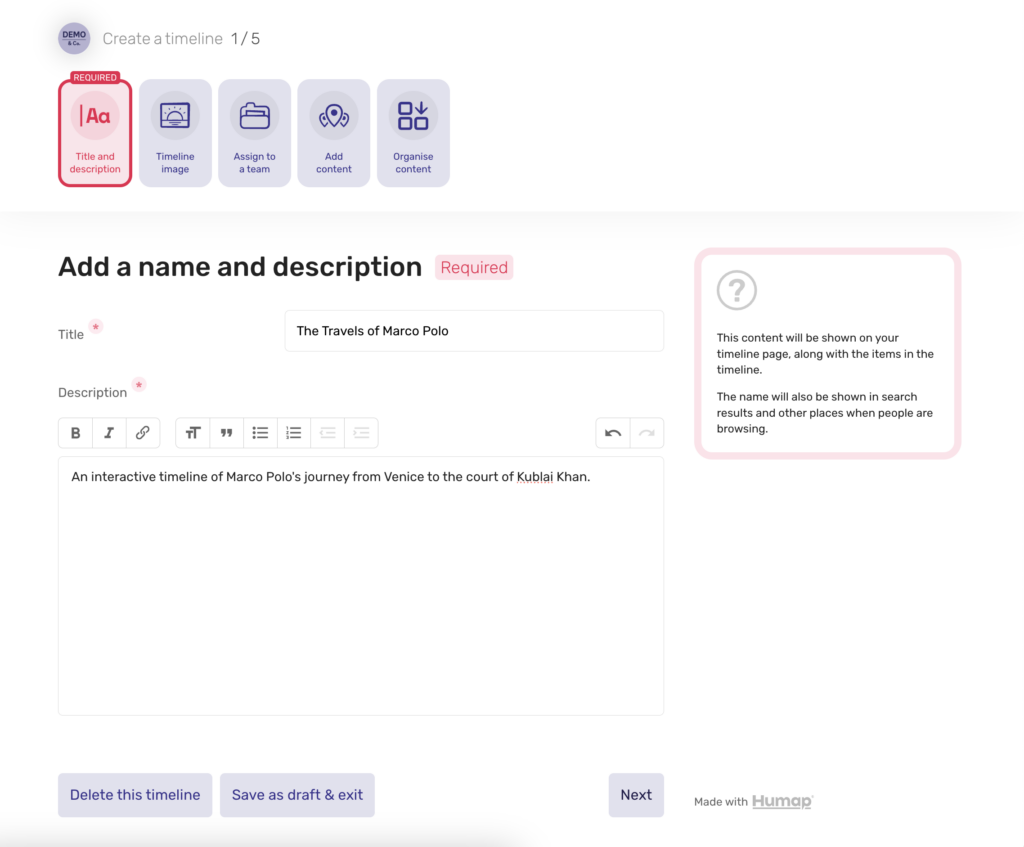
- Add a title into the Title text box and a description in the Description box below.
- Use the formatting options to make your text pop, and remember to break up long paragraphs.
- When you’re done click Next.
Add an image
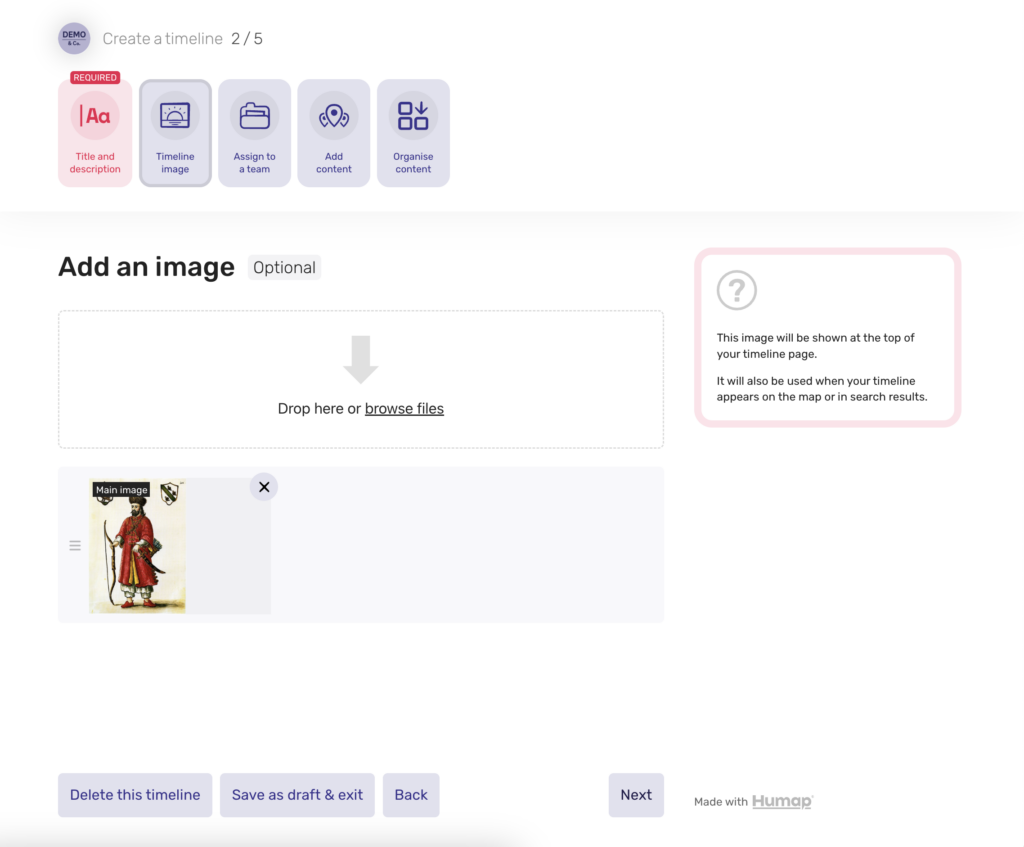
- To add a cover image either drag and drop an image file into the box or click browse files and select the file you would like to upload.
- Click the X in the corner of the uploaded image to delete it.
- Click Next when you’re done.
Assign to a Team
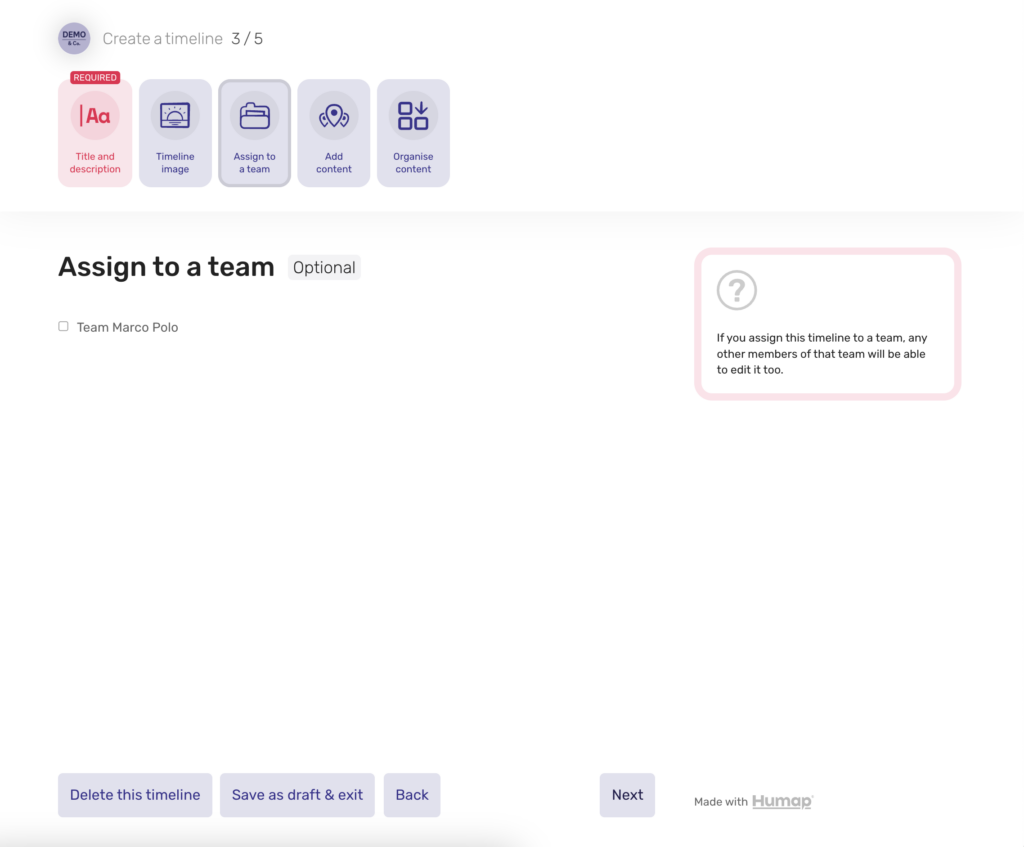
- If you are a member of any Teams, you can add this Timeline to that Team here by ticking the box and clicking Next.
- Teams let you share ownership of content with other users – if you assign a piece of content to a team, anyone in that team will be able to edit it.
Add content
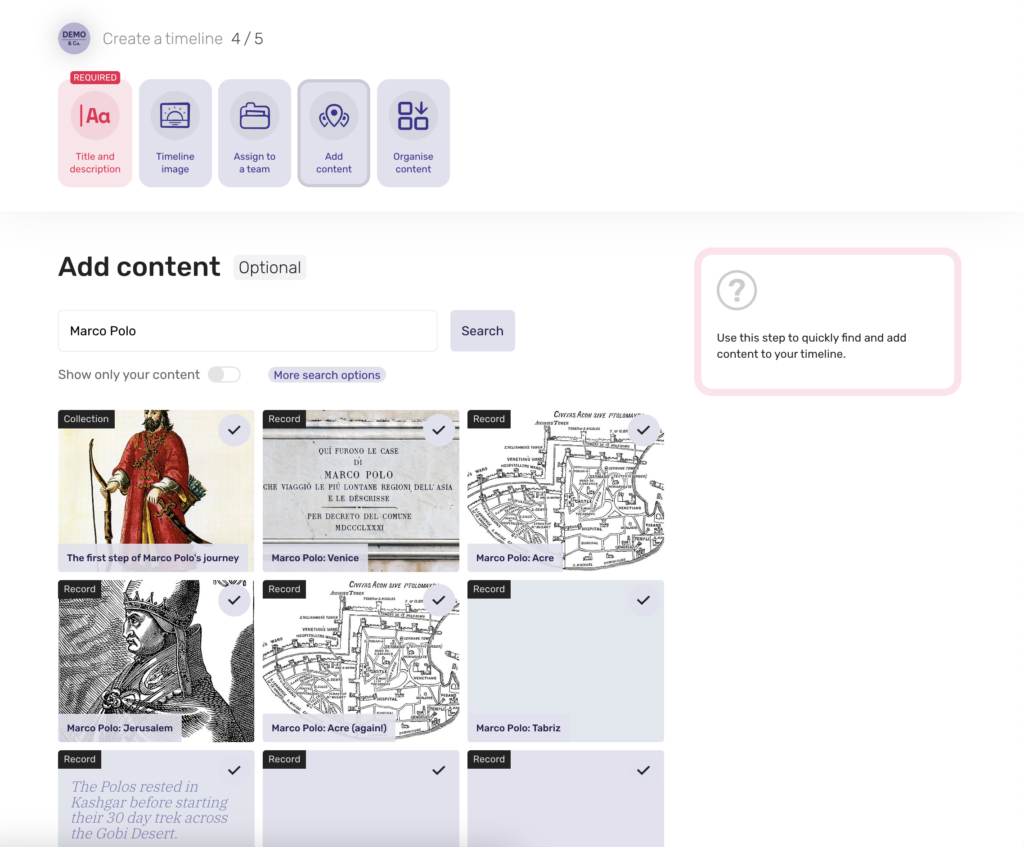
- Now it’s time to add content to your Timeline. Use the free search bar at the top, the show only your content toggle, and the more search options button to refine your search.
- Click on an item to add it to the Timeline. You can decide on the order of content in the timeline on the next screen.
- Click Next when you’ve added all of the items you want into the timeline.
Sort content
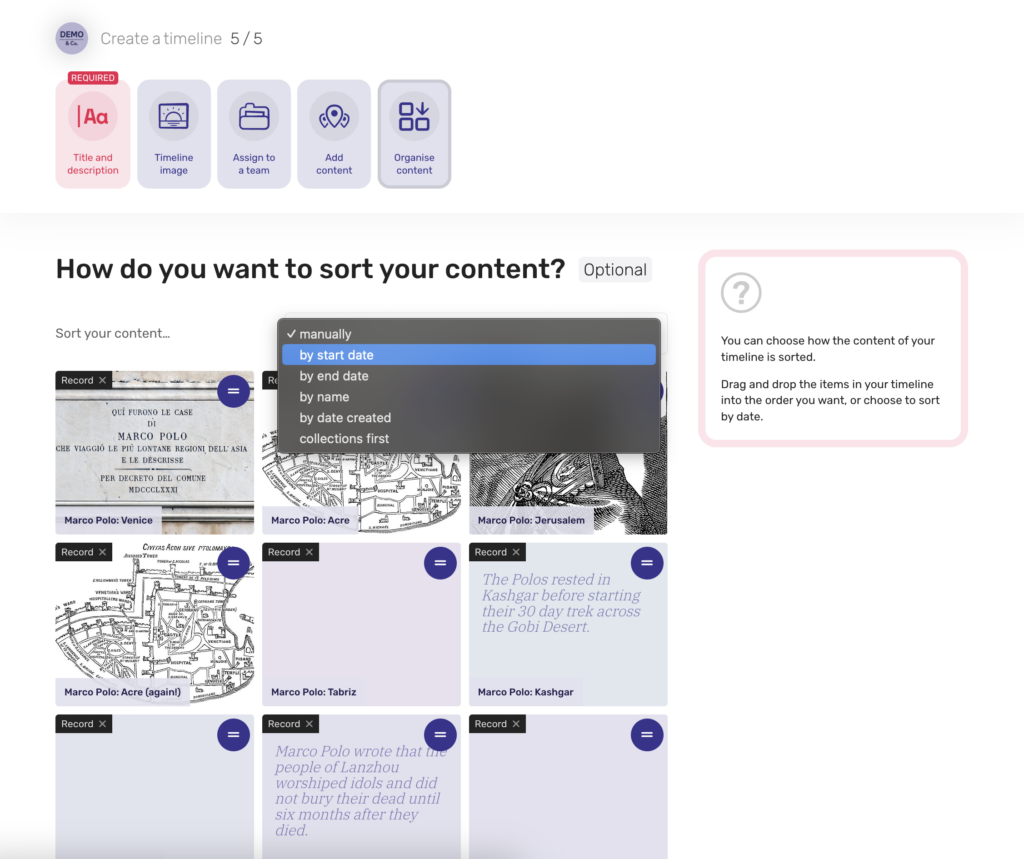
- Use the sort your content drop down menu to decide how you would like to order your timeline.
- If you organise the timeline manually, drag and drop the records into the appropriate order starting from the top left and going through row by row.
- When you’re done click Next.
Final step
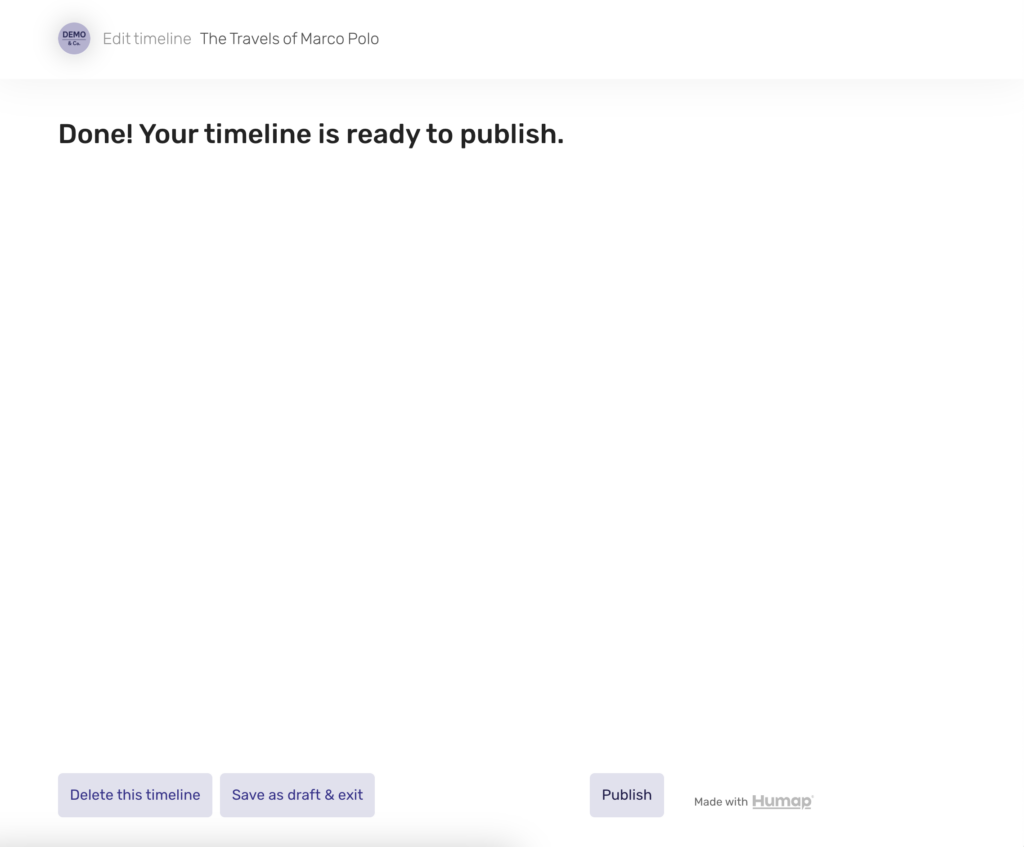
- From this screen you can either delete this Timeline, save a draft and exist, go back, or publish.
- Once published, you can edit or unpublish the timeline at will.
- if you’re happy with the timeline click Publish.
Advanced Options
When you’re making a Timeline via the admin CMS and not the Contribute system, you also have access to some advanced options for your Timeline.
You can change the location of the pin, create a permalink and QR code, a Call To Action, and associate an overlay to this Timeline.
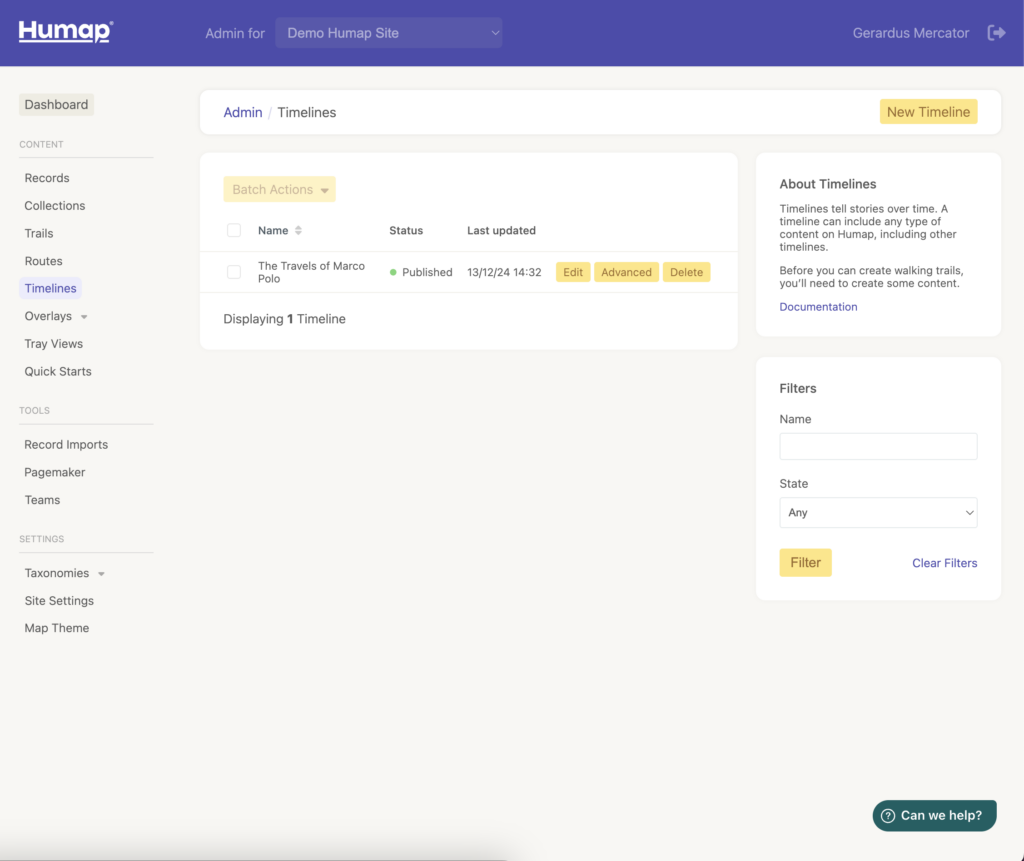
- Click Advanced to get to this screen:
Location
You can add a pin to the map for your Timeline here.
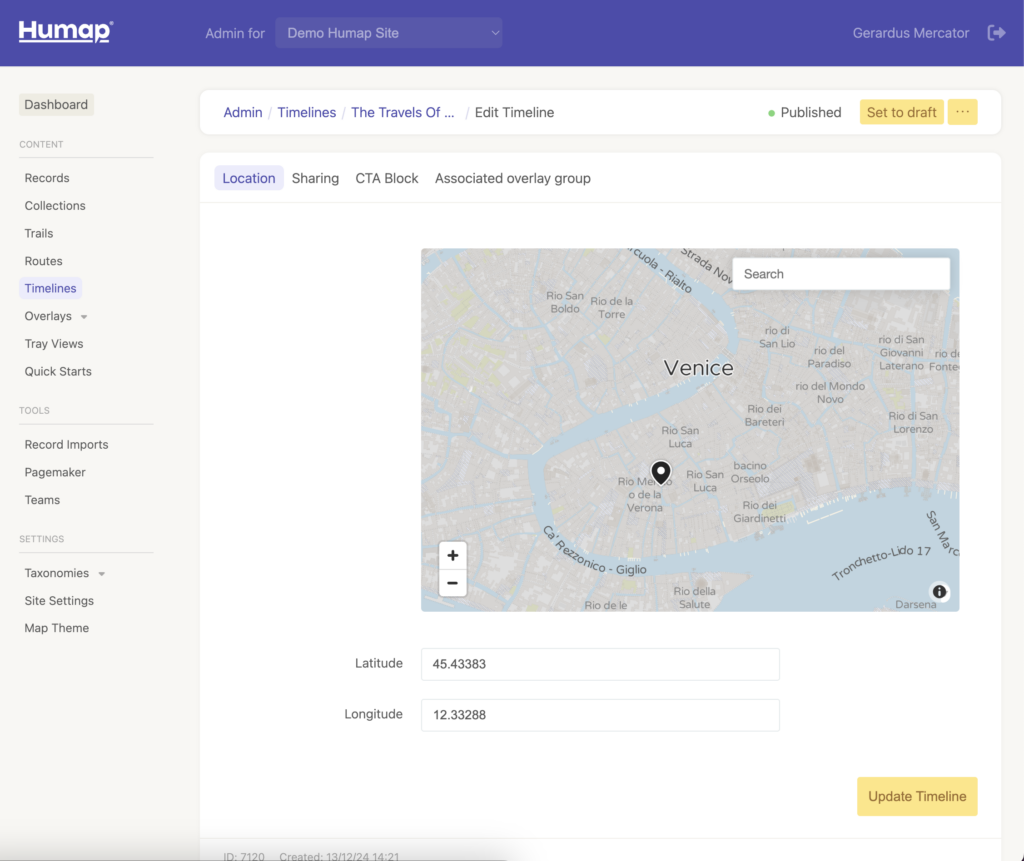
- Type in the search box in the map to find a location, and click on the map to drop the pin.
- Click elsewhere to move it, and click Update Timeline to see the change reflected on the published timeline.
Sharing
Use this page to generate two tools that make your Humap easy to share: a permalink and a QR code.
Permalinks are short links which will always redirect to your Record page. QR codes can be used to link your Record to a physical space, like a gallery label or a plaque.
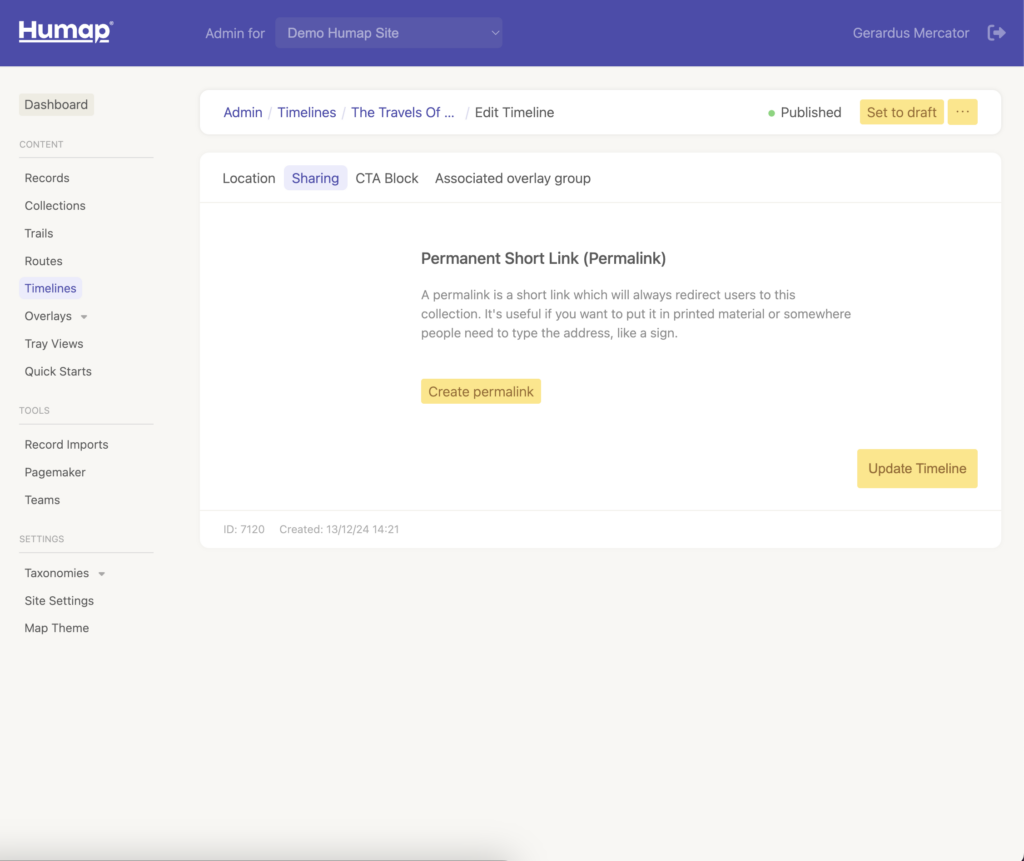
- Clicking Create permalink will generate a permalink and QR code. You need to have published your Timeline to use this feature.
CTA Block
On the CTA Block page you can create a Call to Action. Calls to Action are used to direct your audience to a specific webpage.
Calls to Action live at the bottom of a piece of content on Humap and look like this:

- To create one, go to the CTA Block page:
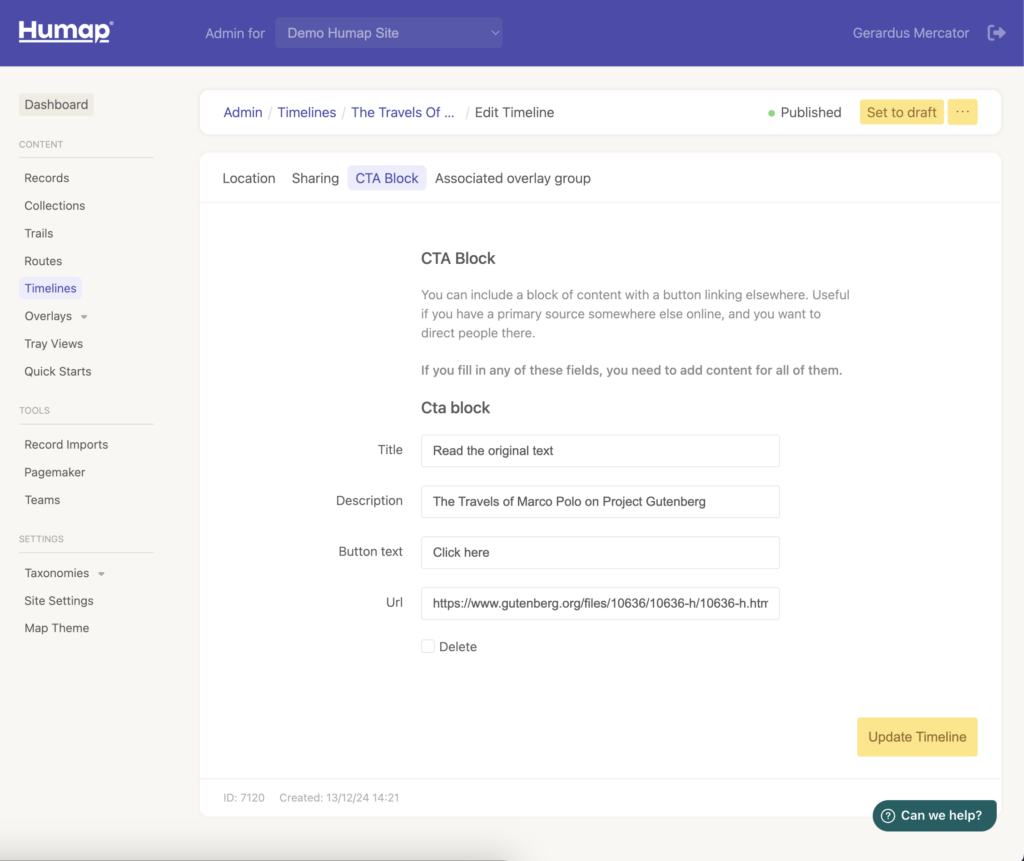
- Fill in the fields, and click Update Timeline.
Associated overlay group
Associating an Overlay Group to a Timeline means that it will automatically load in when a user clicks into that Timeline. This is great for adding extra context to the Timeline and engaging your user.
You will need to have created some Overlays and Overlay Groups before you can associate them to a Timeline.
Overlays Wizard – QGIS export & ArcGIS Online guidance
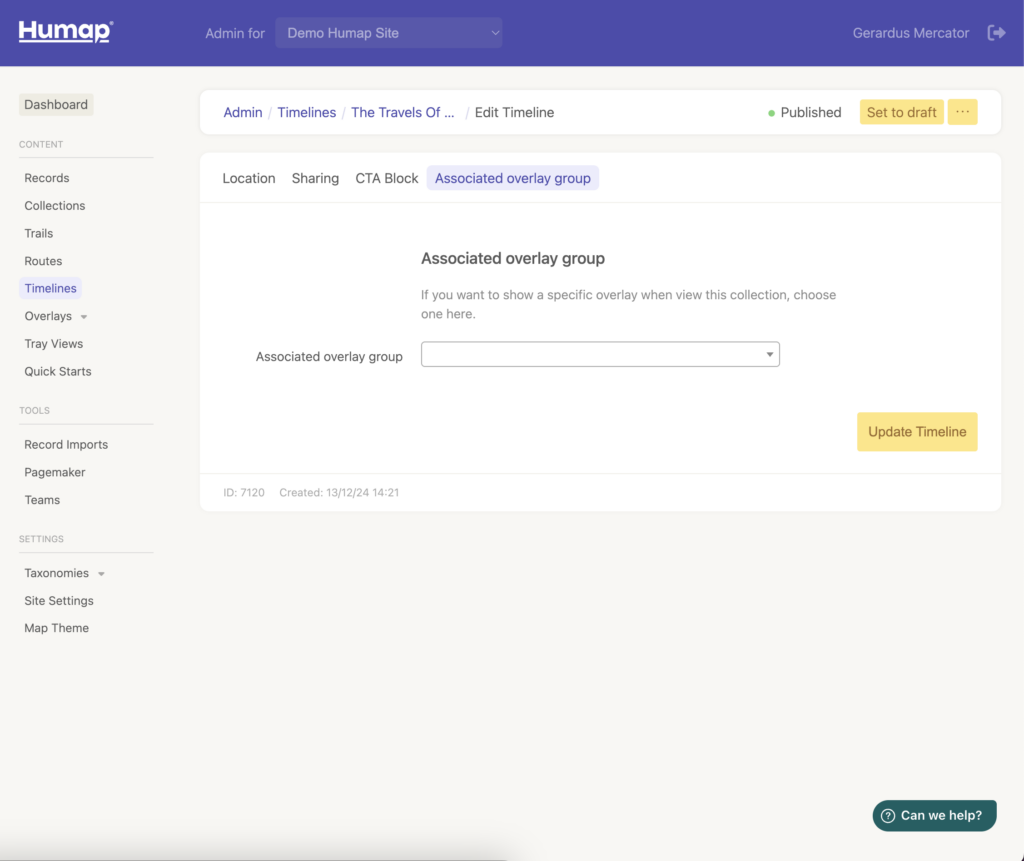
- Use the dropdown menu select which overlay group you would like to be associated with this Timeline.
You’ll need to have clicked Publish Timeline before your Timeline will show up on the map.
