🗺️ The Humap Newsletter
Sign up for:
- Unique offers and discounts
- News and updates from the heritage, EdTech, and mapping world
- Spotlighted content from across every Humap instance
Don’t worry – we only send one email a month 😉
Collections are groups of records united by a common theme.
From the map home page, click the plus icon in the top right corner of the information tray.
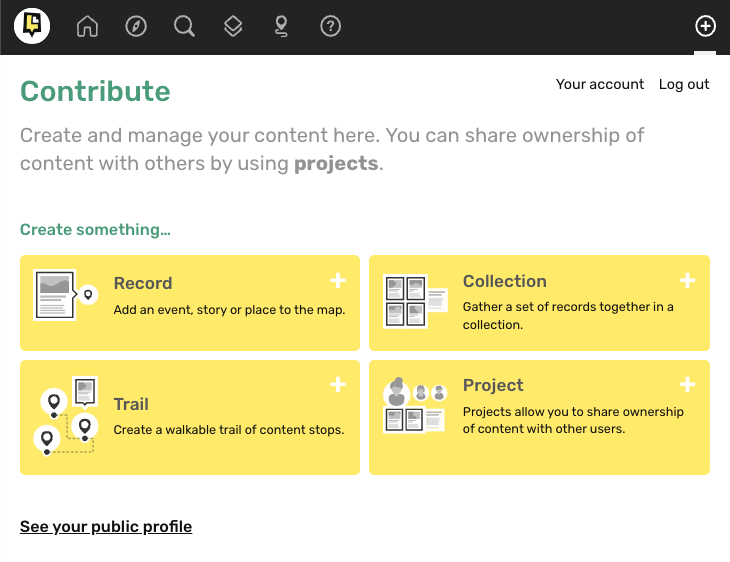
If you’re not logged in, you’ll need to log in now.
That will take you to the contribution home screen. Click New Collection.
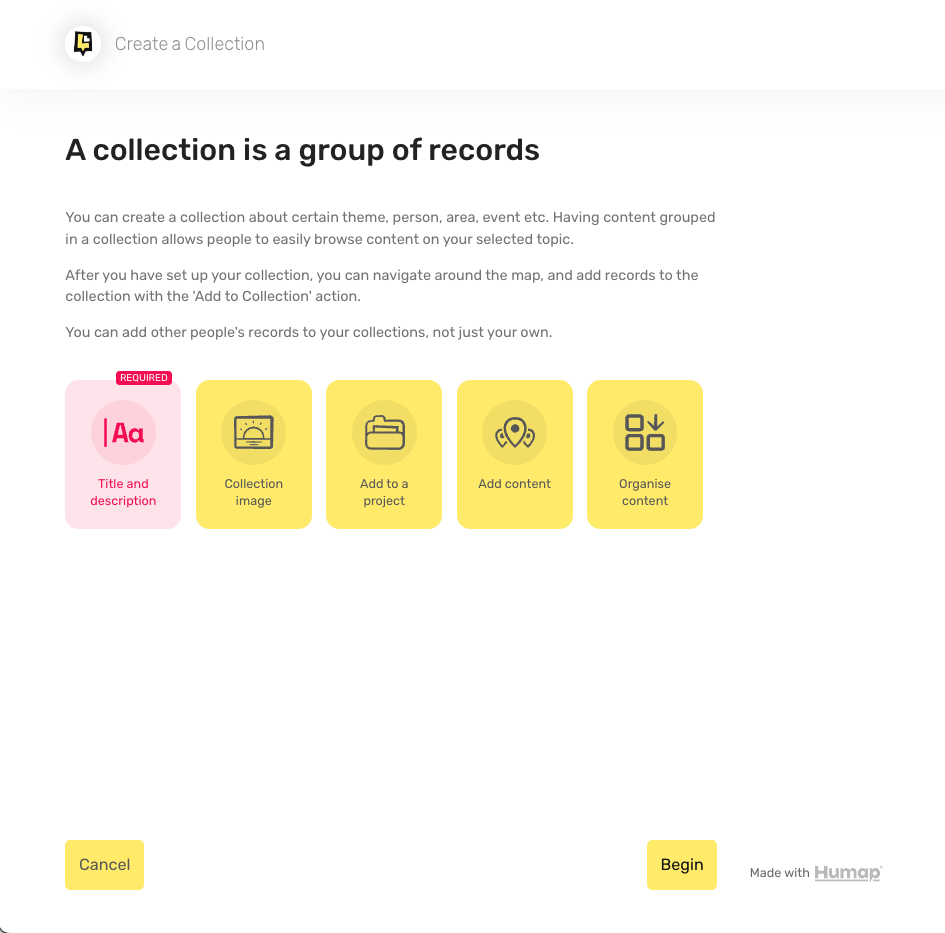
You are now on an introductory page. When you’ve read it, click Begin.
Type the name of your collection in the top text box, and a description in the larger box underneath.

Top tip: try and pick something eye-catching and descriptive, to make your collection stand out. Make the most out of the formatting options in the description text box toolbar to make your description as readable as possible, and remember to use paragraph breaks if needed!
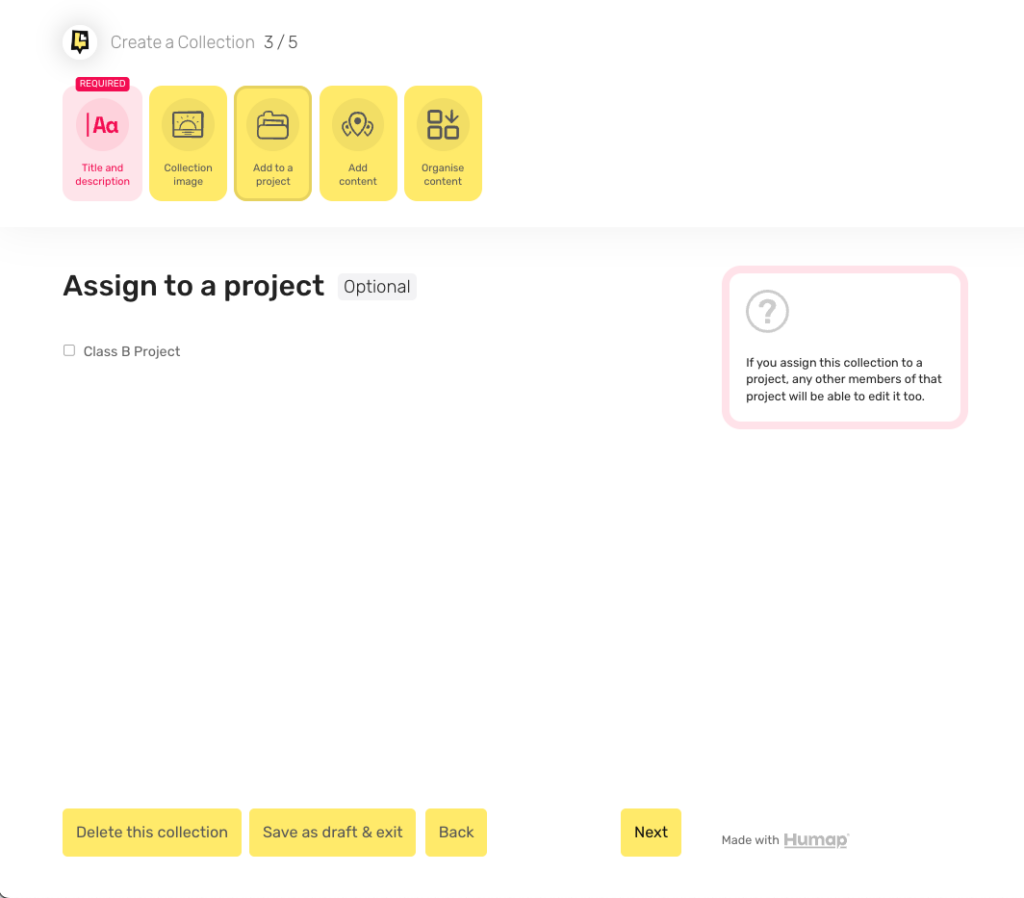
At any point in this process you can save a draft and exit, return to the previous screen, or delete your record.
When you’ve named and described your collection, click Next
On this page, you can add an image cover for your collection of records. Click Browse files, then select the image you would like to upload.

Press enter, or click open or upload depending on your machine. You can only pick one cover image, so pick one that’s eye-catching and interesting.
Now it’s time to add some records to your collection.
Several records will automatically load in.
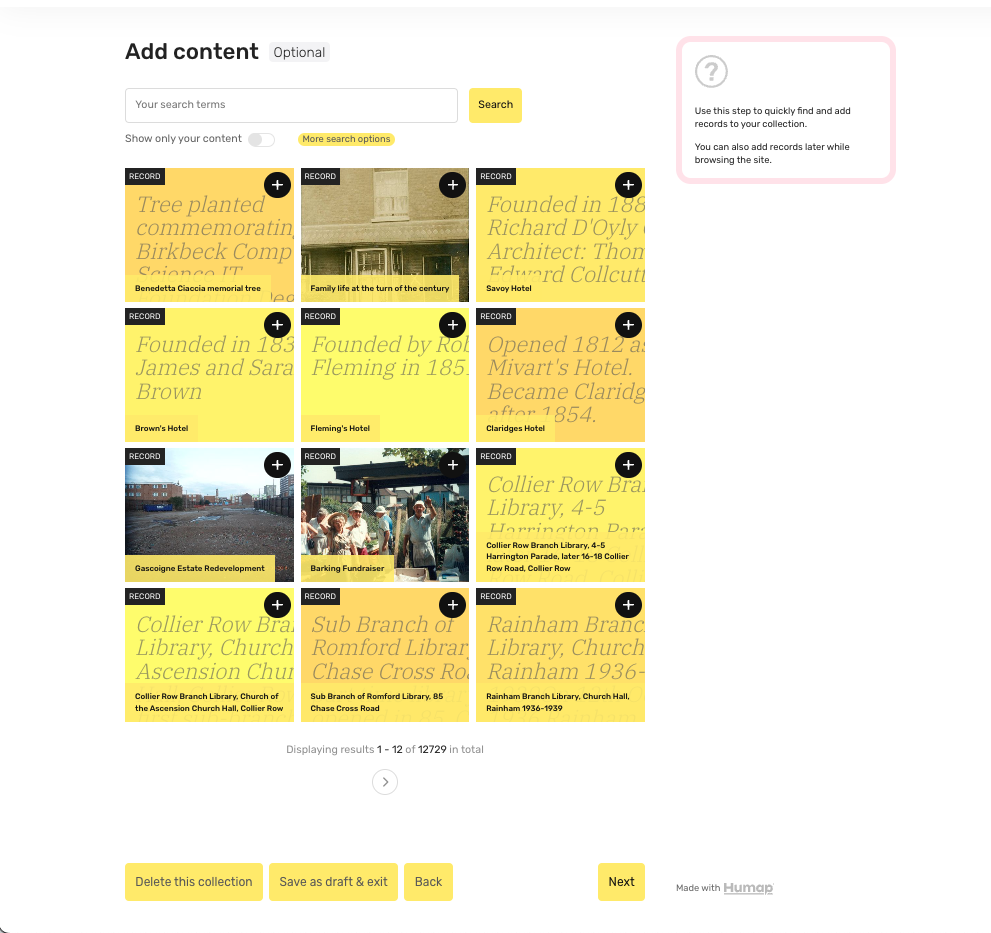
You can also choose to search for records that you have uploaded, by clicking the “show only your records” switch.
Use the search bar to find the records you want to add, or click “more search options” to look at pre-existing categories, such as location or topic.
For more specific subtopics, click the downwards arrow and select the subtopic you wish to find records about.
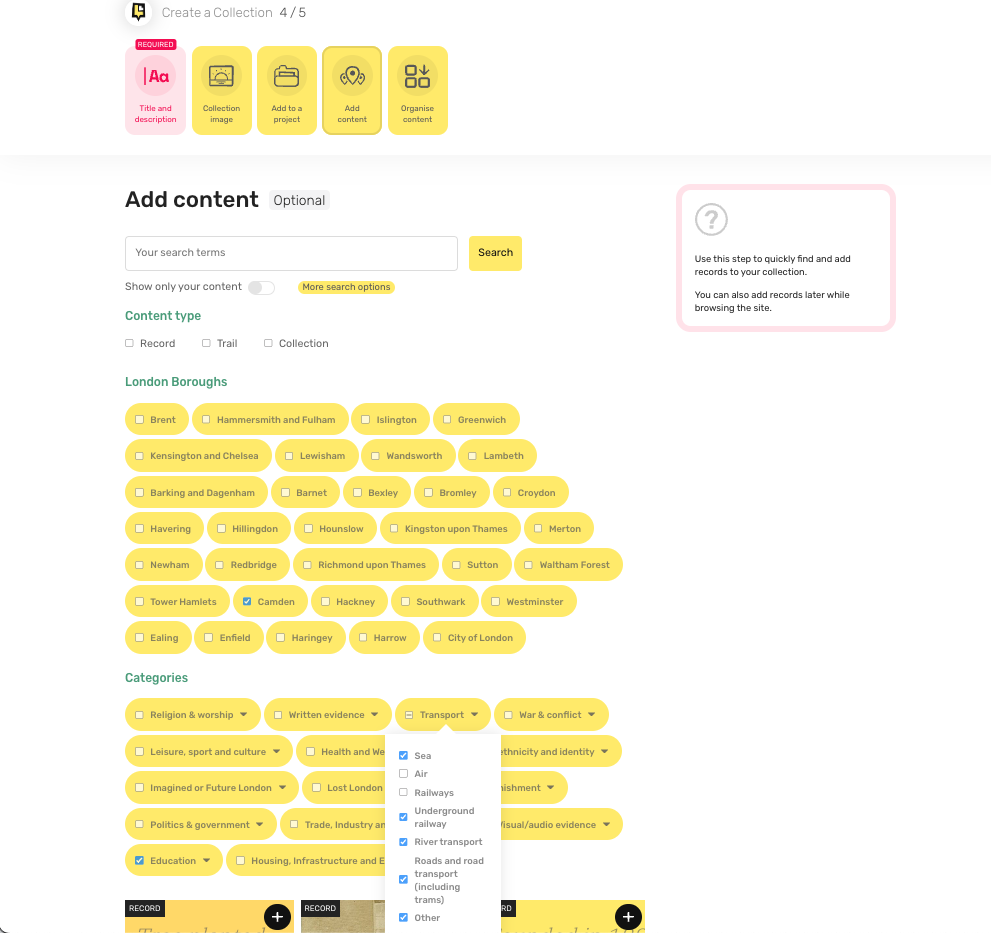
So, if I wanted records that were about places of worship in Ealing, I would click more search options and then “Ealing”, then I’d scroll down to “Religion and Worship”, click the downwards arrow, and then tick “Places of Worship.” I’d then scroll back to the top and click “Search”
Click the plus icon in the top left of the record image to add it to your collection, and click that same button again to unselect something. Click the forwards arrow beneath the record preview in order to see the next page of results. You can add as many records as you like, and you can come back to it after you’ve published it to add or subtract records.
You can then change the order of the content on the next screen.
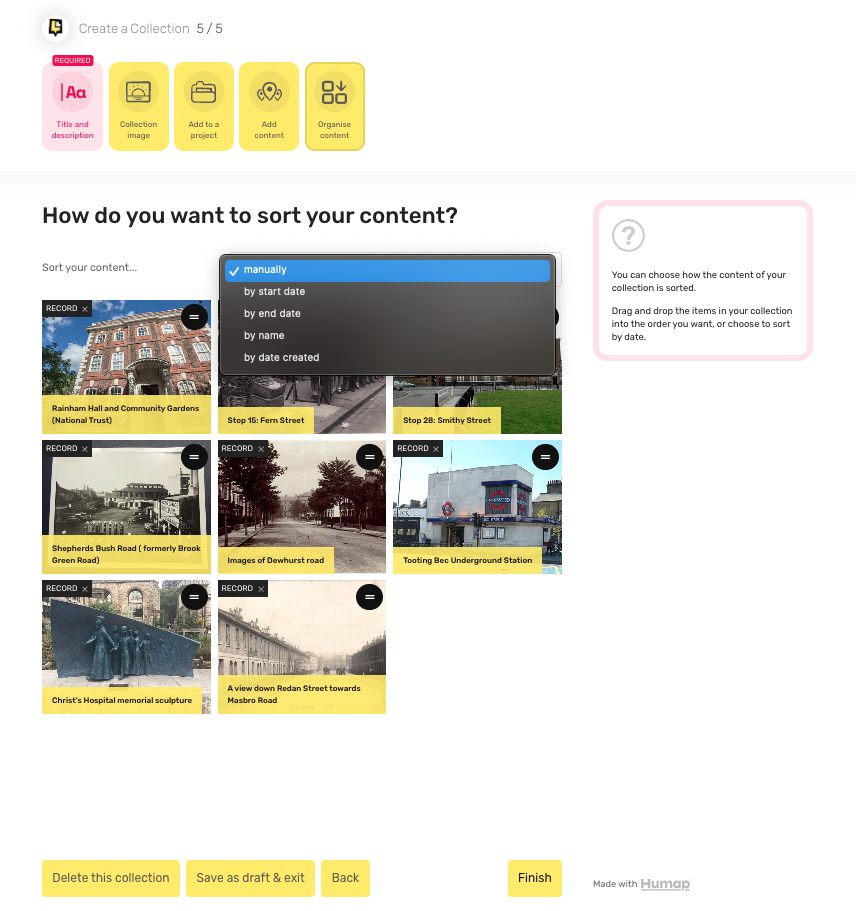
Either by using the sort options in the dropdown menu or by manually clicking and dragging on the records via the three line icon in the top right corner.
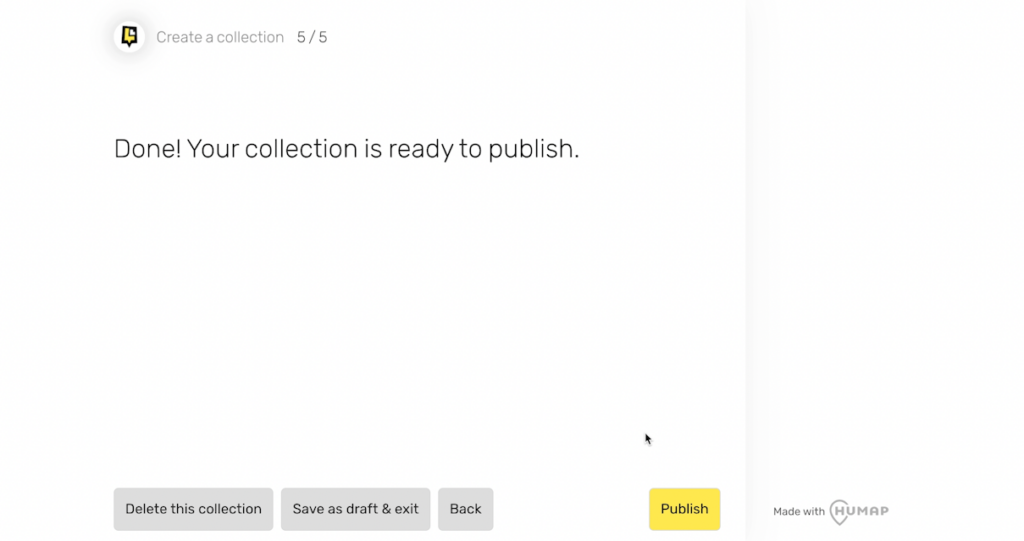
Done! Your collection is ready. On this screen you can delete this collection, save a draft and exit, or go back and edit your work. Click Publish when you’re ready. Your finished record will look like this:
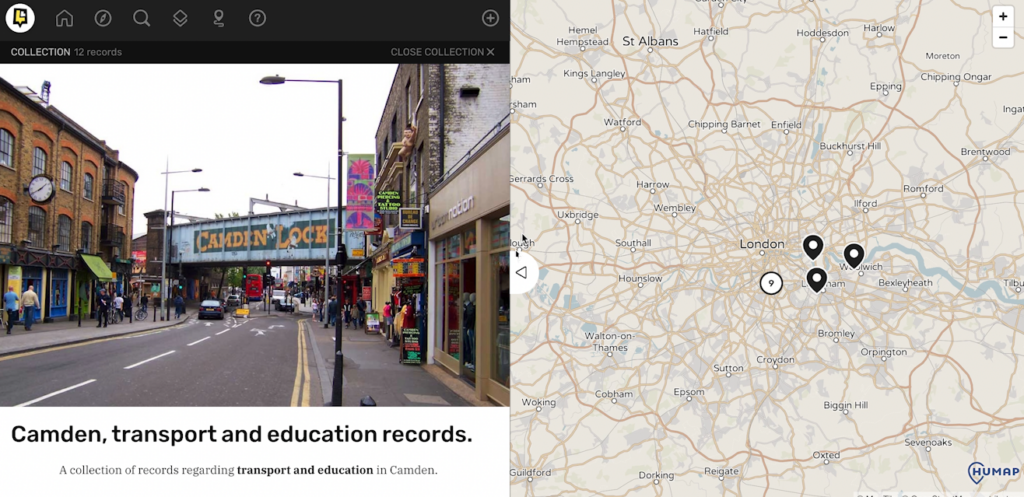
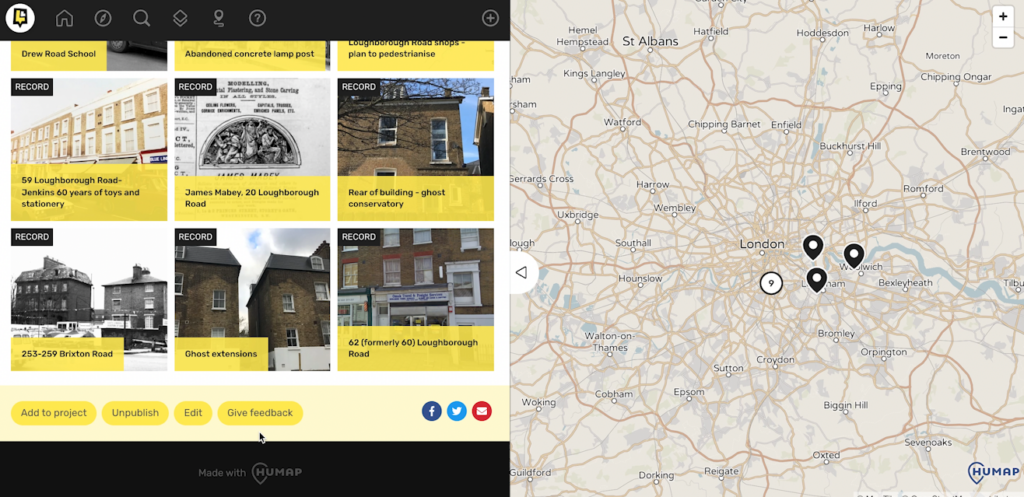
From your published collections screen, you have several options. You can edit it, unpublish it, delete it, and give feedback. You can also share it on social media and email.
You can share your record with the Layers of London community through #LayersofLondon and #Humap!


We usually respond in a few hours