🗺️ The Humap Newsletter
Sign up for:
- Unique offers and discounts
- News and updates from the heritage, EdTech, and mapping world
- Spotlighted content from across every Humap instance
Don’t worry – we only send one email a month 😉
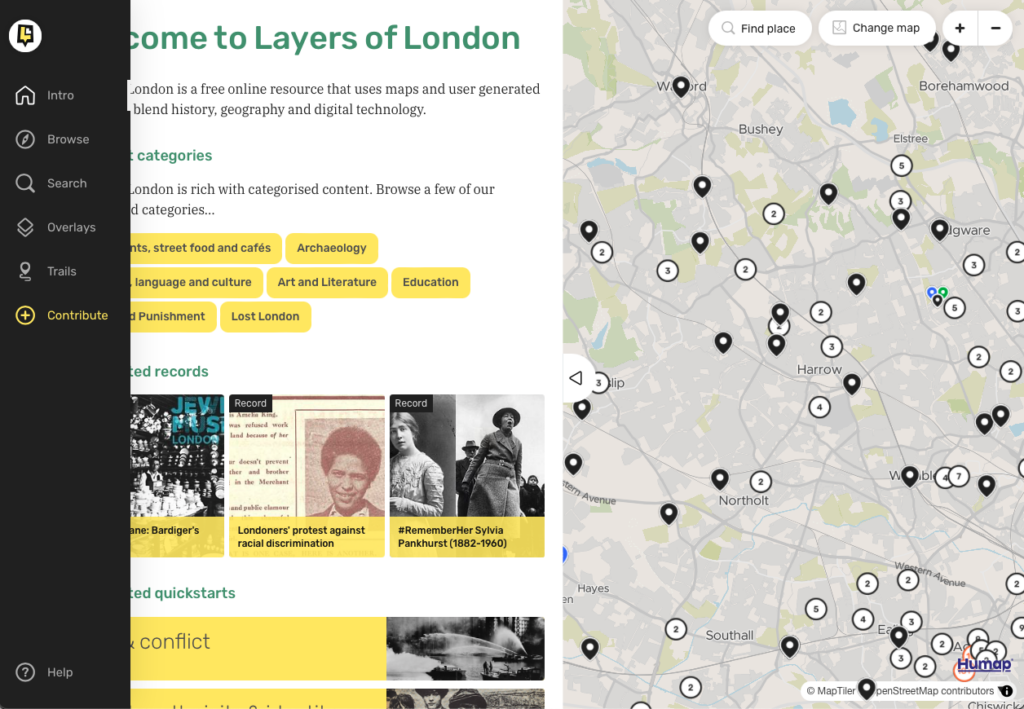
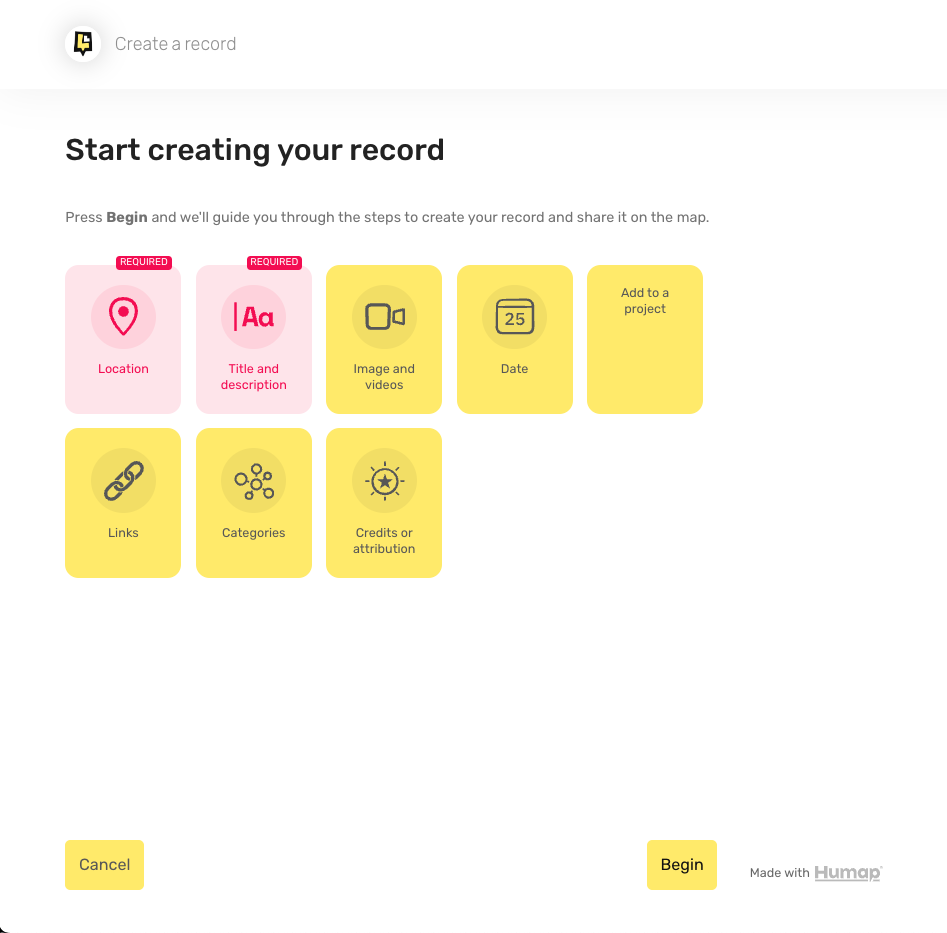
Most of the content on Humap comes in the form of Records. These can be single pieces of a larger story, about an event, person, place – the only limit is imagination.
Records can also be organised into Collections, Trails, Journeys, and Timelines.
If you are planning on using taxonomies and taxonomy terms for your project, we recommend making them before you start creating records. This means you can tag the record with the appropriate terms as you go so you don’t need to come back and tag it later.
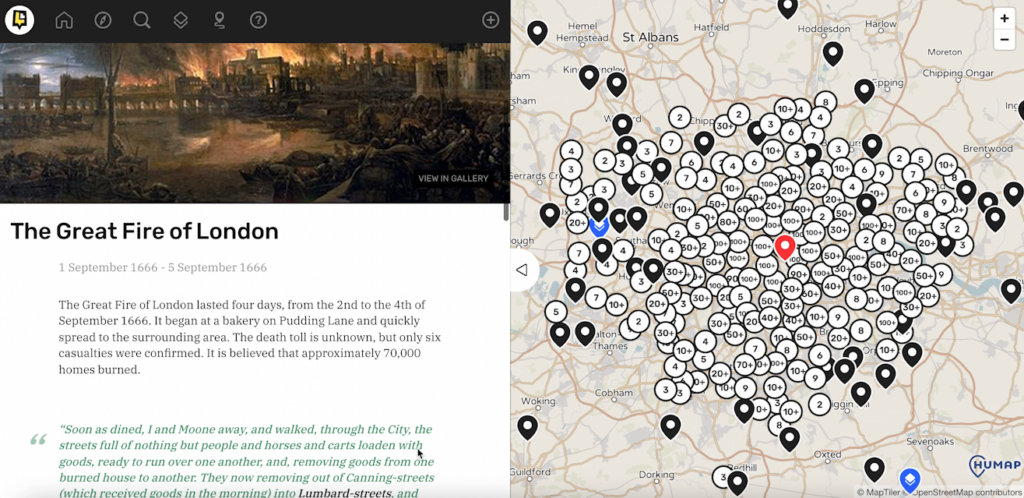
Published Records will look something like this:
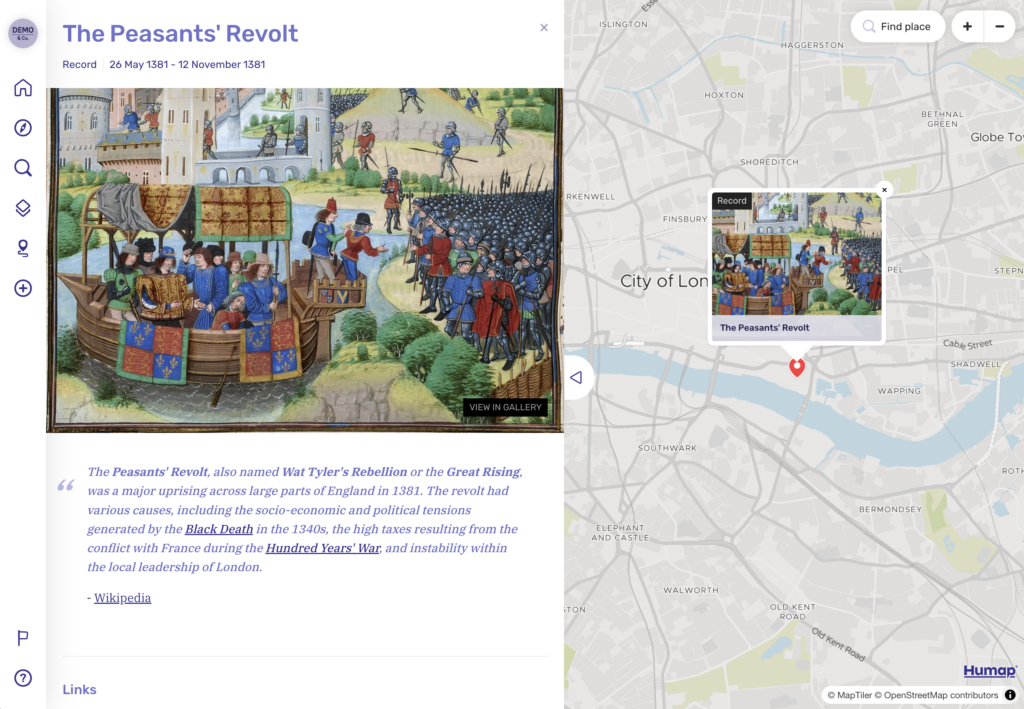
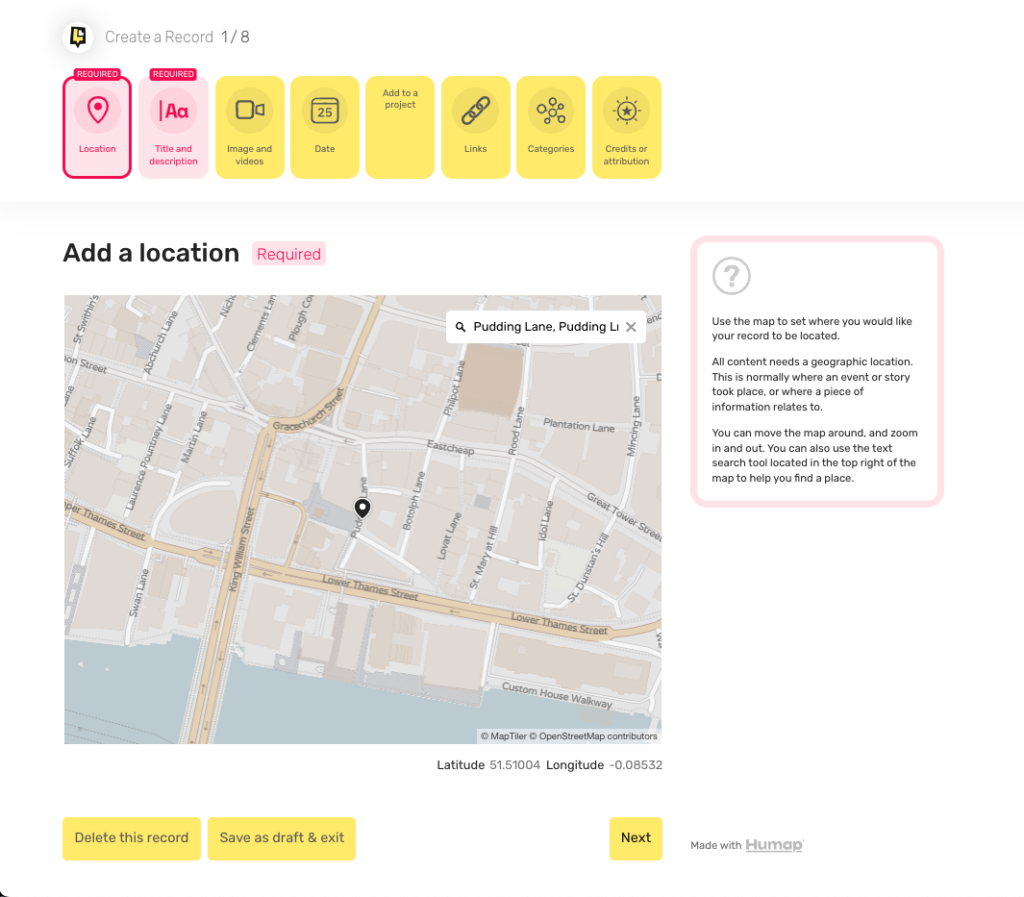
Records are the individual pins you see on the map. These can be Records of events, places, people, buildings – the only limit is imagination.
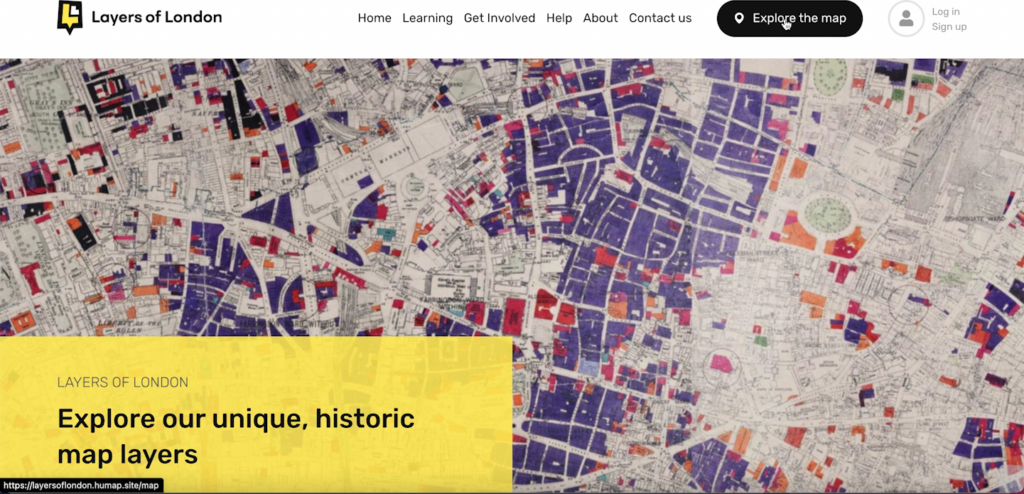
Go to the home page of the Humap instance you’d like to contribute to and click Explore the Map
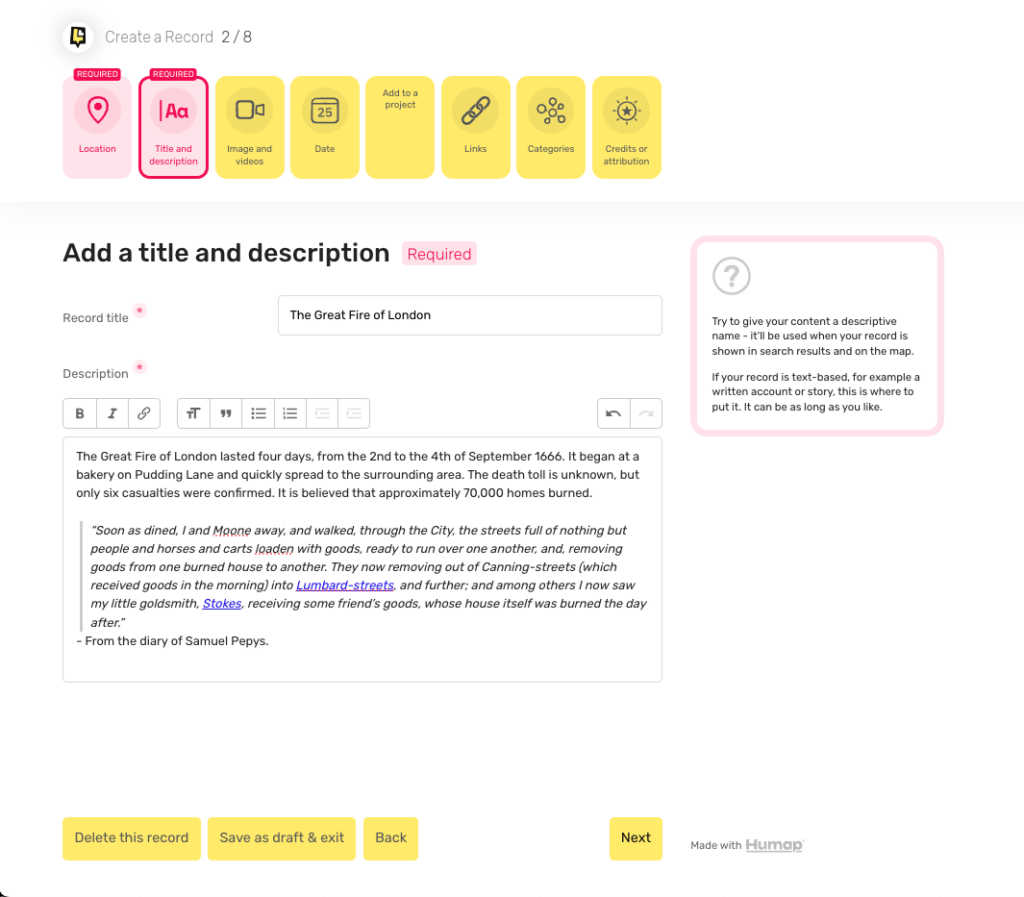
This is where you add text content to your Record.
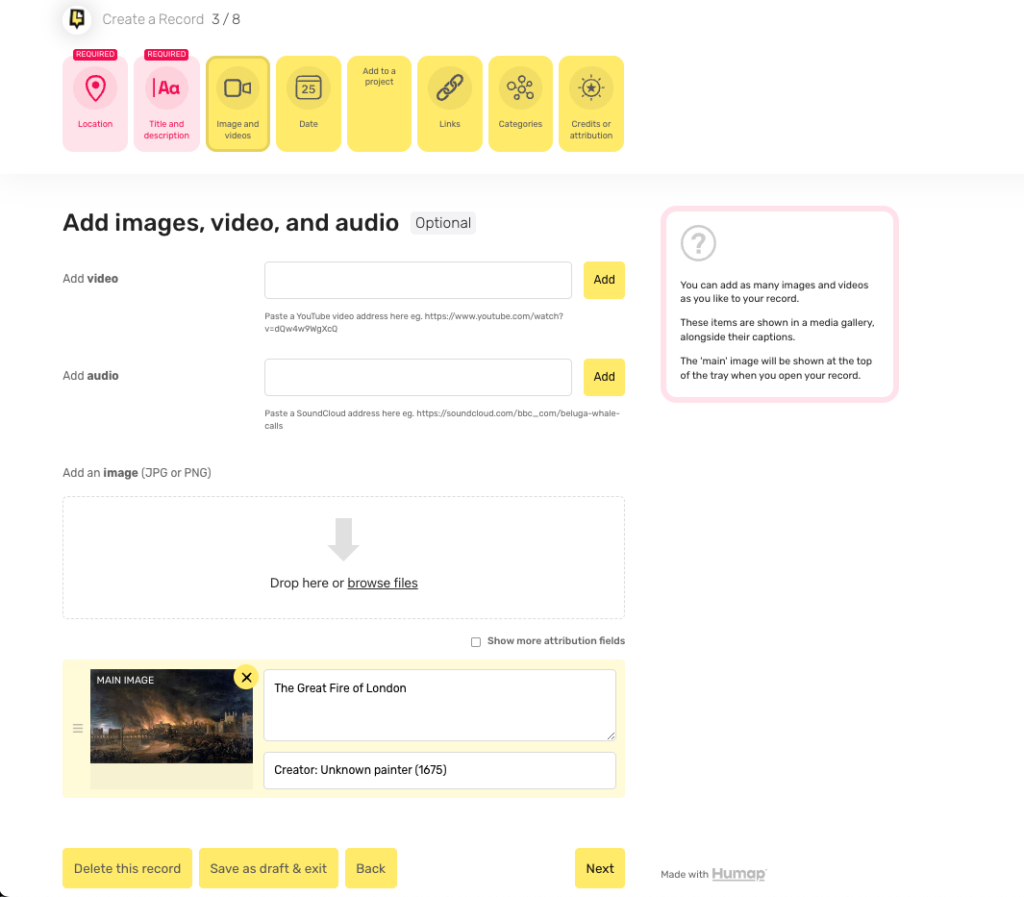
On this page you can add images, video, and audio to your record.
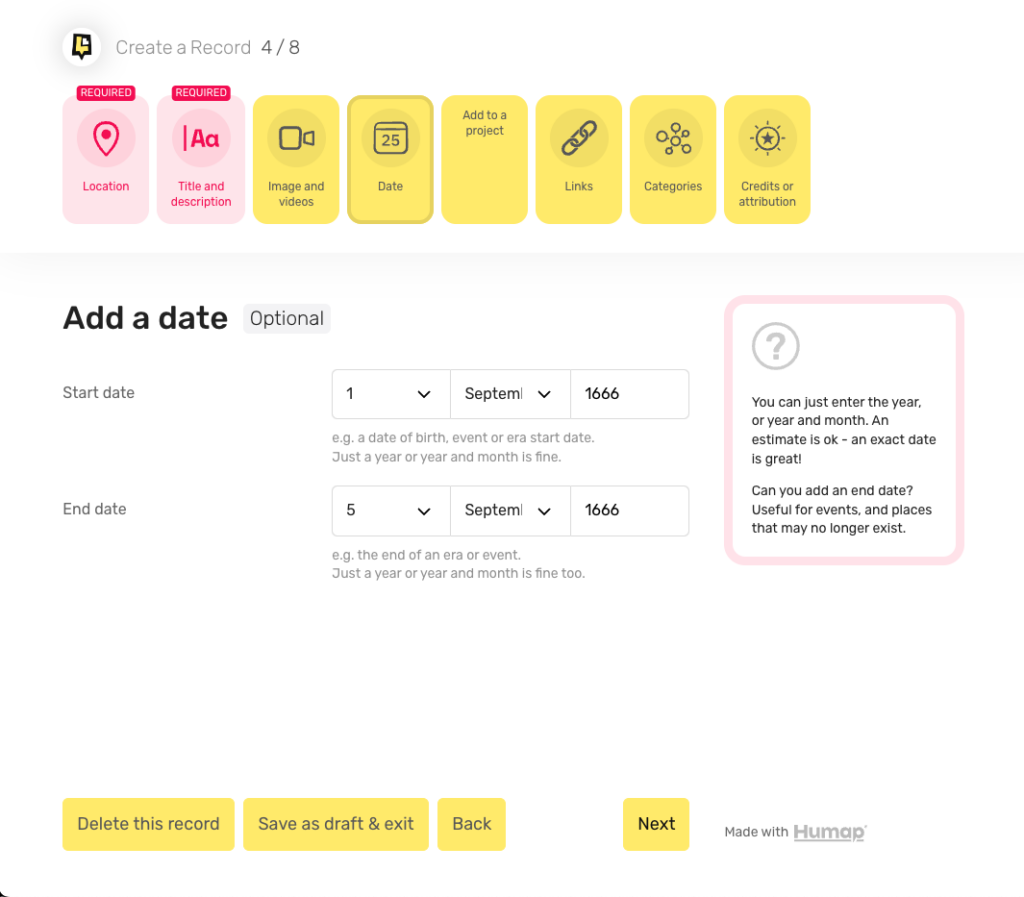
Dates are useful for ordering your Record and adding content.
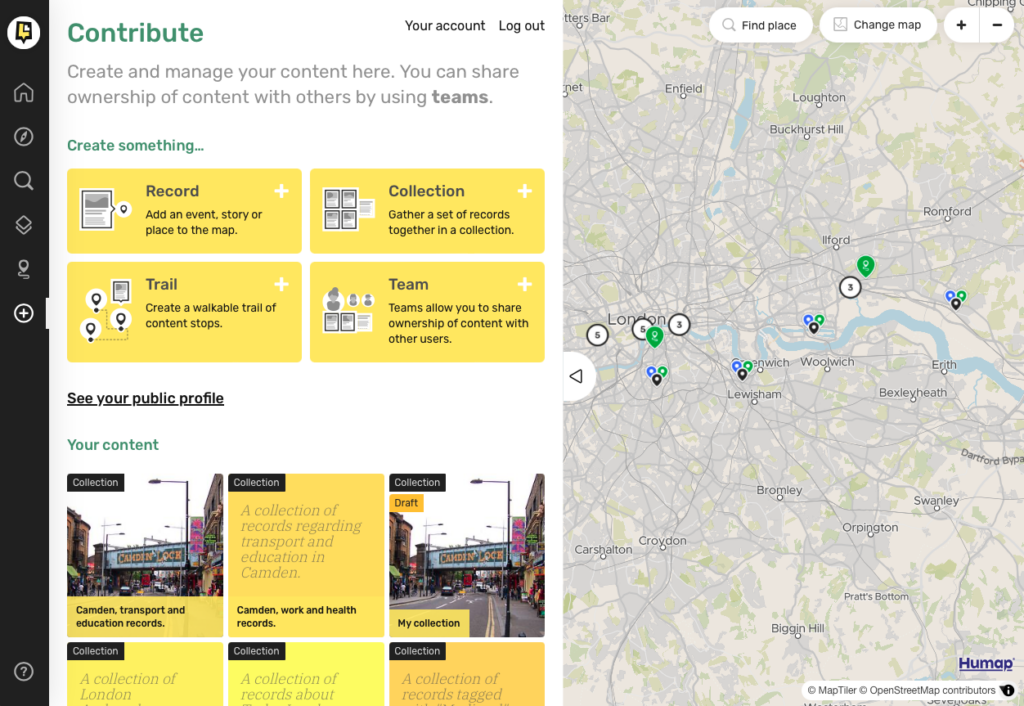
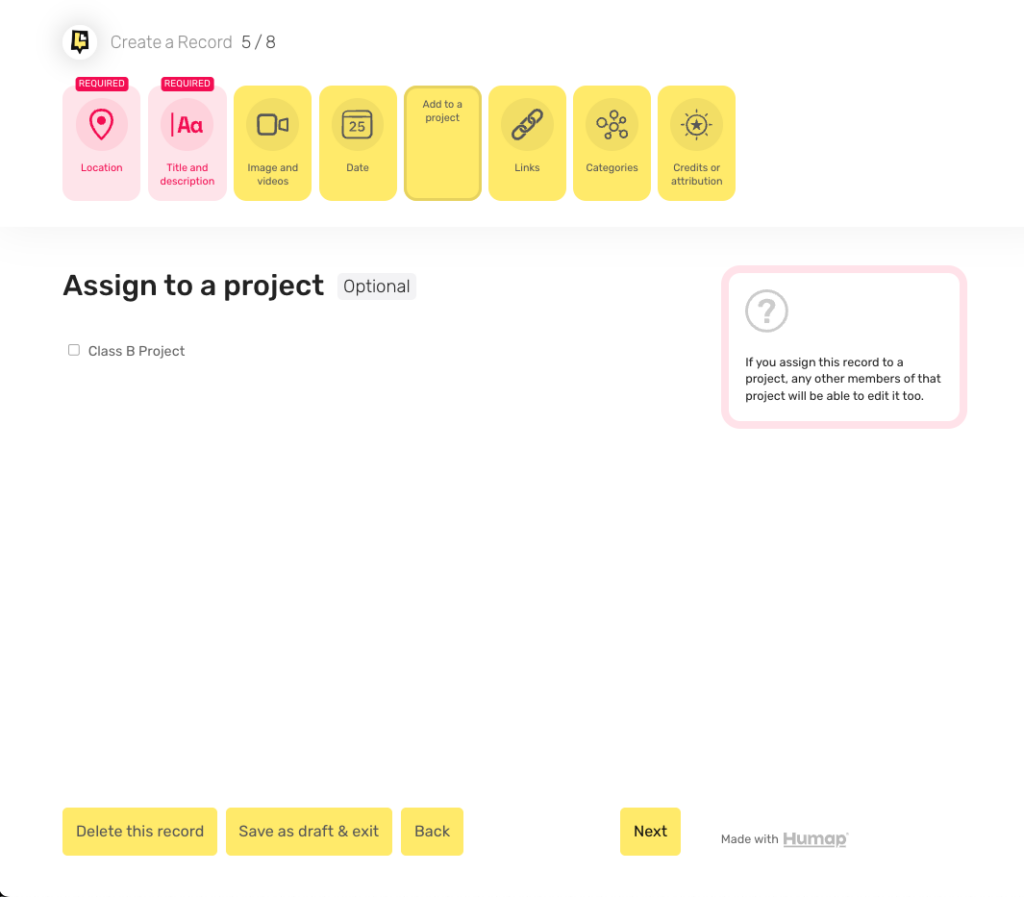
Teams on Humap let you create content with others. Any item assigned to a Team can be edited by other members of that Team. You need to be in a Team already before you can add a Record to it.
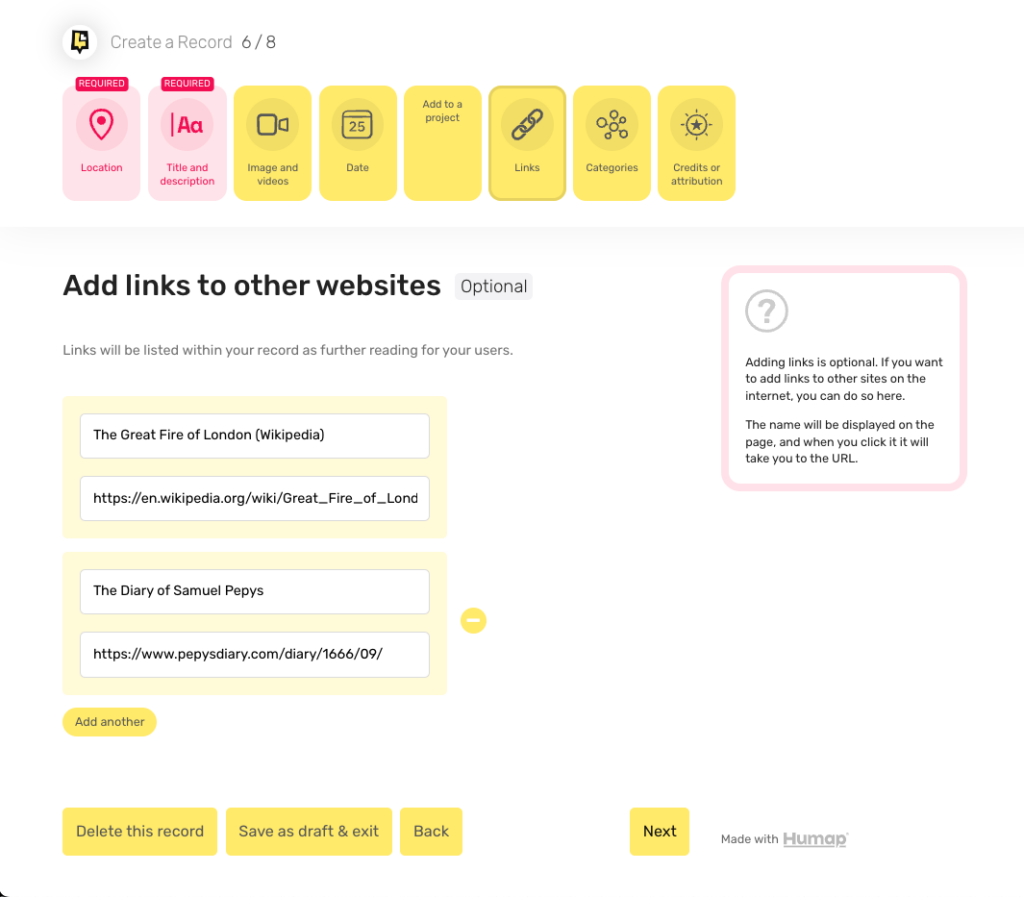
Adding links is a great way to attribute your Record correctly and direct your users elsewhere.
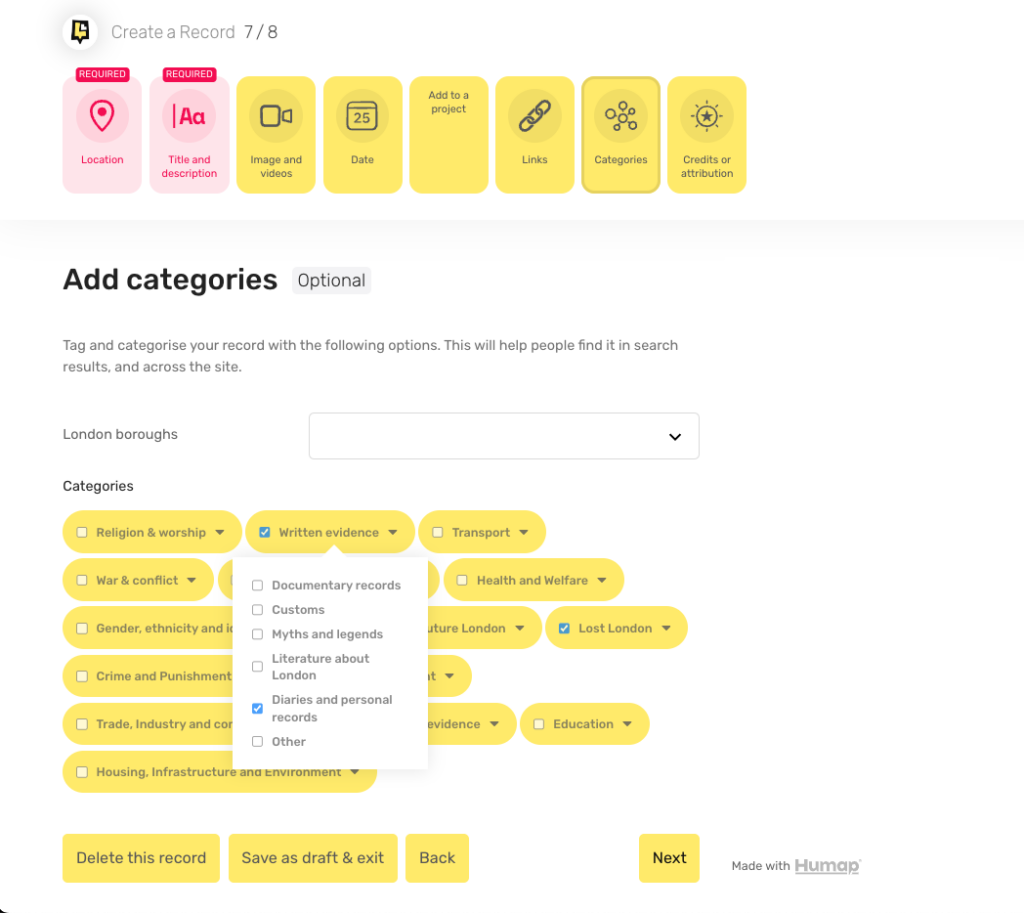
Categories, also called Taxonomies, are used to tag your Record and make it more findable.
Proper attribution and crediting is extremely important on Humap.

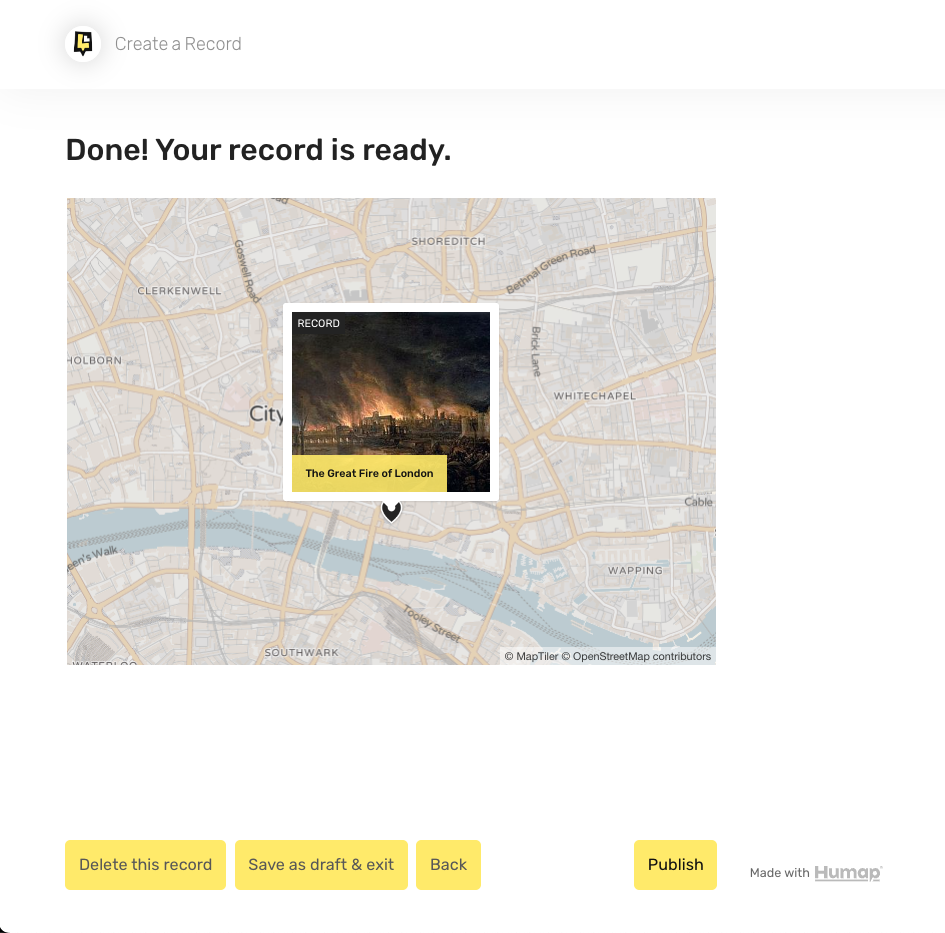
Your Record is now published!
From your Records screen you can view your Record, and if you scroll down to the bottom there are options to:
You can share your Record with the Layers of London community through #LayersofLondon and #Humap!
Any suggestions on how we can improve our tutorial process? Drop us a line at [email protected]!


We usually respond in a few hours