🗺️ The Humap Newsletter
Sign up for:
- Unique offers and discounts
- News and updates from the heritage, EdTech, and mapping world
- Spotlighted content from across every Humap instance
Don’t worry – we only send one email a month 😉
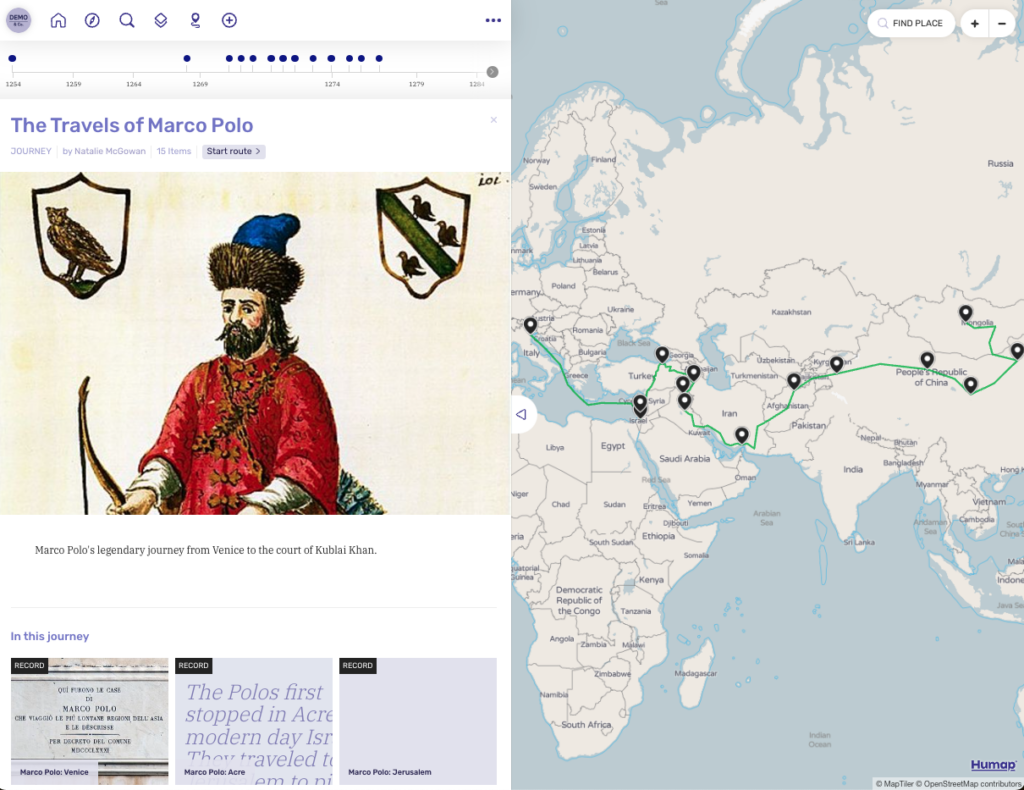
Journeys, formerly known as routes, tell stories that took place over a series of locations. These could be the stories of voyages, emigration, adventure – anything, really!
Examples:
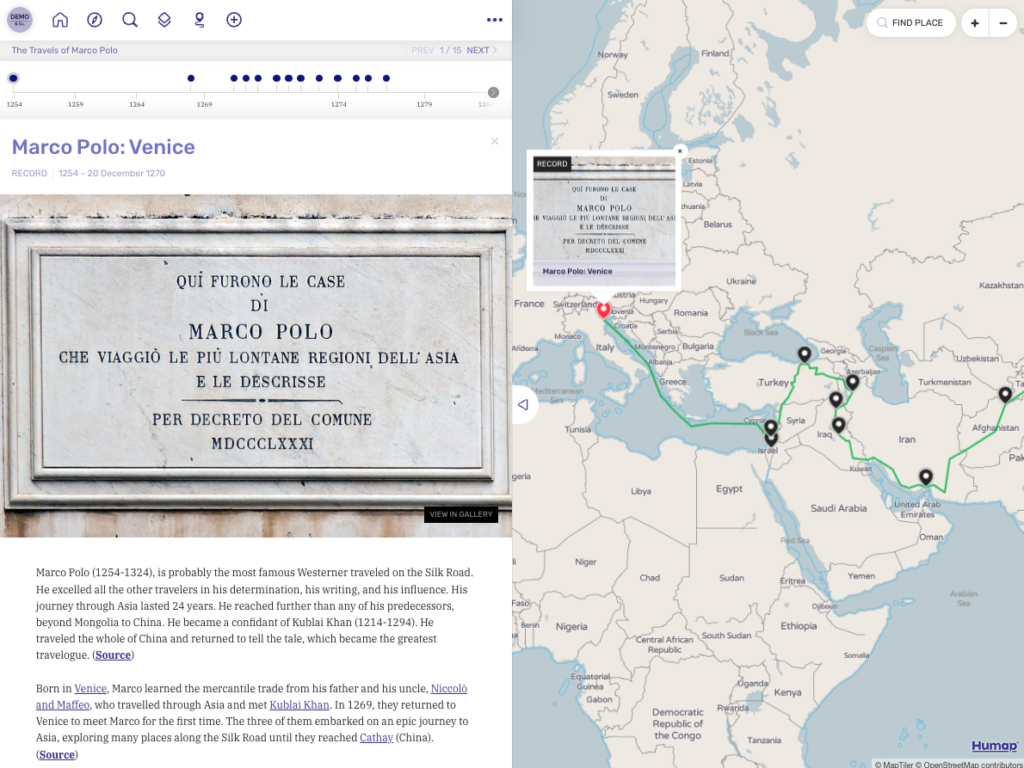
They look like this:
To make a journey you’ll need to have pre-existing Humap content. This can be in the form of records, trails, other journeys, collections or timelines.
To create a journey, go to a map with the feature enabled and click the +icon on the top right hand side of the information tray.
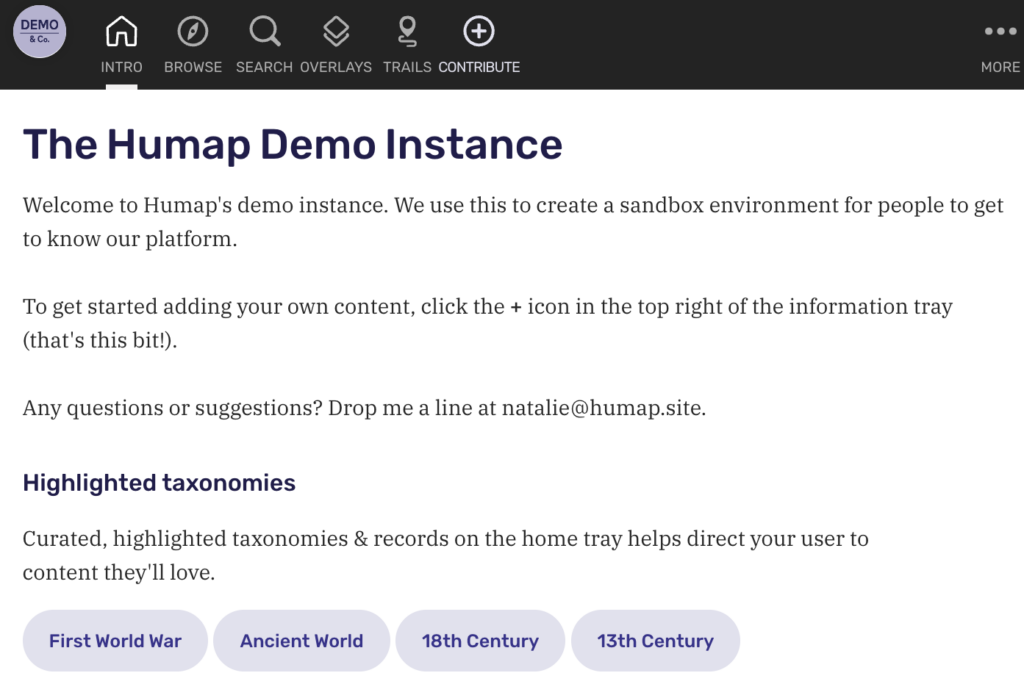
That will take you to this screen:

Click Journey to enter the creation process, which looks like this:
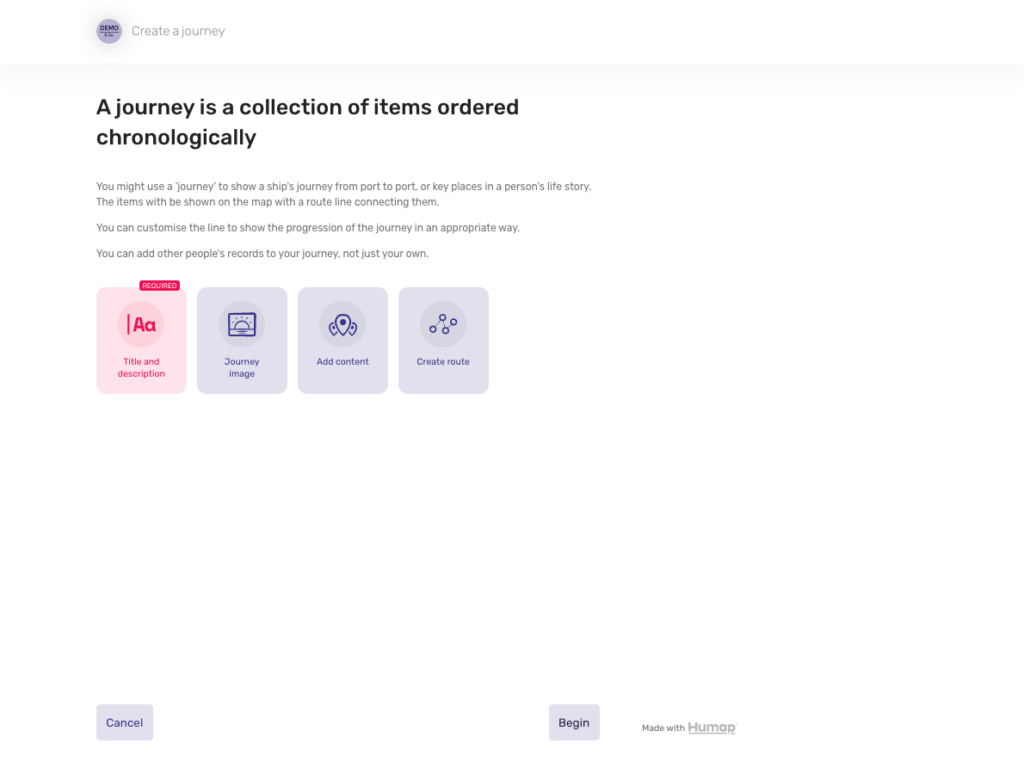
Click Begin to get started.
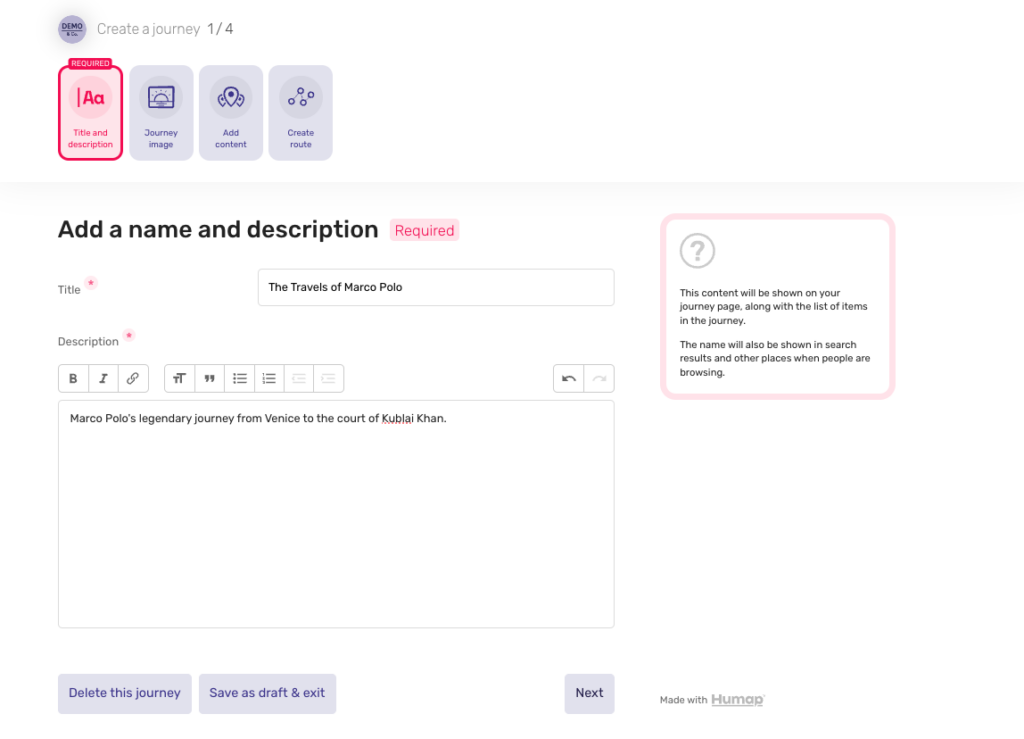
Name your journey in the Title text box and add a description in the box below. This will appear on the preview page for your journey.
Use the text formatting options to make text pop, and don’t forget to include paragraph breaks if you’re using a lot of text!
Click Next to move on.
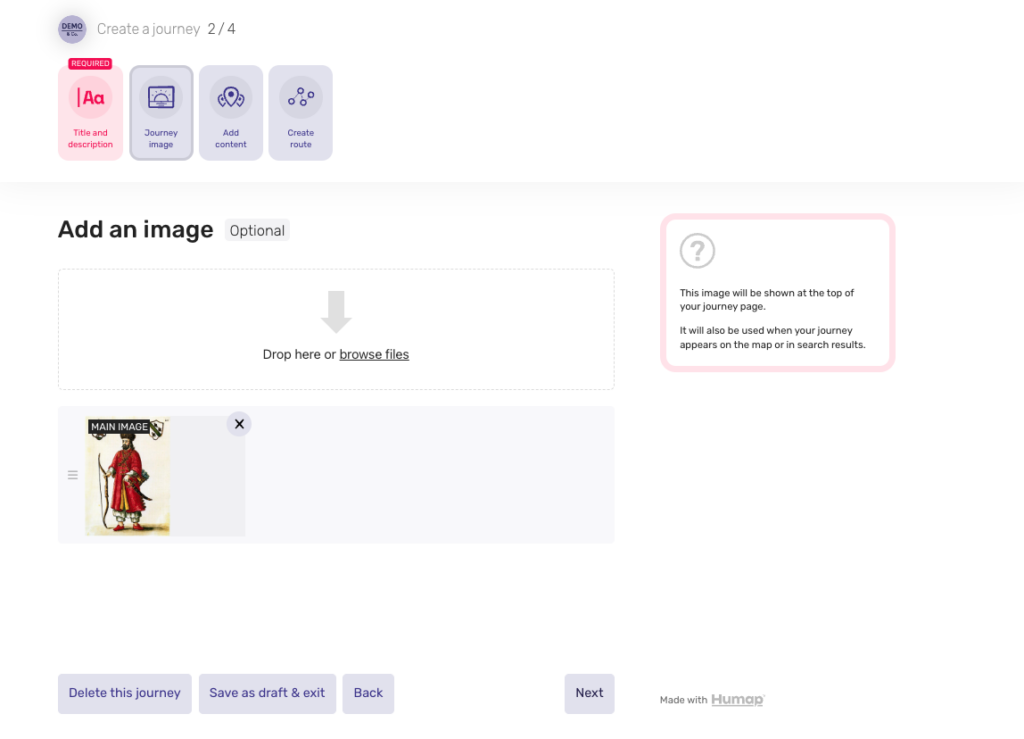
Drag and drop an image file into the box, or click browse files to select an image from your computer.
Click Next to start adding content to your journey.
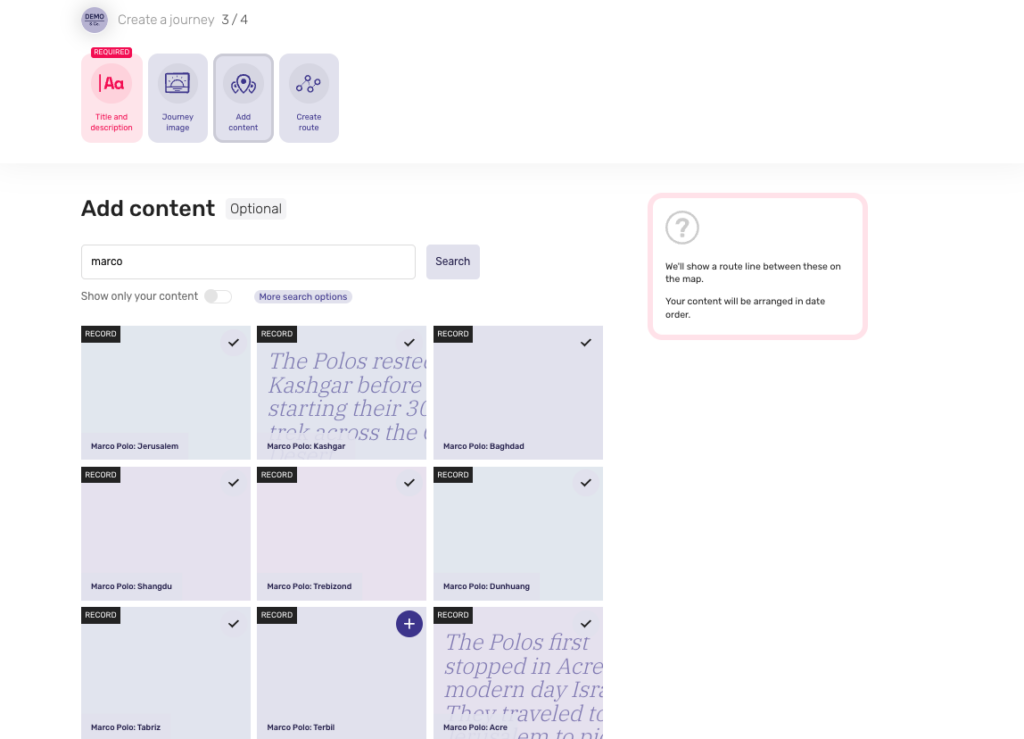
The grid pages will show all of the published content on your Humap instance. To narrow down the results you can:
Type the name of the piece of content you would like to add into the search bar.
Click show only your content. This is especially useful for large projects with lots of users.
Click more search options to select taxonomy terms.
The journey will automatically organise your content based on date, so the order you select content in is not important.
Click Next to get to this screen.
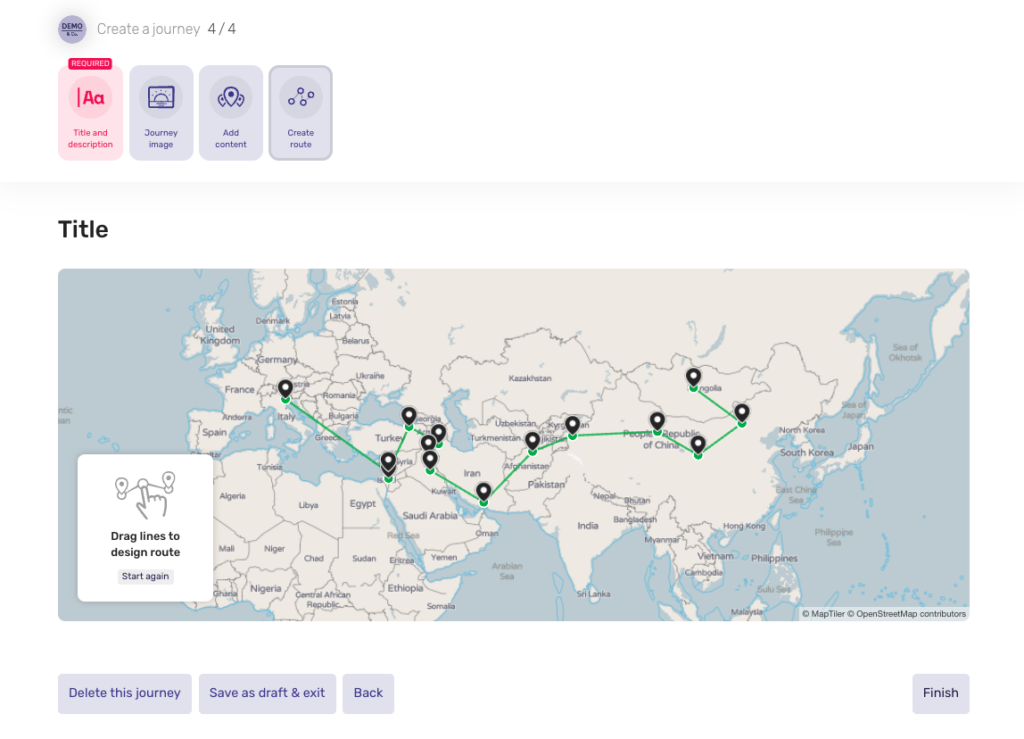
A route will autogenerate between the content pins in direct, straight lines.
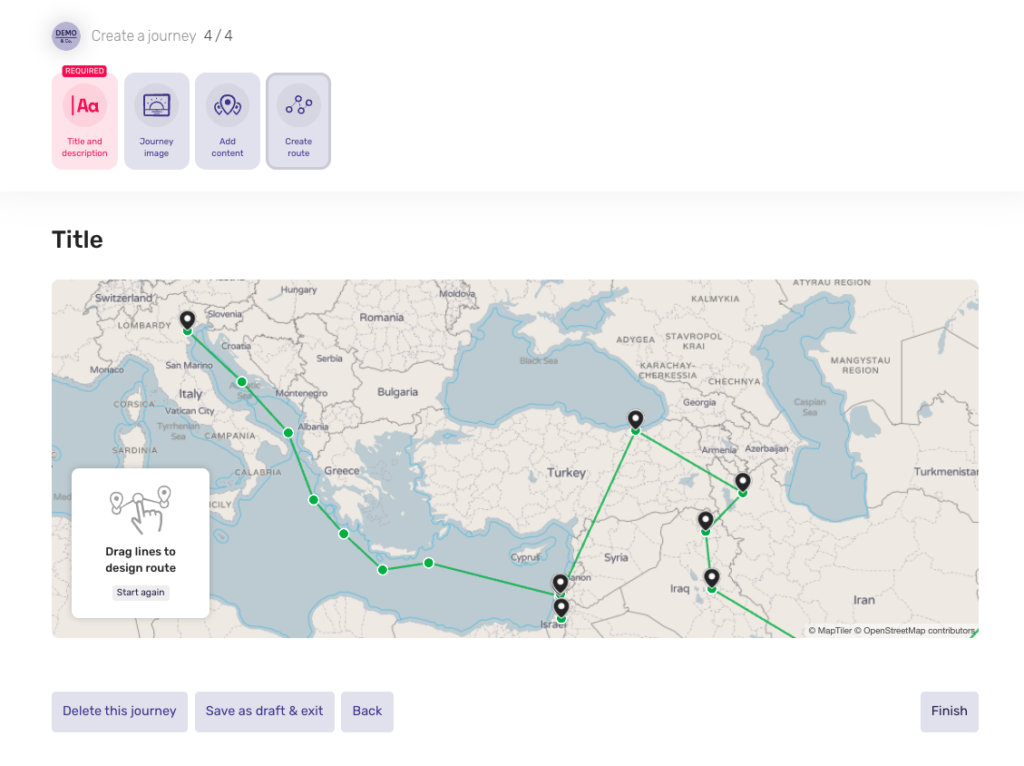
You can click and drag the line in order to customise the journey.

and there we go! From this screen you can either delete this journey, save as draft and exit, go back, or publish the journey.


We usually respond in a few hours