🗺️ The Humap Newsletter
Sign up for:
- Unique offers and discounts
- News and updates from the heritage, EdTech, and mapping world
- Spotlighted content from across every Humap instance
Don’t worry – we only send one email a month 😉
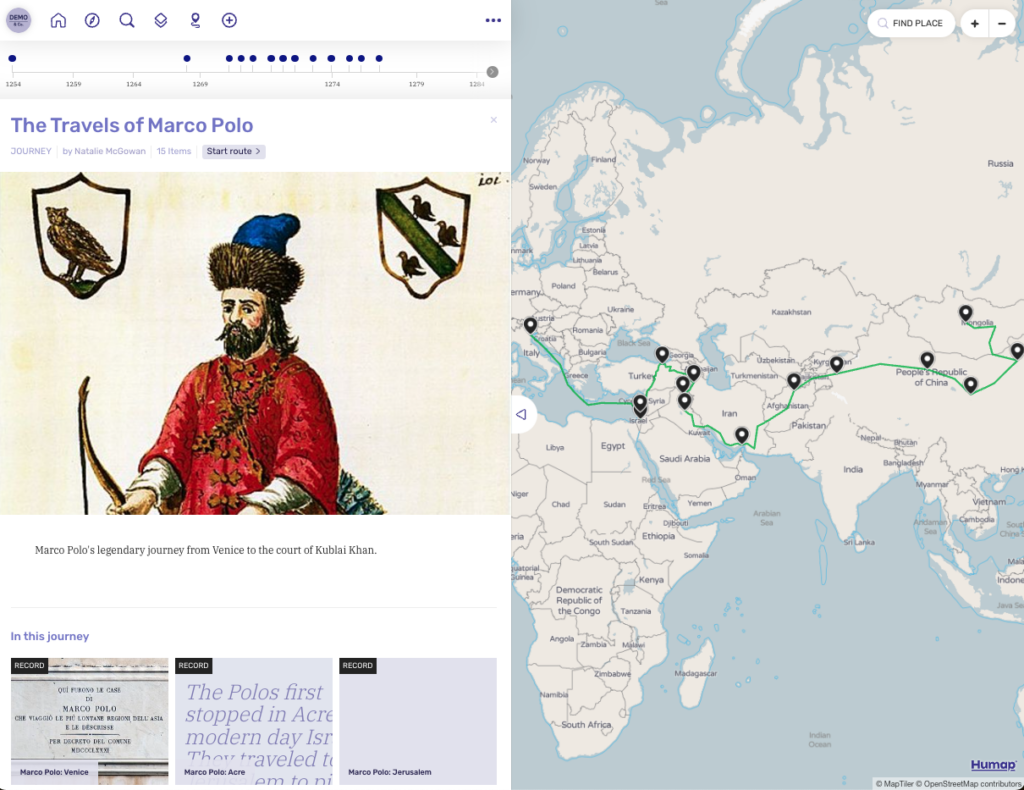
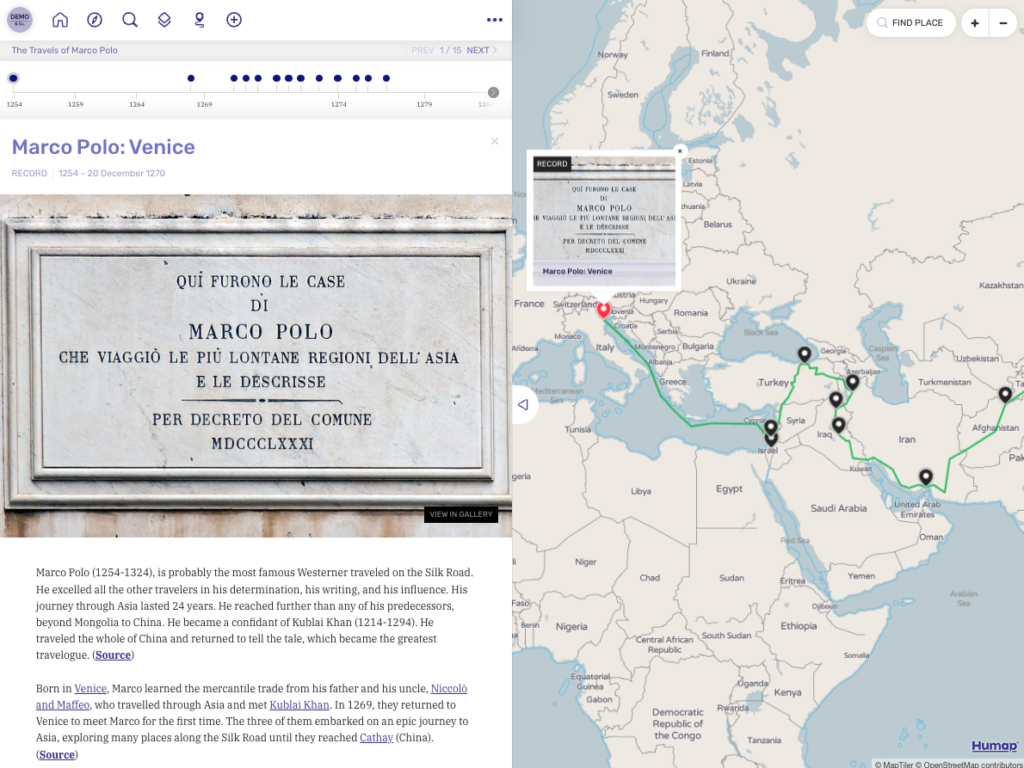
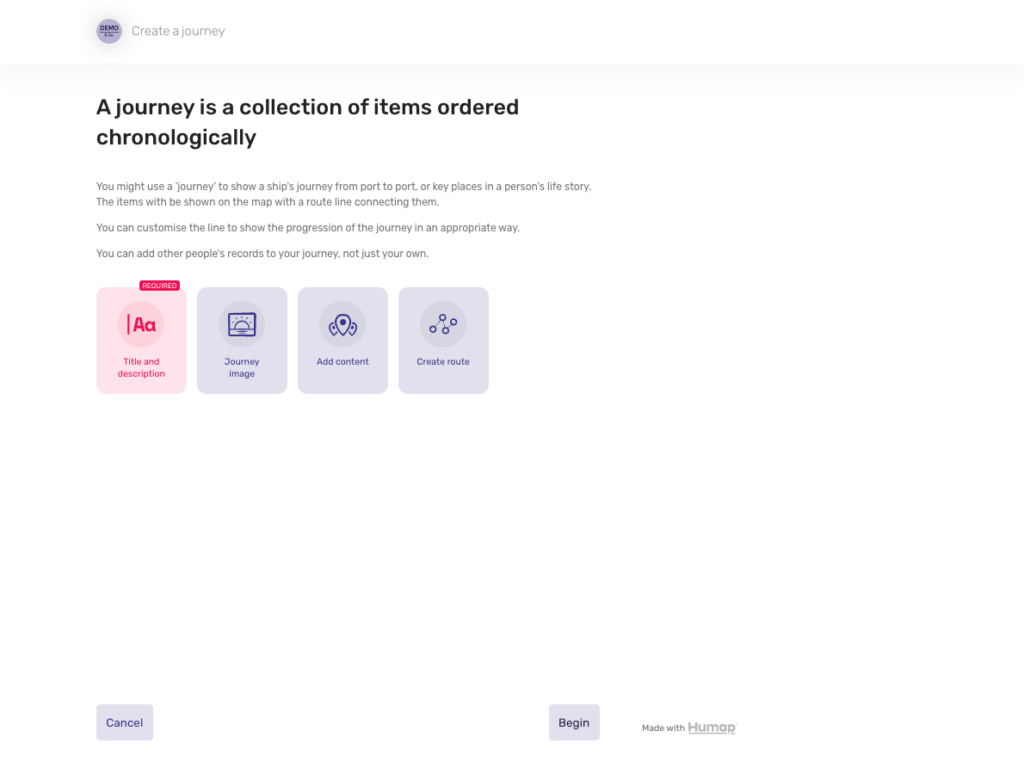
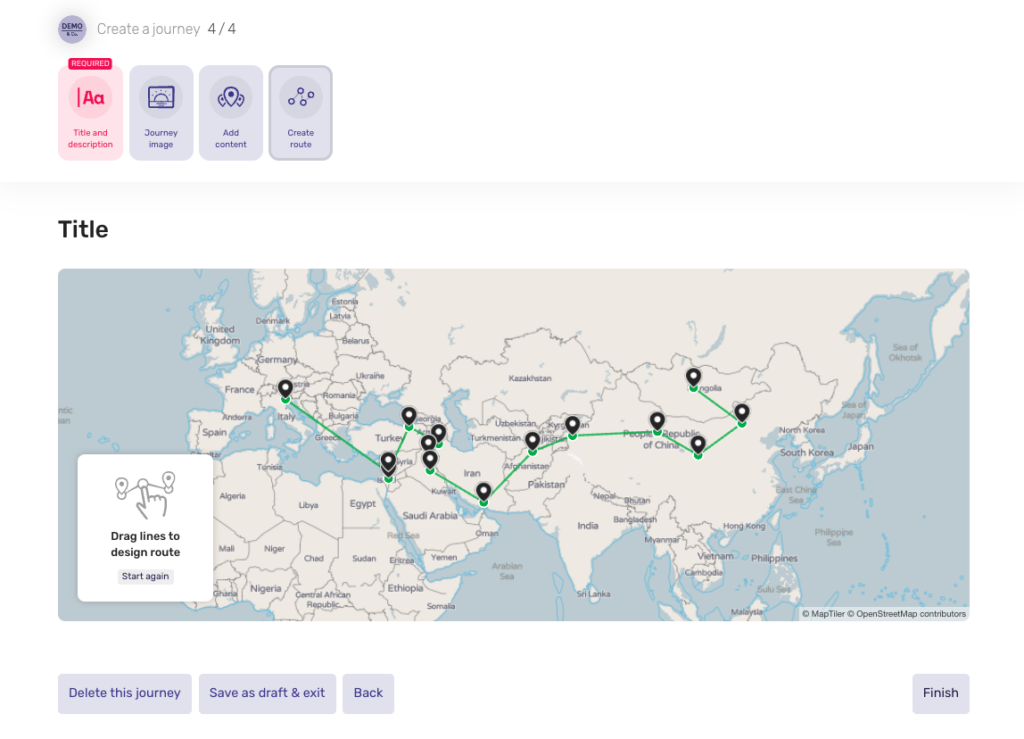
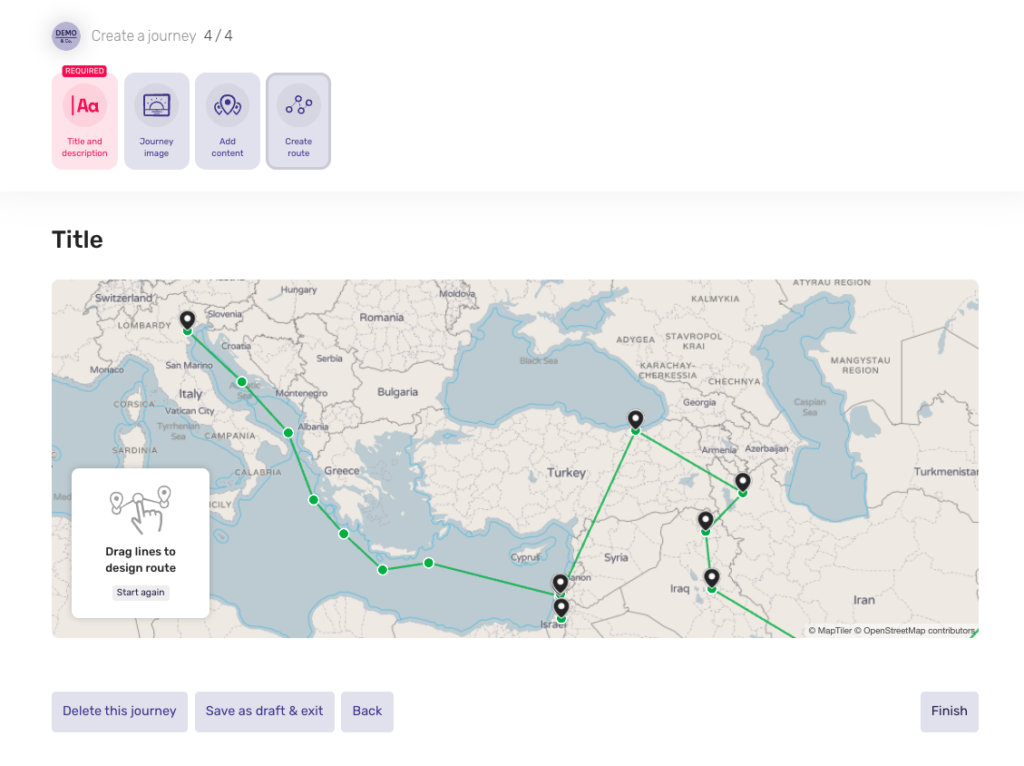
Journeys, formerly known as Routes, tell stories that took place over a series of locations. These could be the narratives of voyages, emigration, adventure – anything, really!
Journeys can be combined with Timelines.
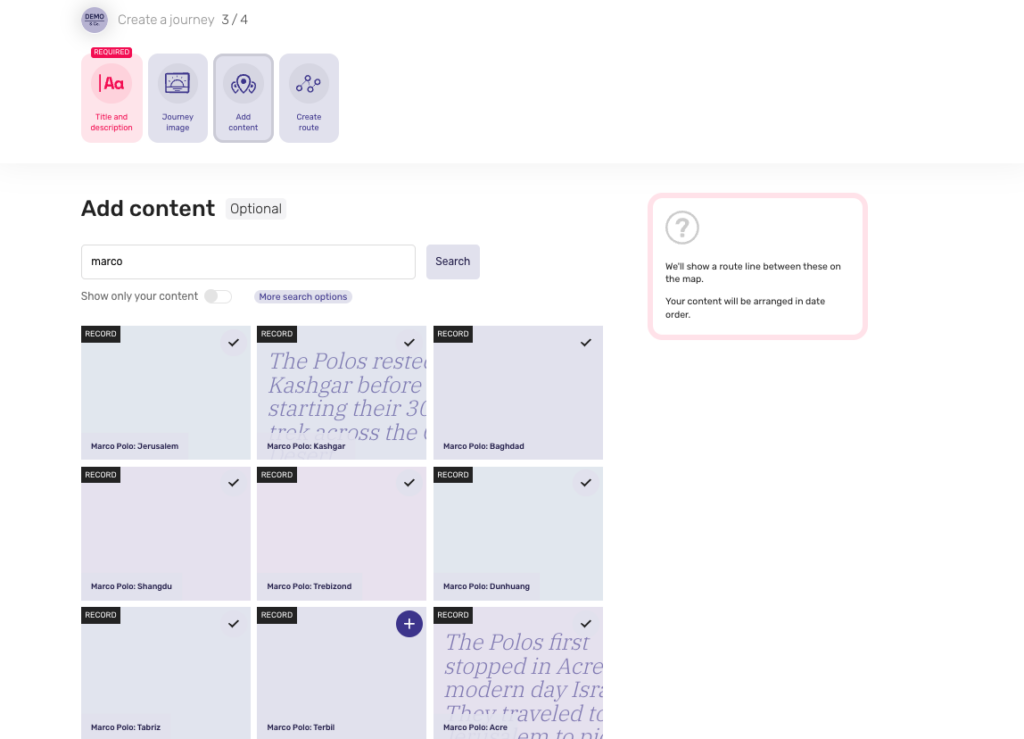
Journeys can contain Records, Overlays, Trails, Timelines, Collections and even other Journeys.
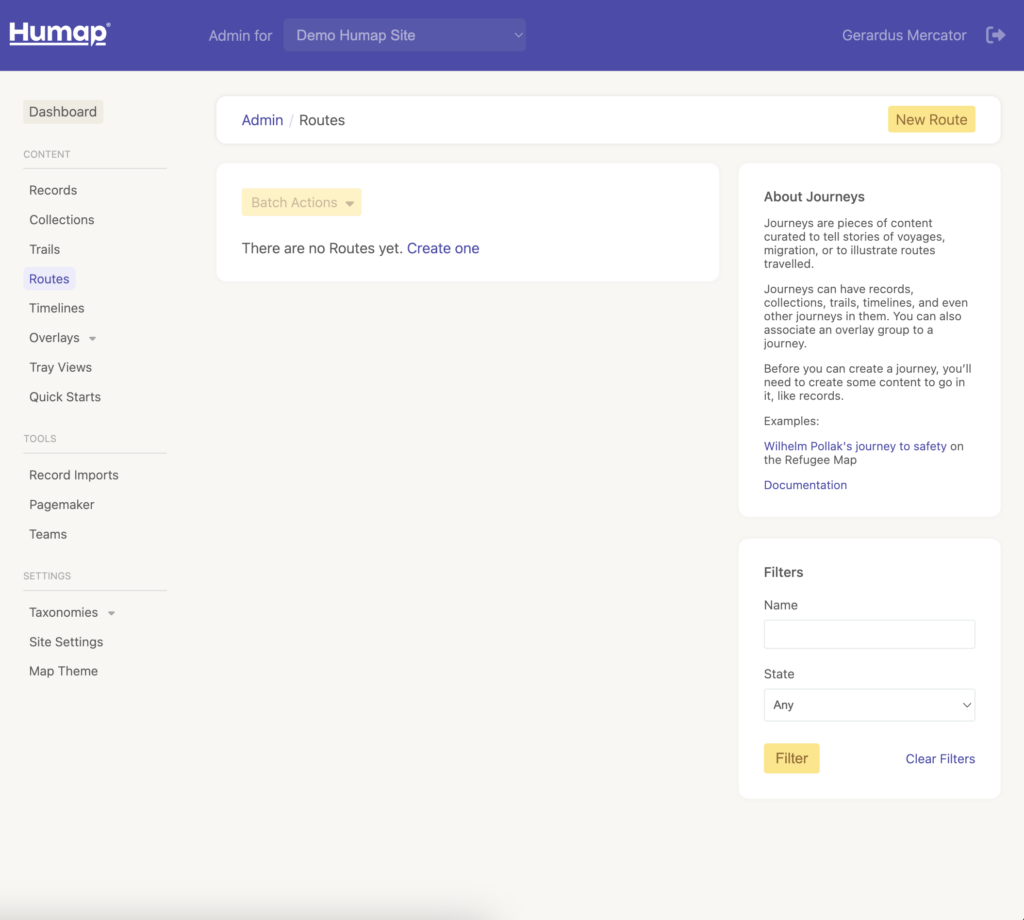
Before you can create a Journey, you’ll at least need some Records.
They look like this:
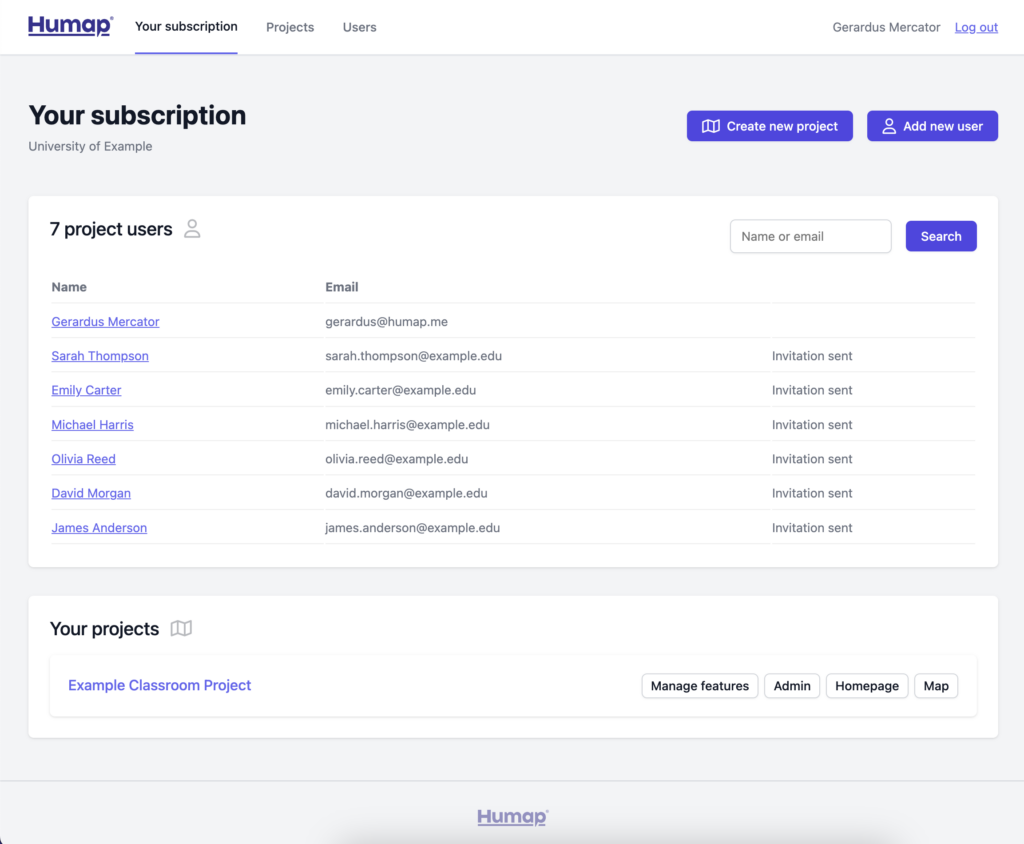
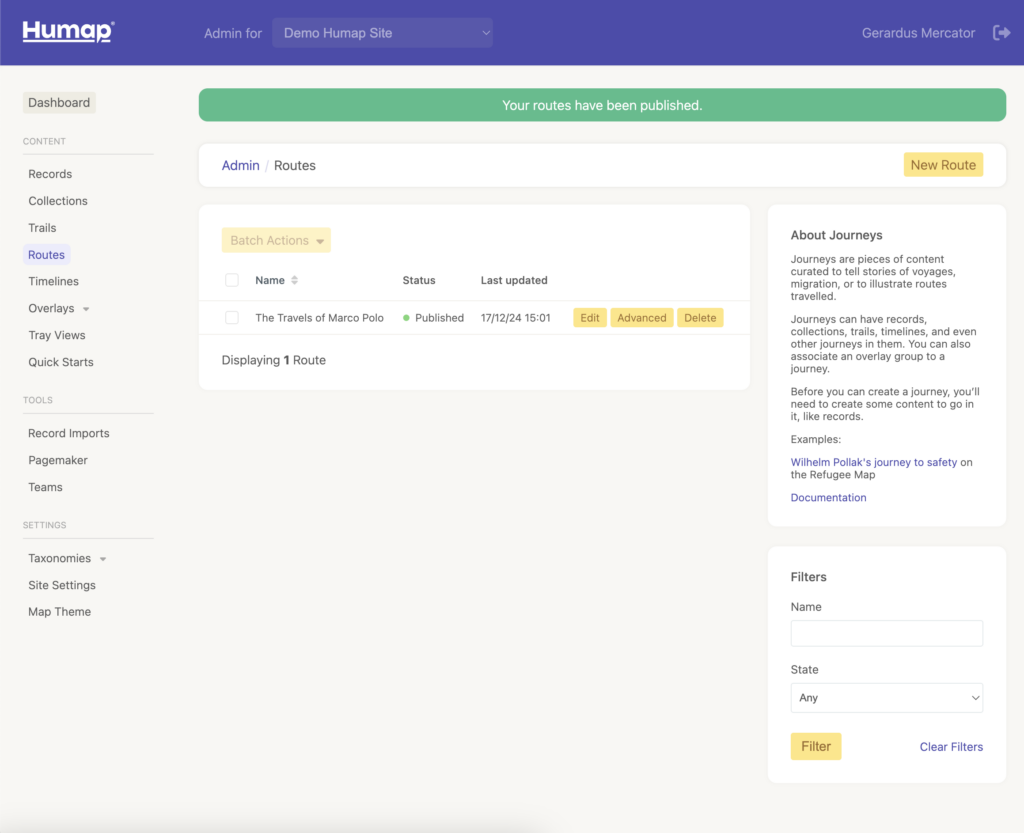
This takes you to the home screen of Humap’s content management system:
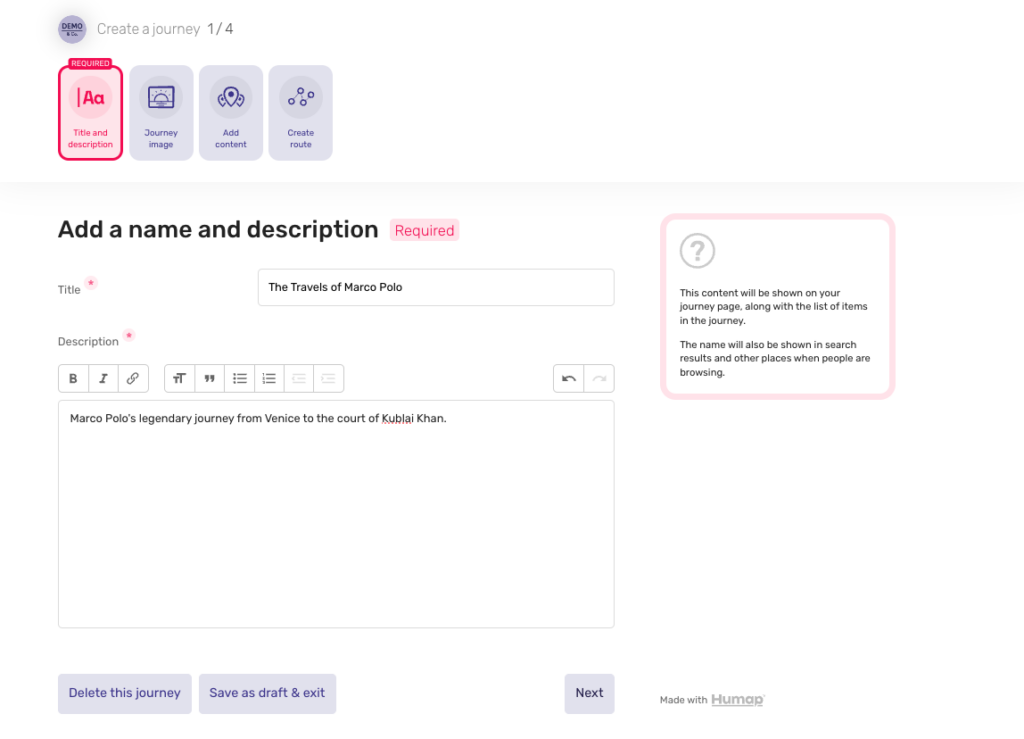

When you’re making a Journey via the admin CMS and not the Contribute system, you also have access to some advanced options for your Journey.
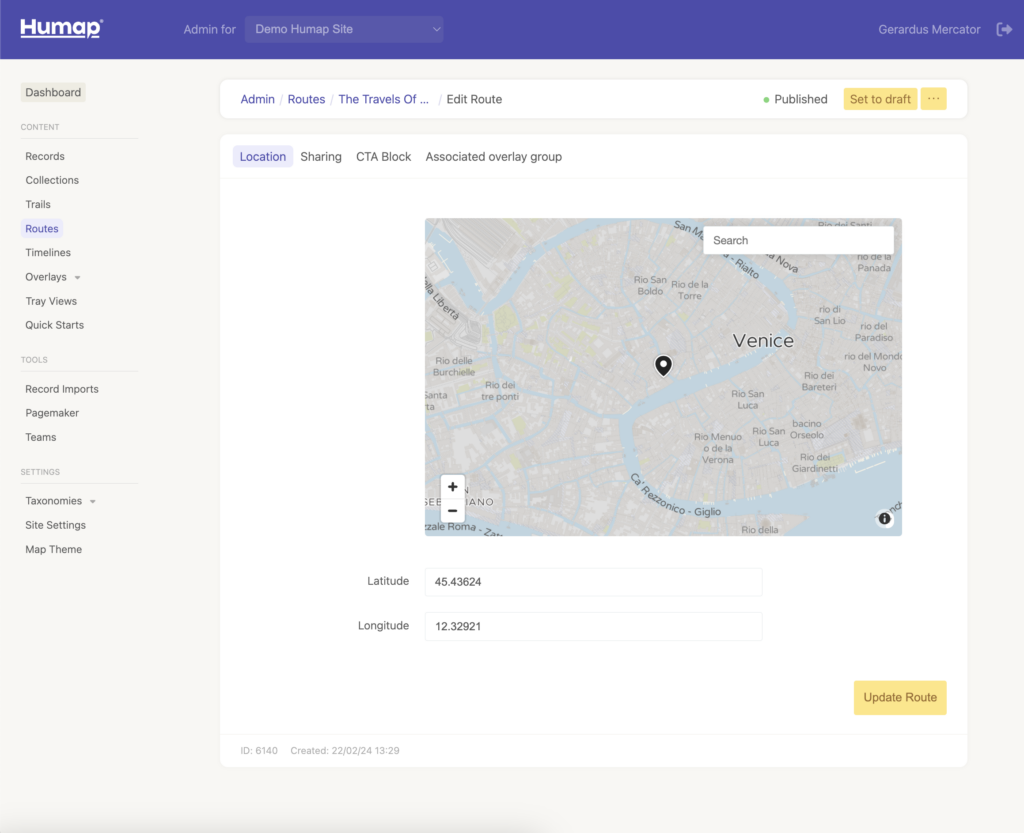
You can change the location of the pin, create a permalink and QR code, a Call To Action, and associate an overlay to this Journey.
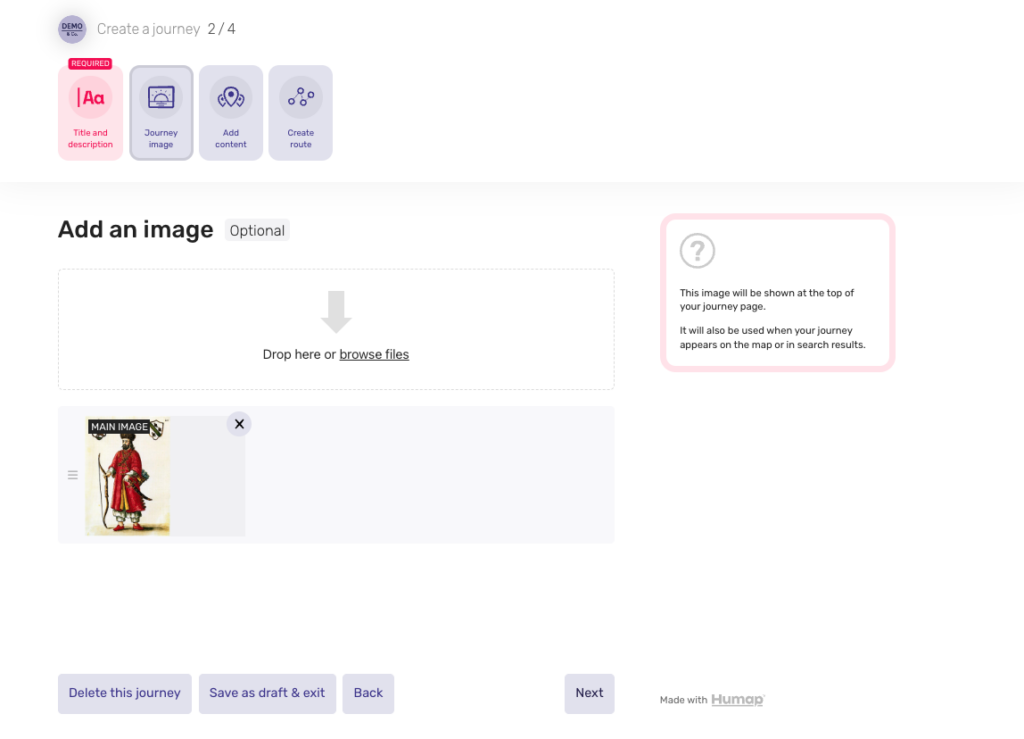
You can add a pin to the map for your Journey here.
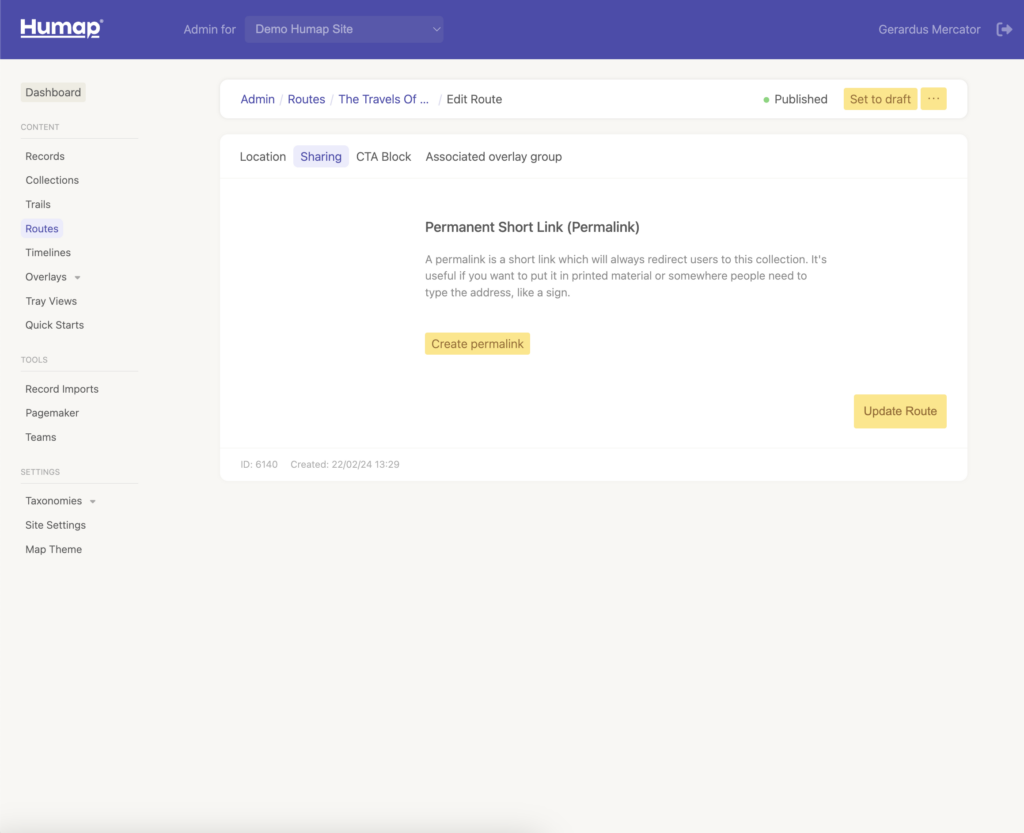
Use this page to generate two tools that make your Humap easy to share: a permalink and a QR code.
Permalinks are short links which will always redirect to your Journey page. QR codes can be used to link your Journey to a physical space, like a gallery label or a plaque.
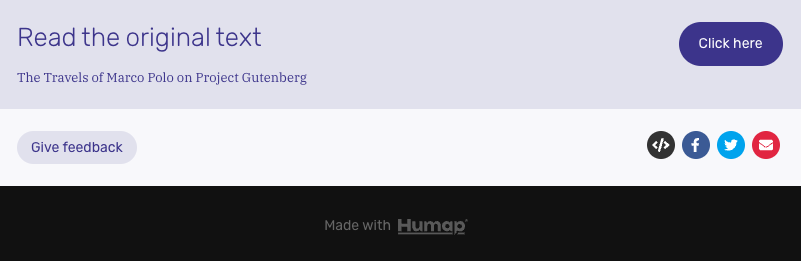
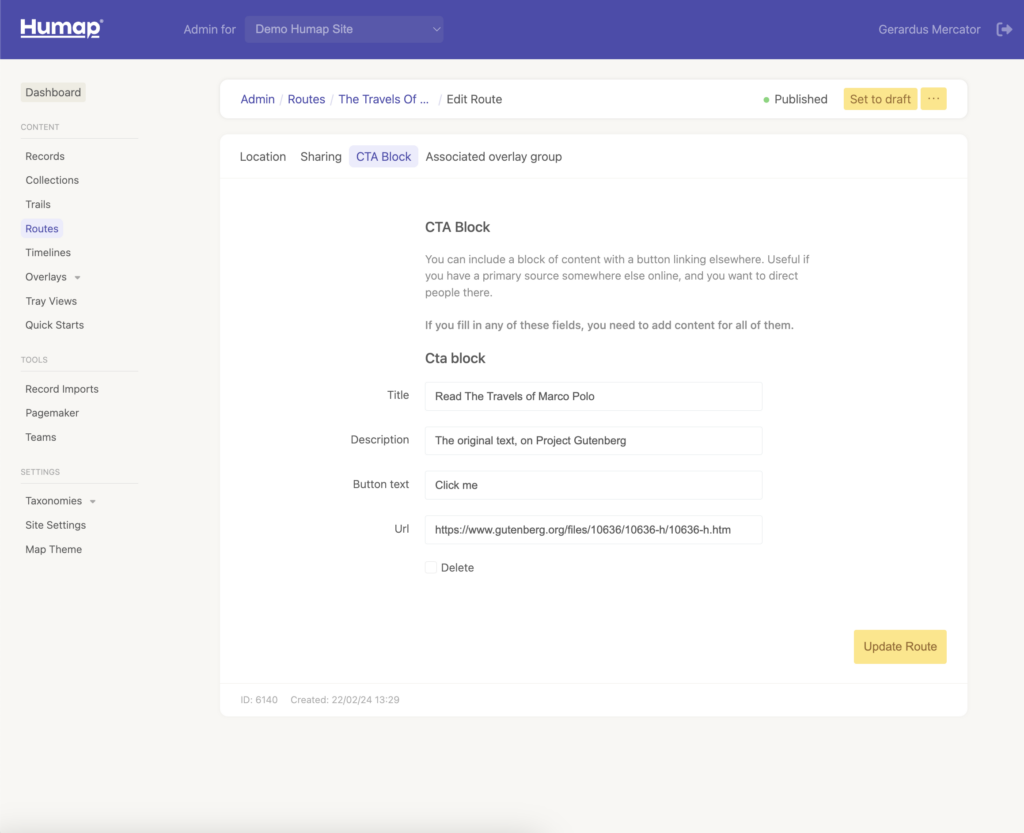
On the CTA Block page you can create a Call to Action. Calls to Action are used to direct your audience to a specific webpage.
Calls to Action live at the bottom of a piece of content on Humap and look like this:
To create one, go to the CTA Block page:
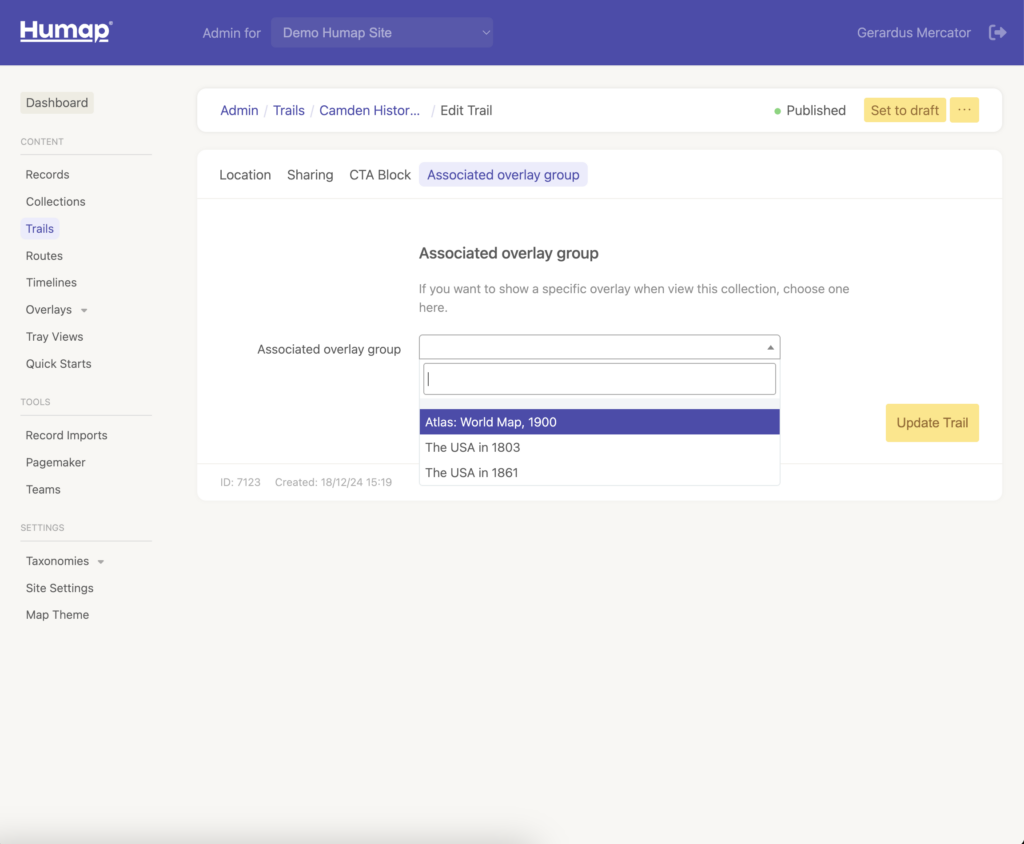
Associating an Overlay Group to a Journey means that it will automatically load in when a user clicks into that Journey. This is great for adding extra context to the Journey and engaging your user.
You will need to have created some Overlays and Overlay Groups before you can associate them to a Journey.
Overlays Wizard – QGIS export & ArcGIS Online guidance


We usually respond in a few hours