🗺️ The Humap Newsletter
Sign up for:
- Unique offers and discounts
- News and updates from the heritage, EdTech, and mapping world
- Spotlighted content from across every Humap instance
Don’t worry – we only send one email a month 😉
Timelines are groups of records organised by date. This feature is usually used to show how a place changed over time, or the journey a person or object took.
To create a timeline, go to a map with the feature enabled and click the +icon on the top right hand side of the information tray.
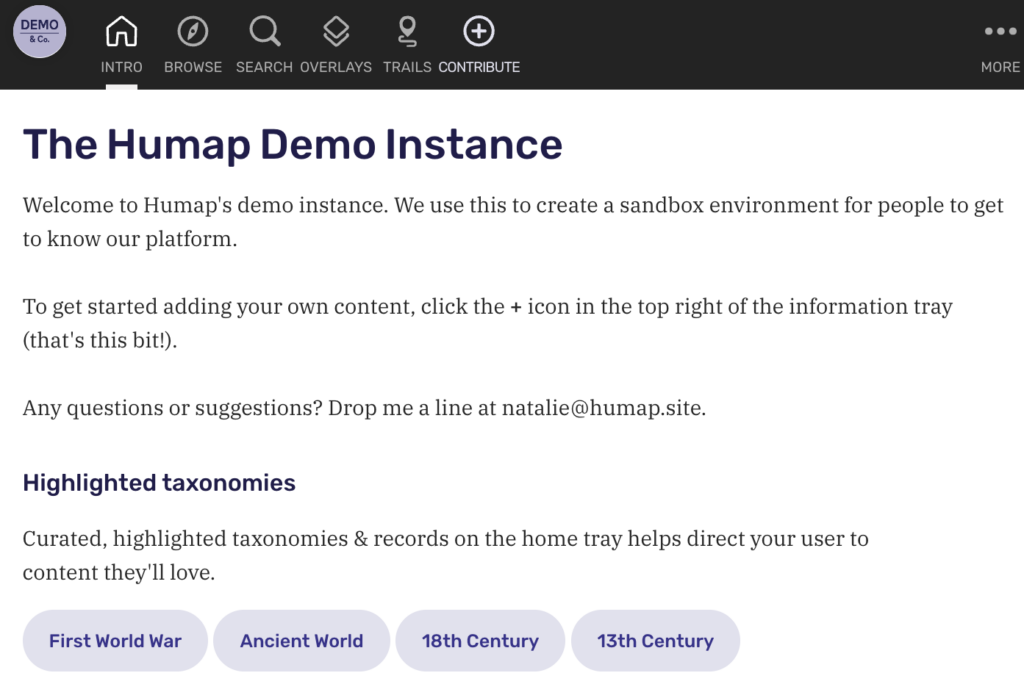
That will take you to this screen:

Click Timeline to enter the timeline creation process, which looks like this:
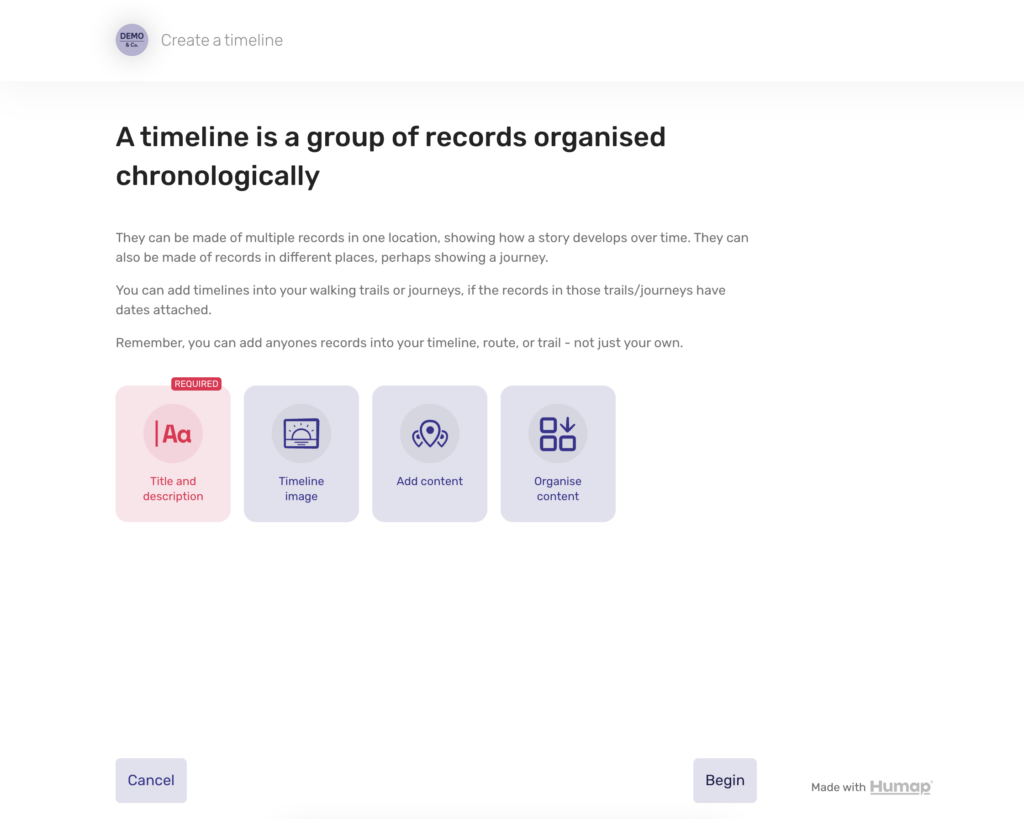
Click Begin to get to the next screen.
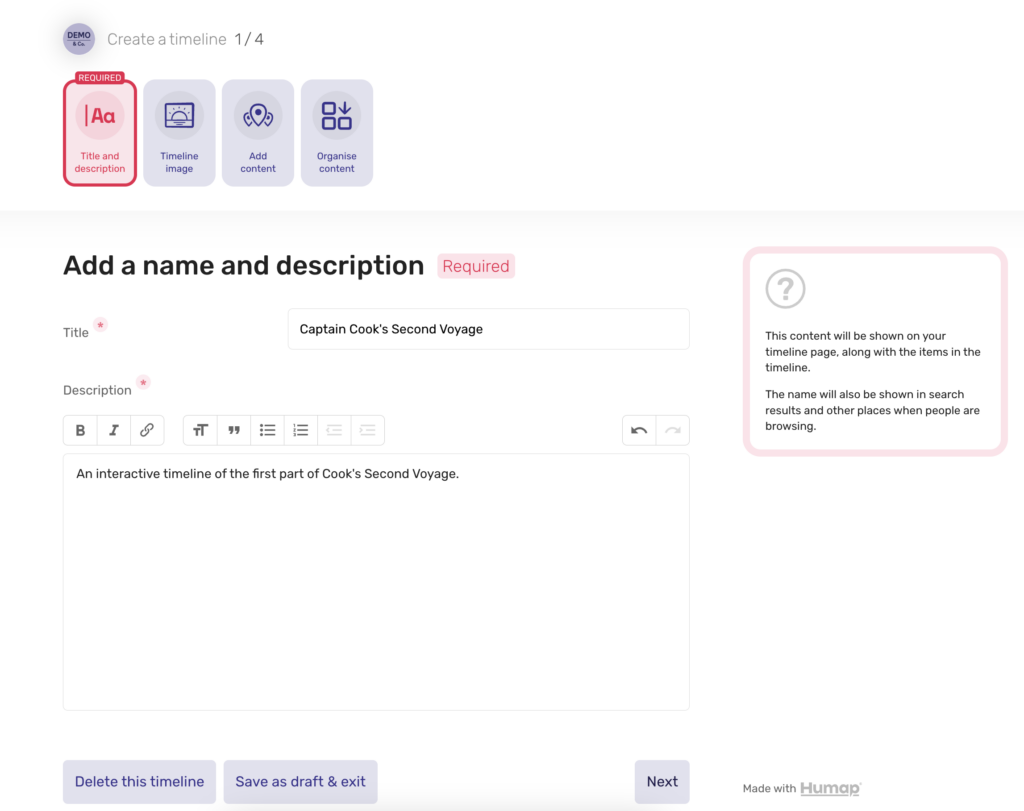
Add a title into the Title text box and a description in the Description box below.
Use the formatting options to make your text pop, and remember to break up long paragraphs.
When you’re done click Next.

To add a cover image either drag and drop an image file into the box or click browse files and select the file you would like to upload.
Click the X in the corner of the uploaded image to delete it.
Click Next when you’re done.
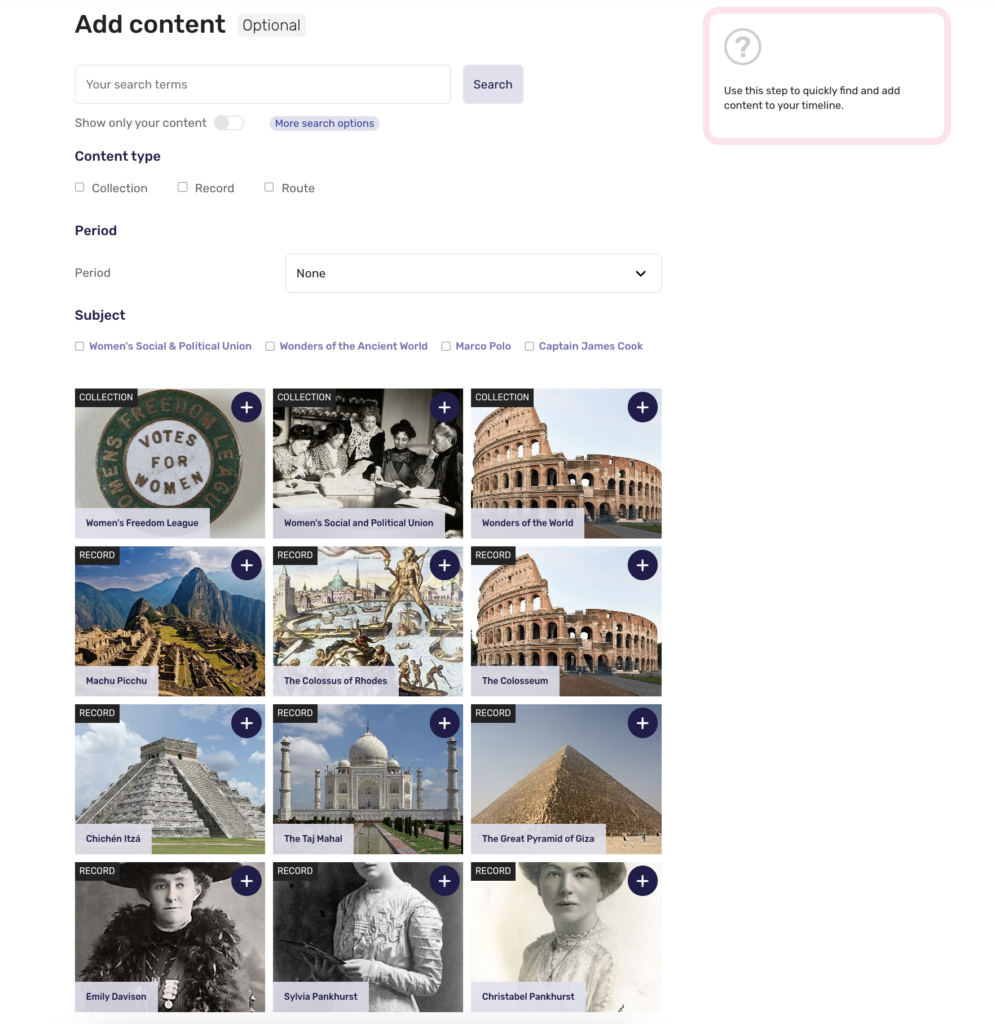
Now it’s time to add content to your timeline. Use the free search bar at the top, the show only your content toggle, and the more search options button to refine your search.
In this example we’re creating a timeline of Cook’s Second Voyage, so we’ll click more search options and then use the Captain James Cook taxonomy term to narrow our search.
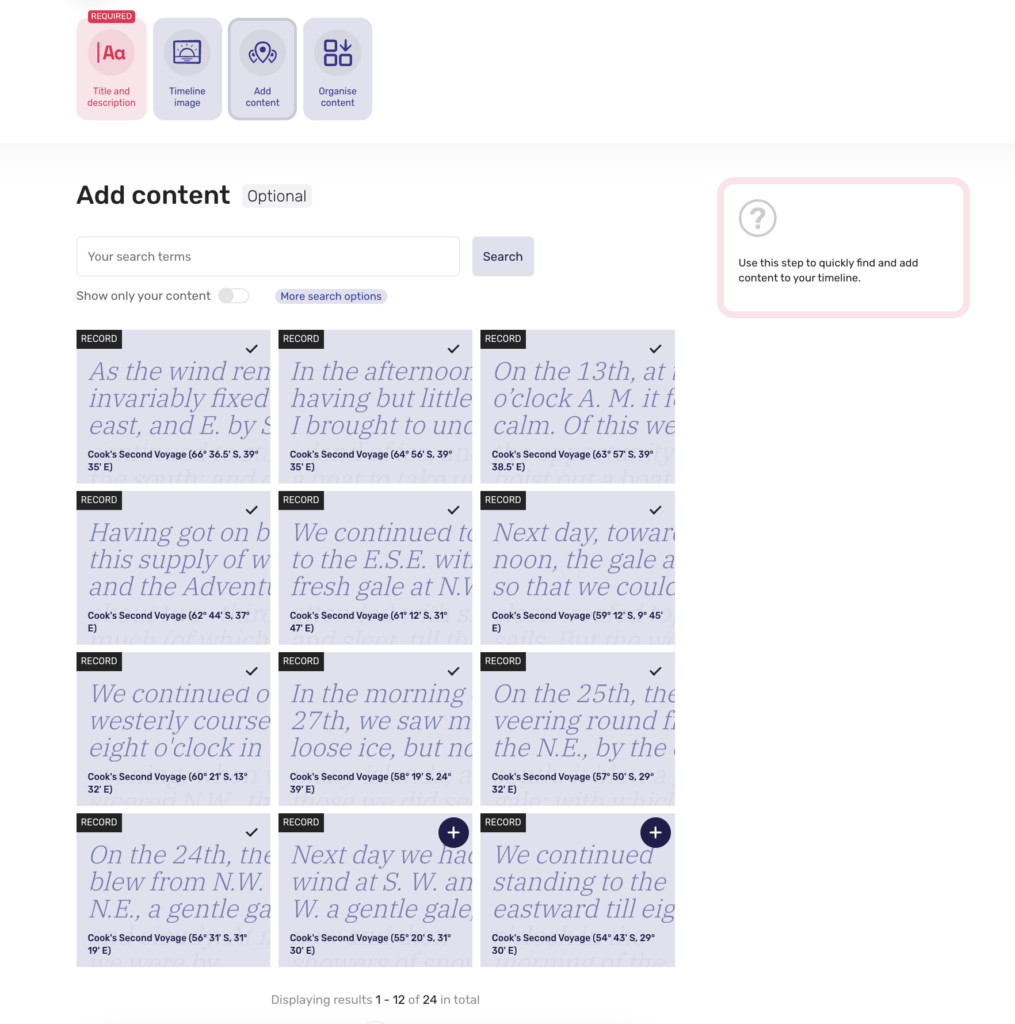
Click the records you would like to add to your timeline. Don’t worry about the order they’re in, we’ll order them on the next page.
When you’re done click Next.
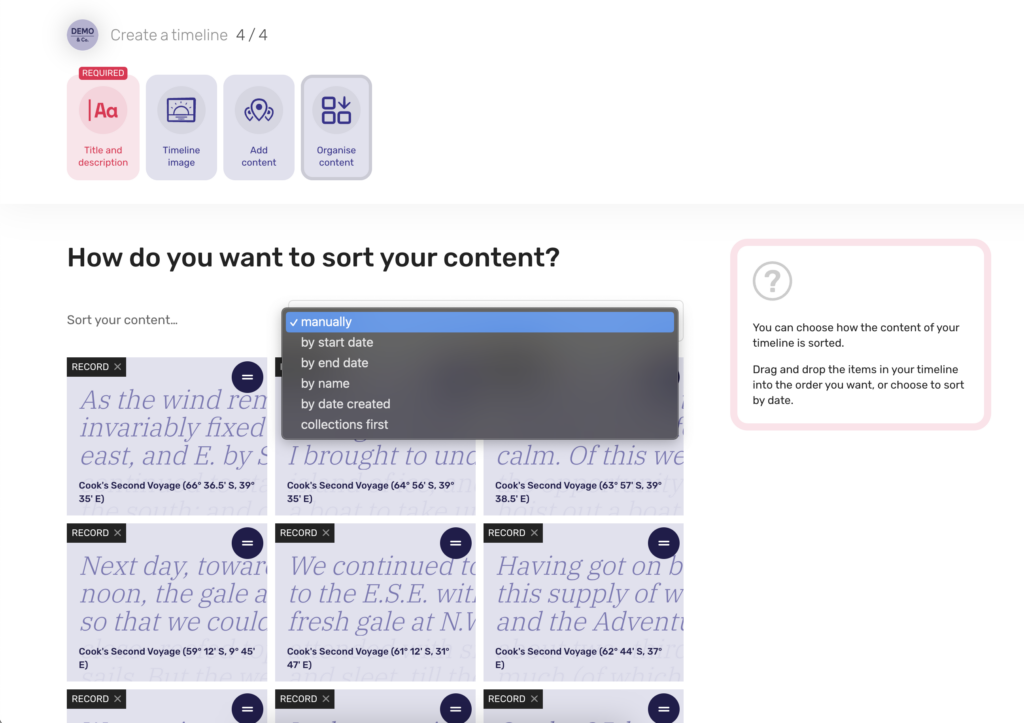
Use the sort your content drop down menu to decide how you would like to order your timeline.
If you organise the timeline manually, drag and drop the records into the appropriate order starting from the top left and going through row by row.
When you’re done click Next,
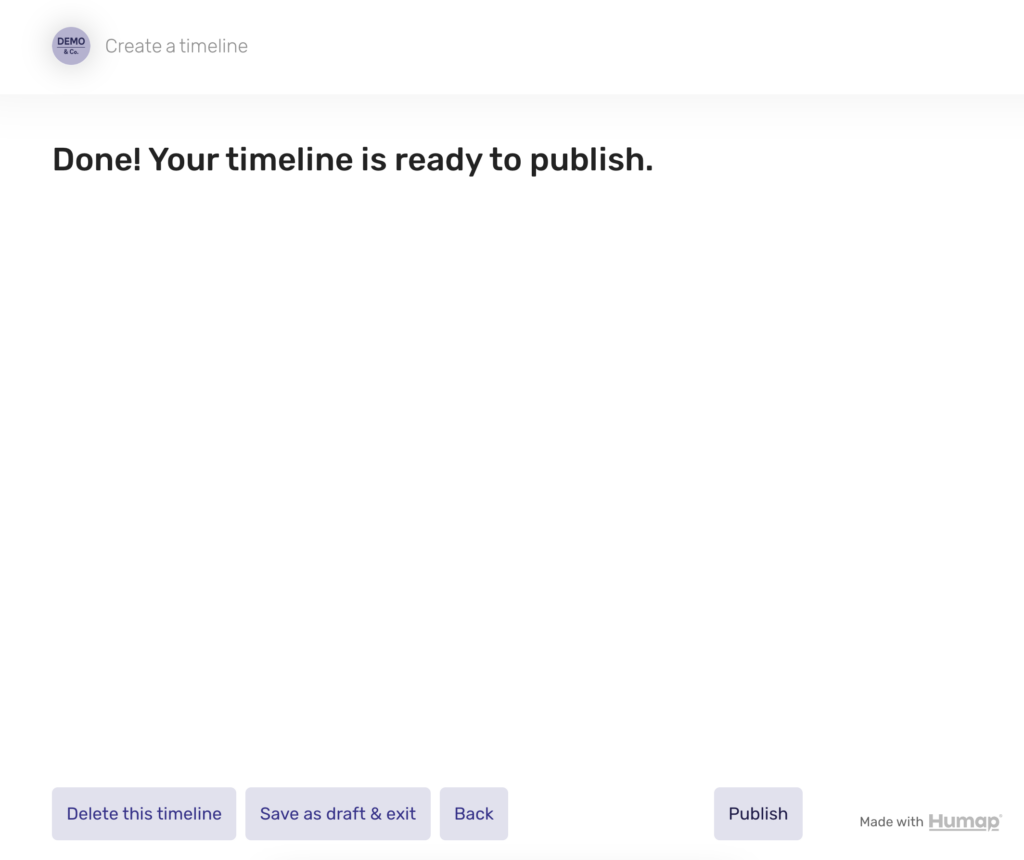
From this screen you can either delete this timeline, save a draft and exist, go back, or publish.
Once published, you can edit or unpublish the timeline at will.
When you’re happy with the timeline click Publish.
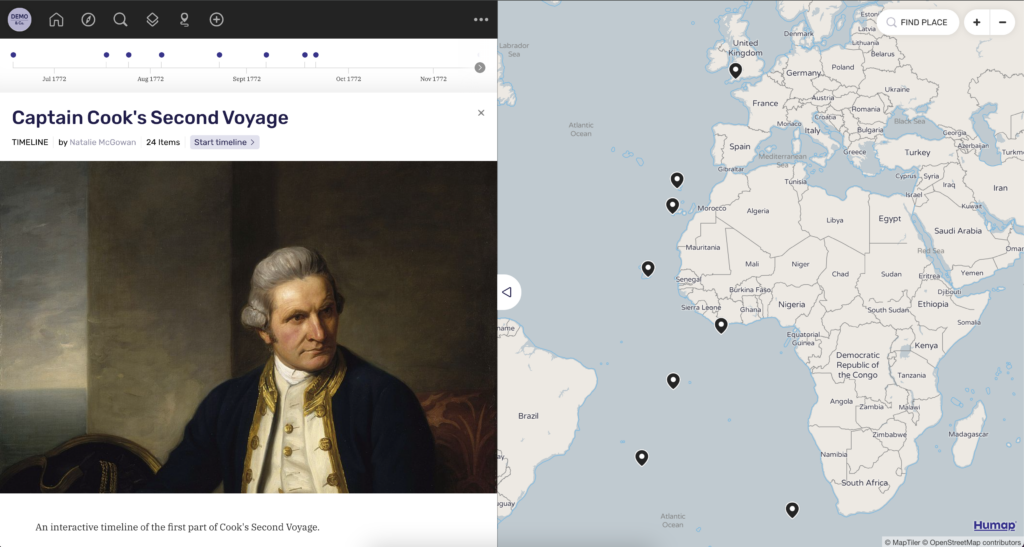
and voilà, you have a finished timeline!


We usually respond in a few hours