Skip to content

Using Humap

Creating Walking Trails

What are Walking Trails?

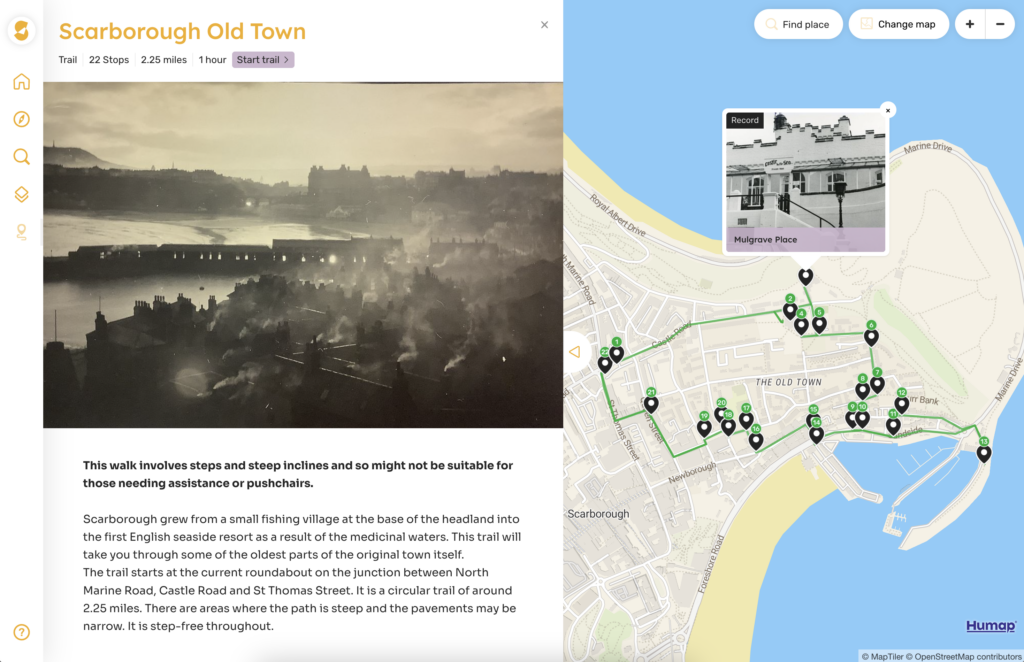
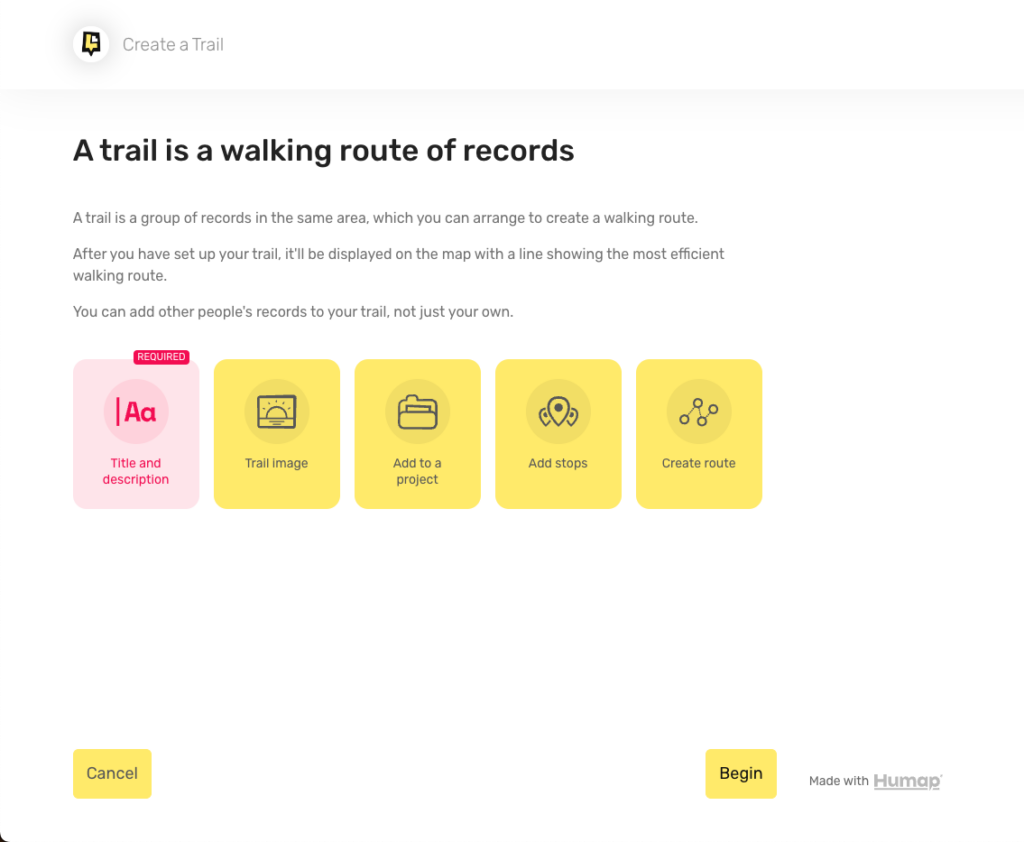
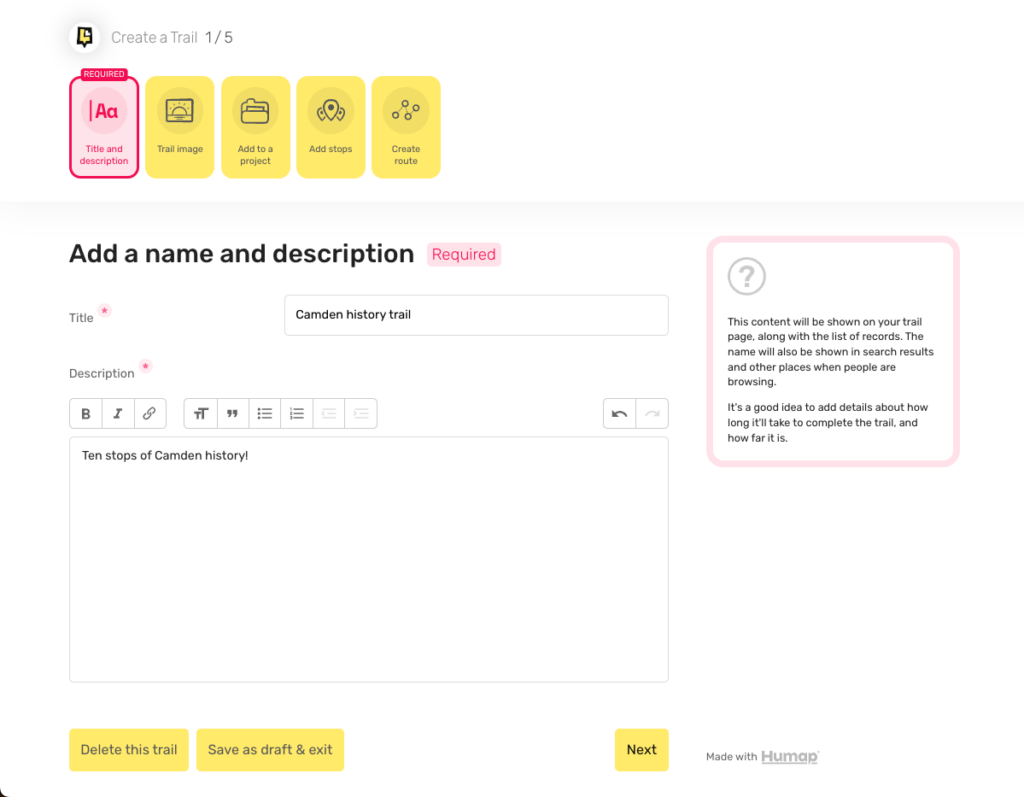
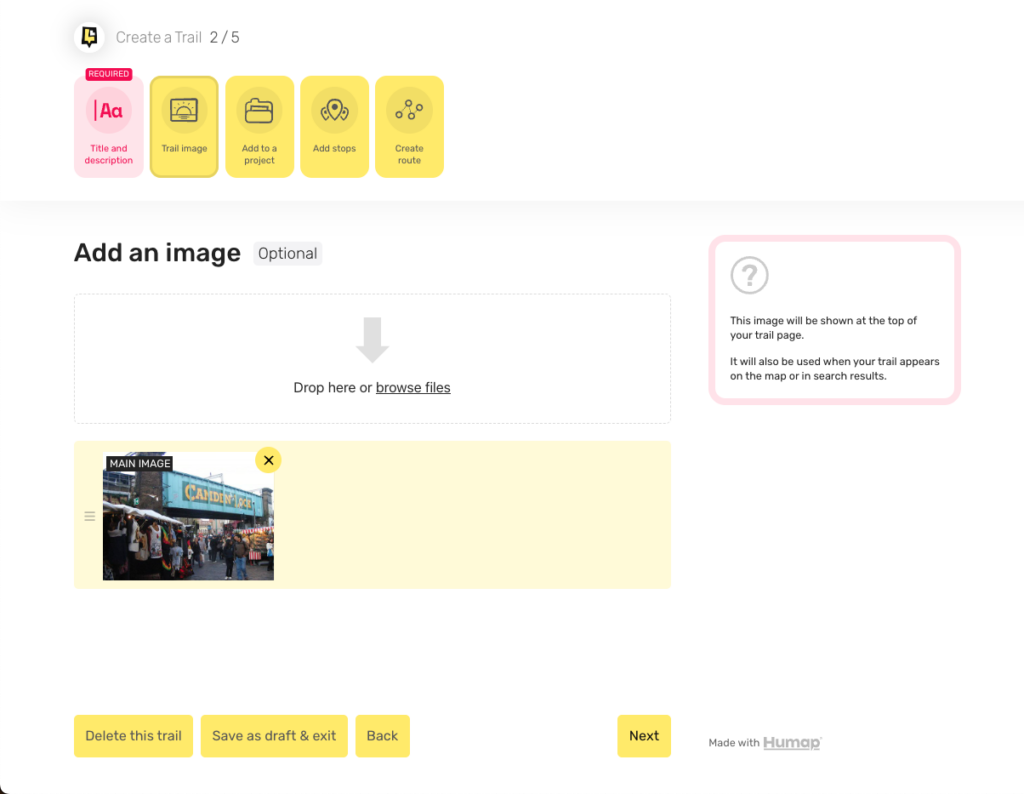
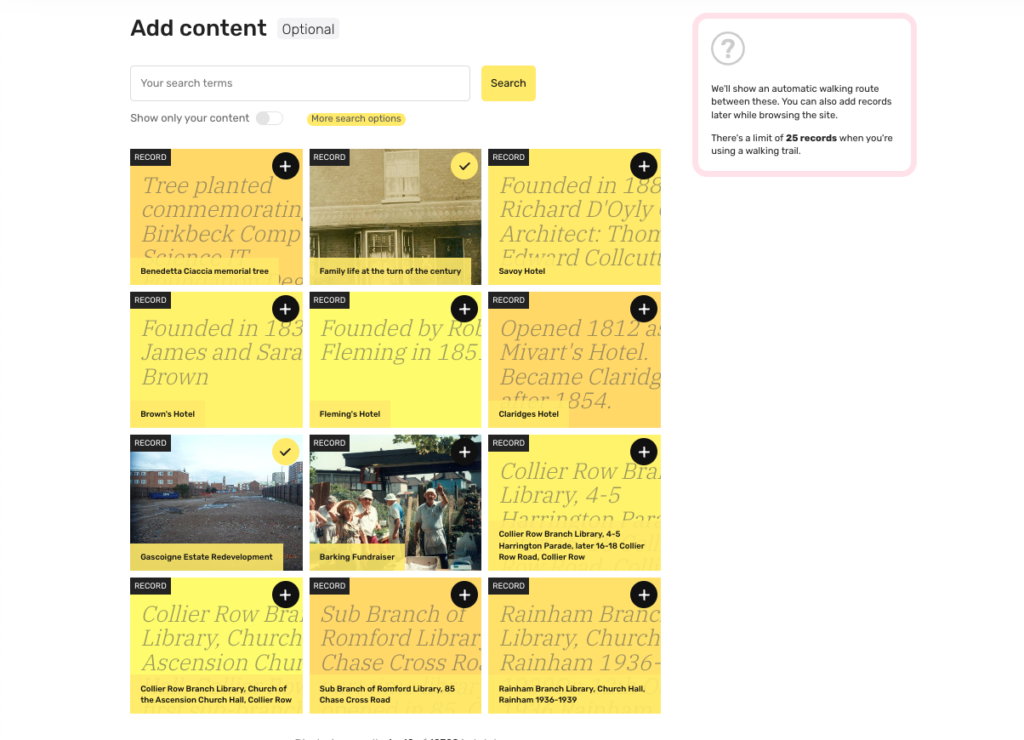
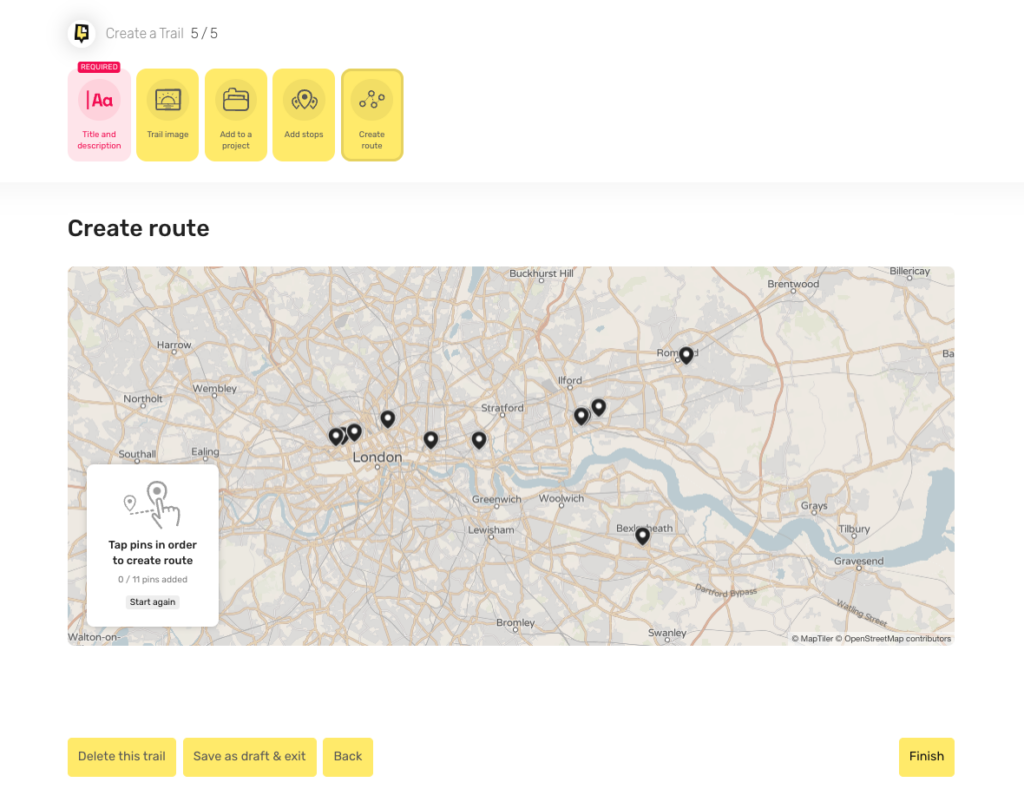
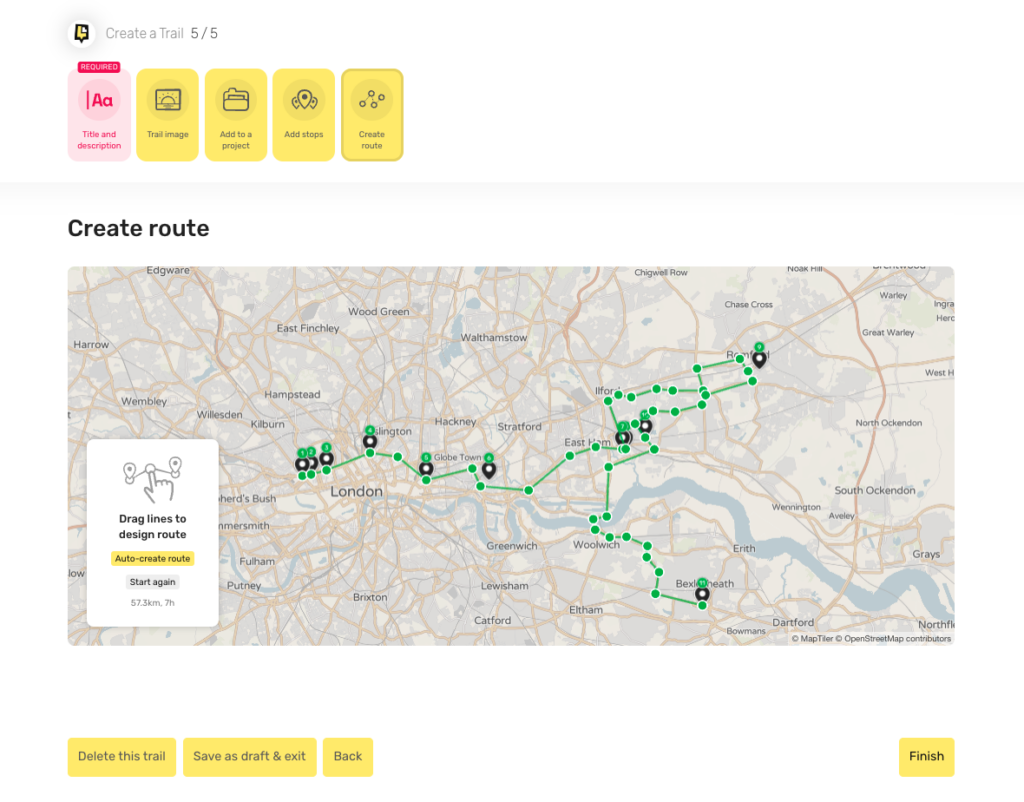
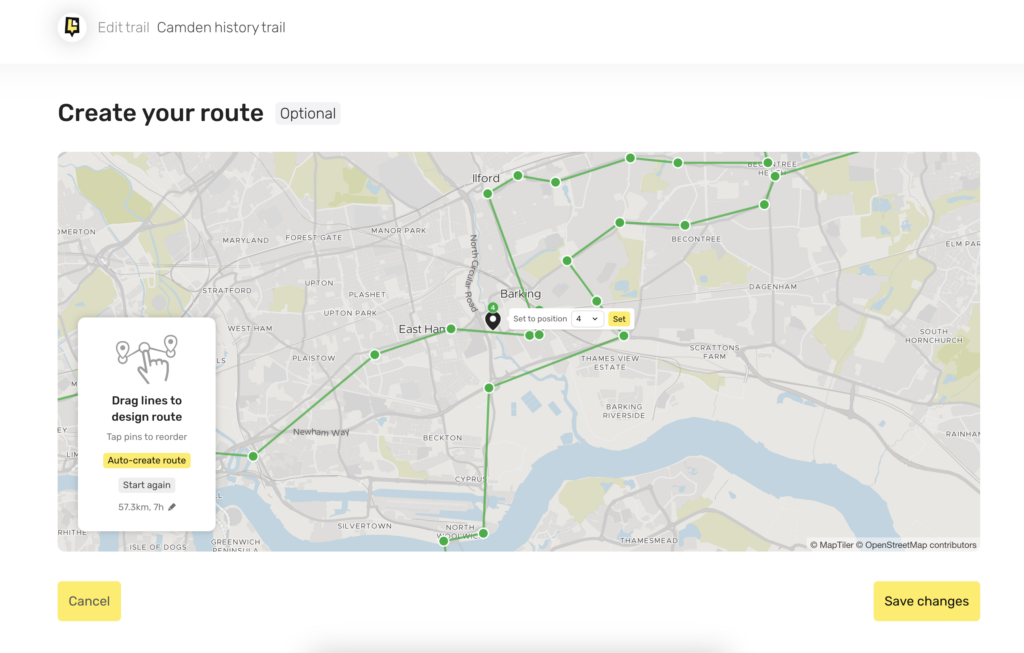
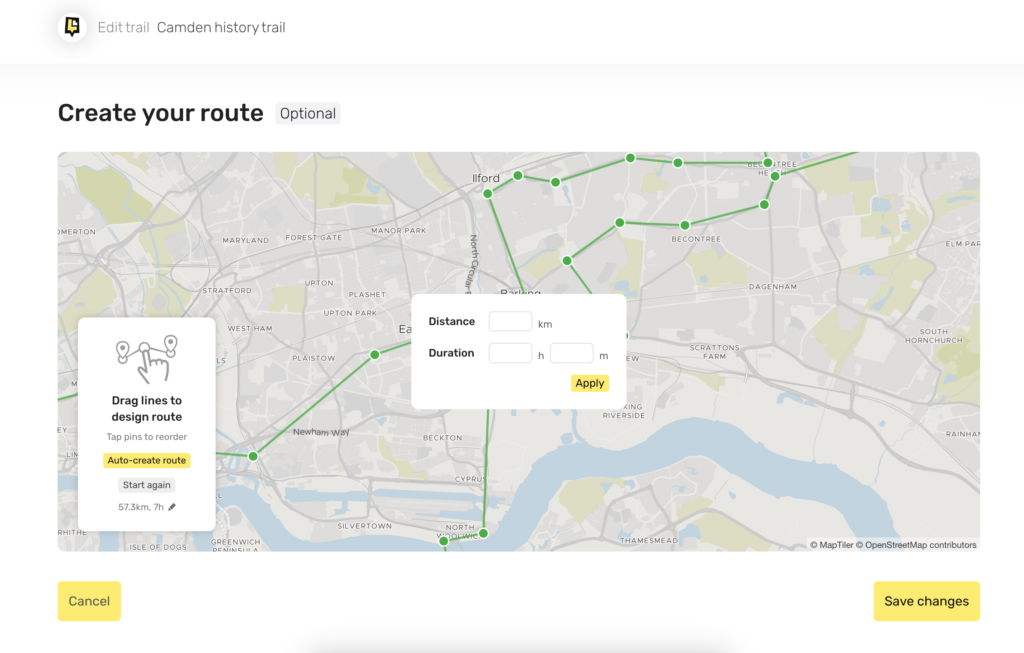
Trails are collections of content items that are in walking distance of one another. They can be used to tell the story of a local community, a historical person, or to show off the local architecture – anything, really!
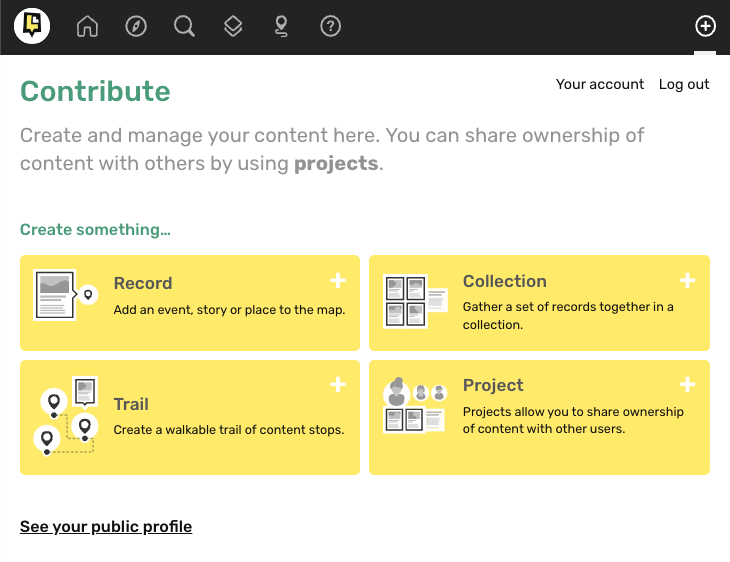
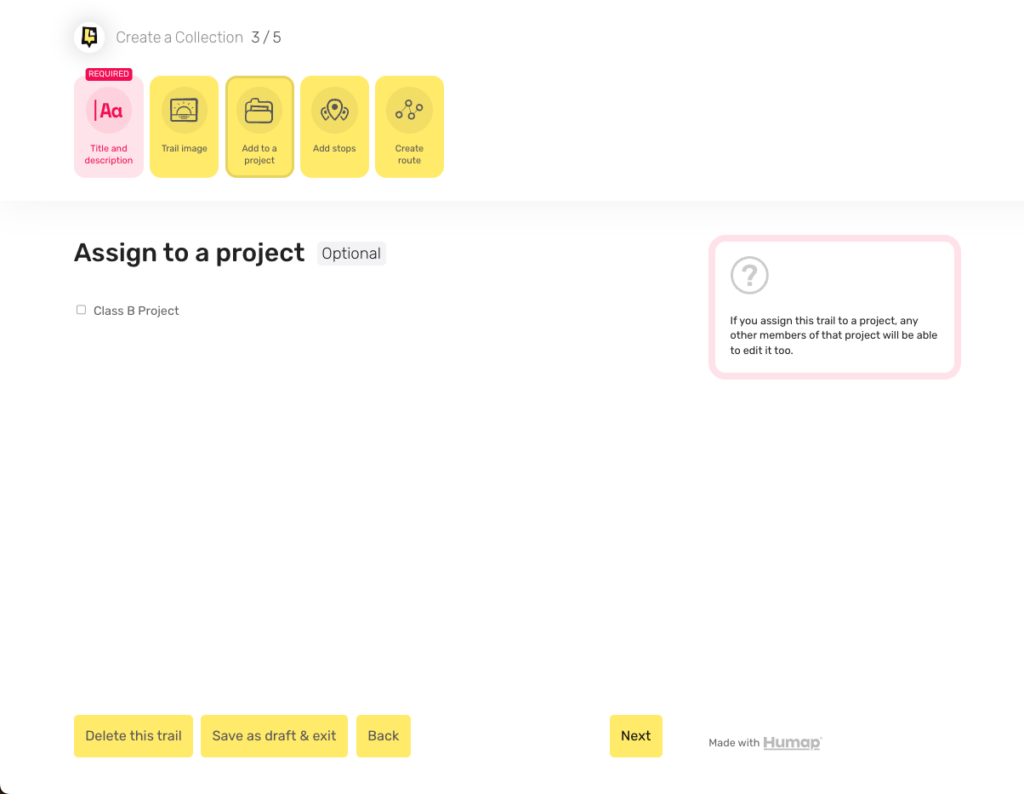
Trails can contain RecordsOverlays, TimelinesJourneys, Collections and even other Trails. Before you can create a Trail, you’ll at least need some Records.

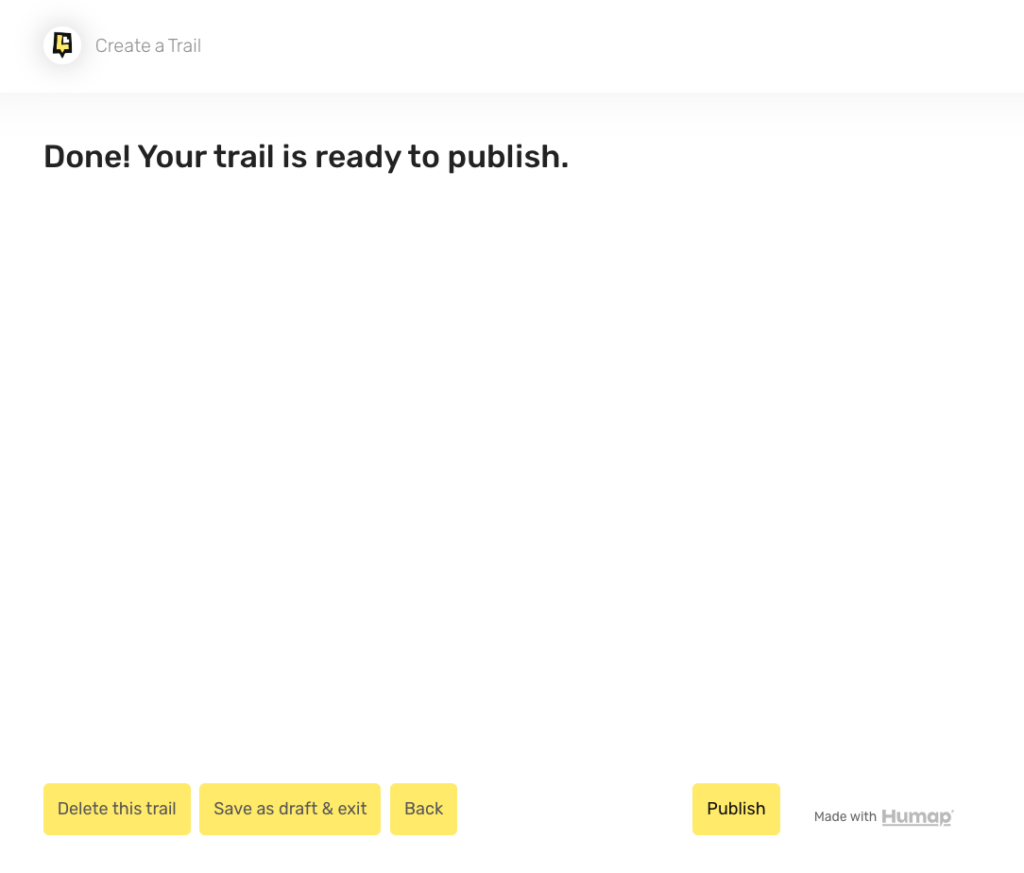
Published Trails look like this:

A screenshot of the Scarborough Old Town Trail

Examples:

Resources:

Creating and managing Trails via the Contribute system

  • Go to the home page of the Humap instance you’d like to contribute to and click Explore the Map. 

A screenshot of the Layers of London homepage

  • From the map home page, click the plus icon in the top right corner of the information tray
  • If you’re not logged in, log in now
  • If public signups are enabled, you can create an account
  • If signups are not enabled, you’ll need an invitation from the project owner to contribute

The map homescreen

  • That will take you to the contribution home screen

A screenshot of the contribute menu on Layers of London. Users can choose between records, collections trails, and projects

  • Click Trail to get to this welcome screen:

Introduction

A screenshot of the welcoming page for the trails wizard

  • Click Begin to get to the next screen.

Add a name and description

A screenshot demonstrating how to add a title and description to a trail

  • Add a title into the Title text box and a description in the Description box below.
  • Use the formatting options to make your text pop, and remember to break up long paragraphs.
  • When you’re done click Next. 

Add an image

A screenshot demonstrating how to add a cover image to your walking trail

  • To add a cover image either drag and drop an image file into the box or click browse files and select the file you would like to upload.
  • Click the in the corner of the uploaded image to delete it.
  • Click Next when you’re done.

Assign to a Team

A screenshot dedicating how to assign your walking trail to a project

  • If you are a member of any Teams, you can add this Trail to that Team here by ticking the box and clicking Next.
    • Teams let you share ownership of content with other users – if you assign a piece of content to a team, anyone in that team will be able to edit it.

Add content

A screenshot demonstrating how to add content to the trail

  • Now it’s time to add content to your Trail. Use the free search bar at the top, the show only your content toggle, and the more search options button to refine your search.
  • Click on an item to add it to the Trail. You can decide on the order of content in the Trail on the next screen.
  • Click Next when you’ve added all of the items you want into the Trail.

Create route

A screenshot demonstrating how to create the trail route

  • On this screen you can put the content items in your Trail in order by clicking them.
  • Once their in order, green lines will appear linking each item. To manually order the route, click the green line and drag it into position.
  • Alternatively you can click Auto-create route to generate your Trail.

A screenshot demonstrating how to create the trail route

  • Click Finish to get to this screen.

Final step

The end of the trails wizard

  • If you’re ready to publish your Trail, click Publish.

Send a message

How can we help?

We usually respond in a few hours