Skip to content

Using Humap

Creating Journeys (formerly Routes)

What are Journeys?

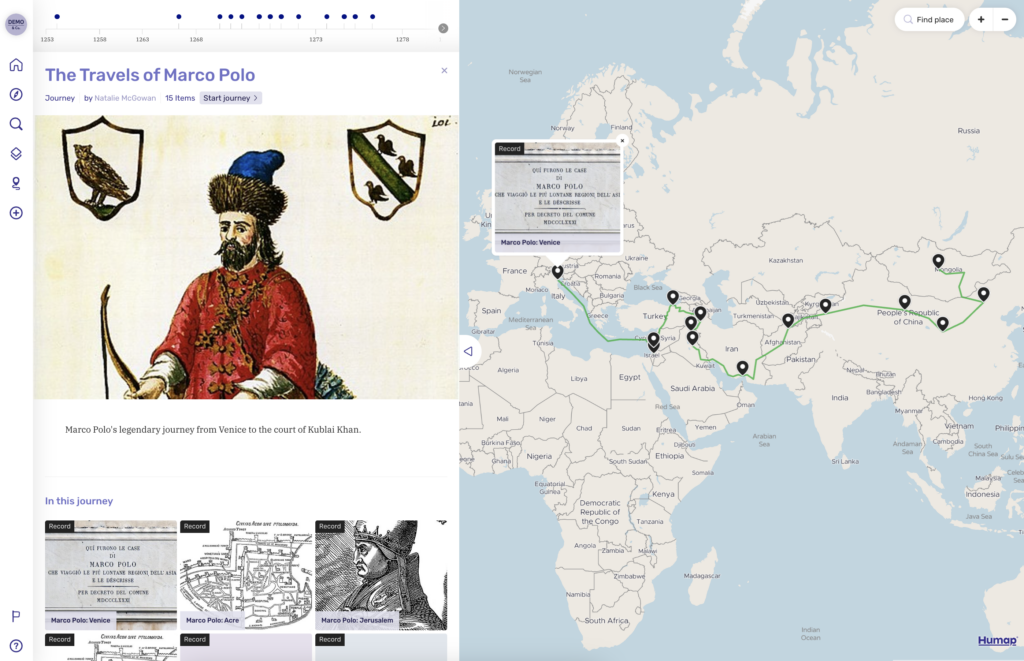
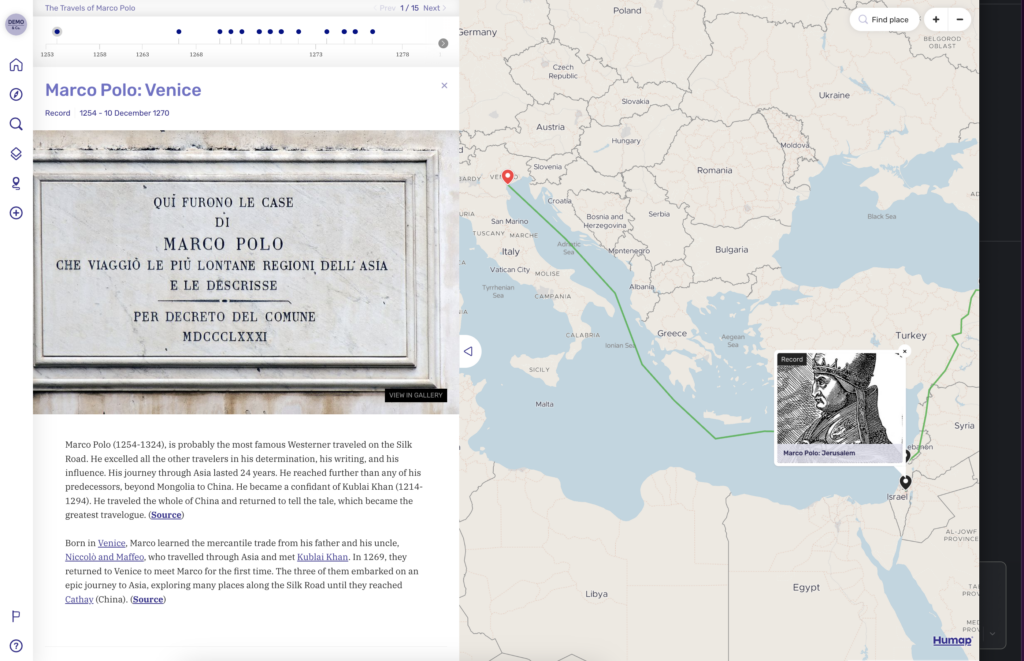
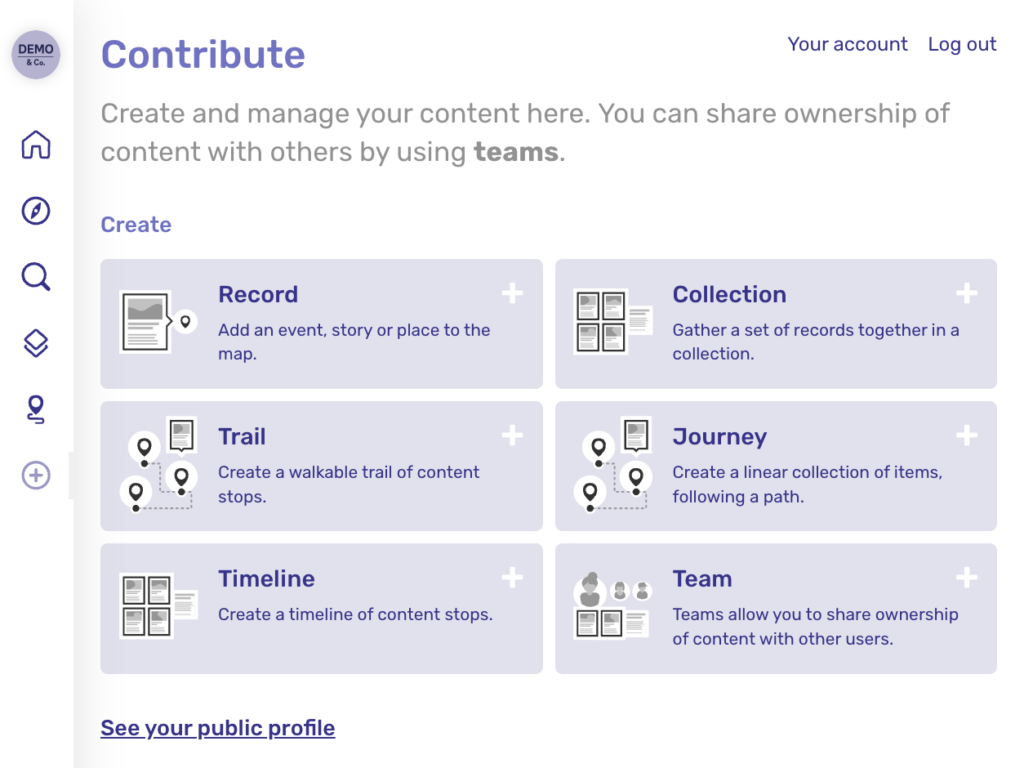
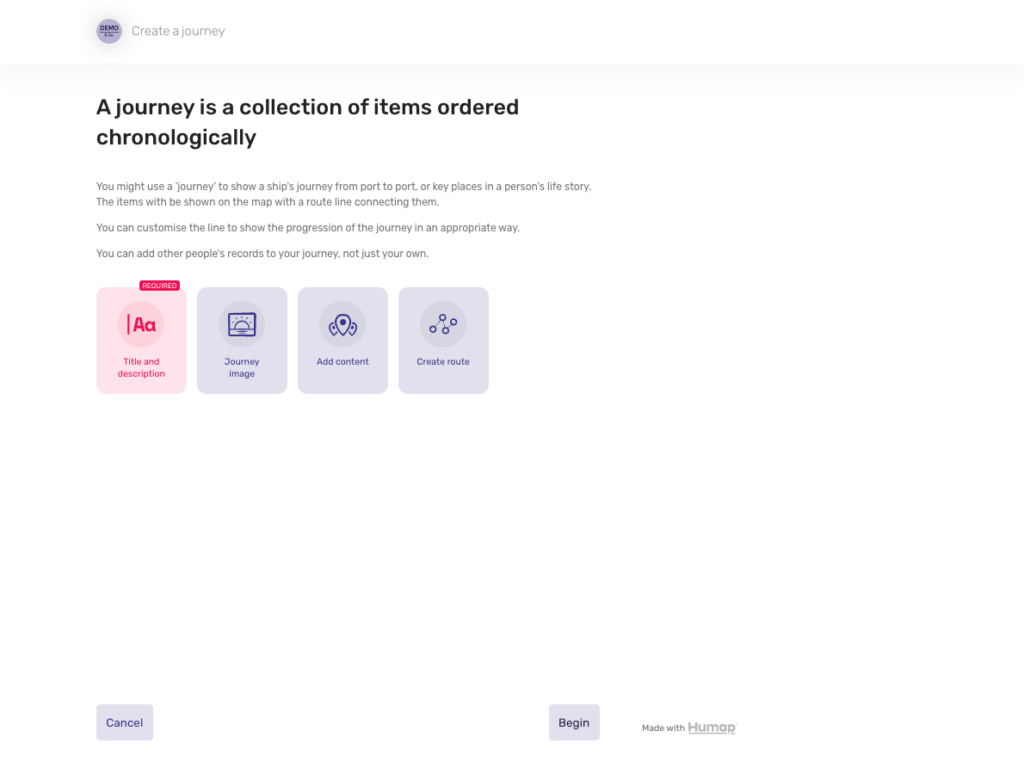
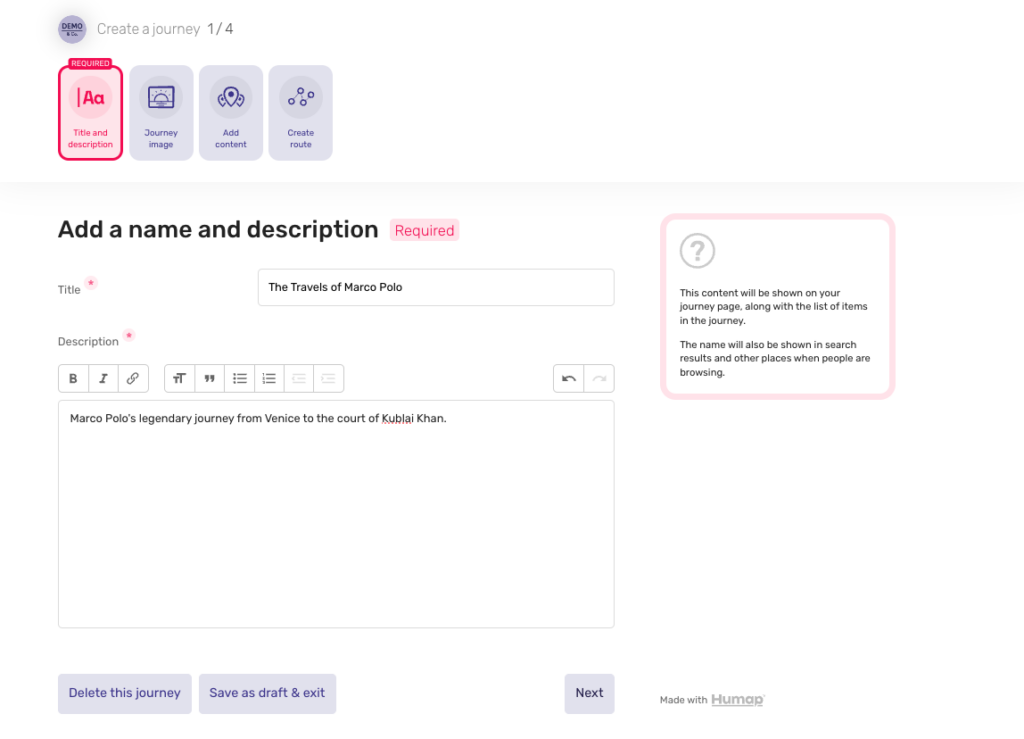
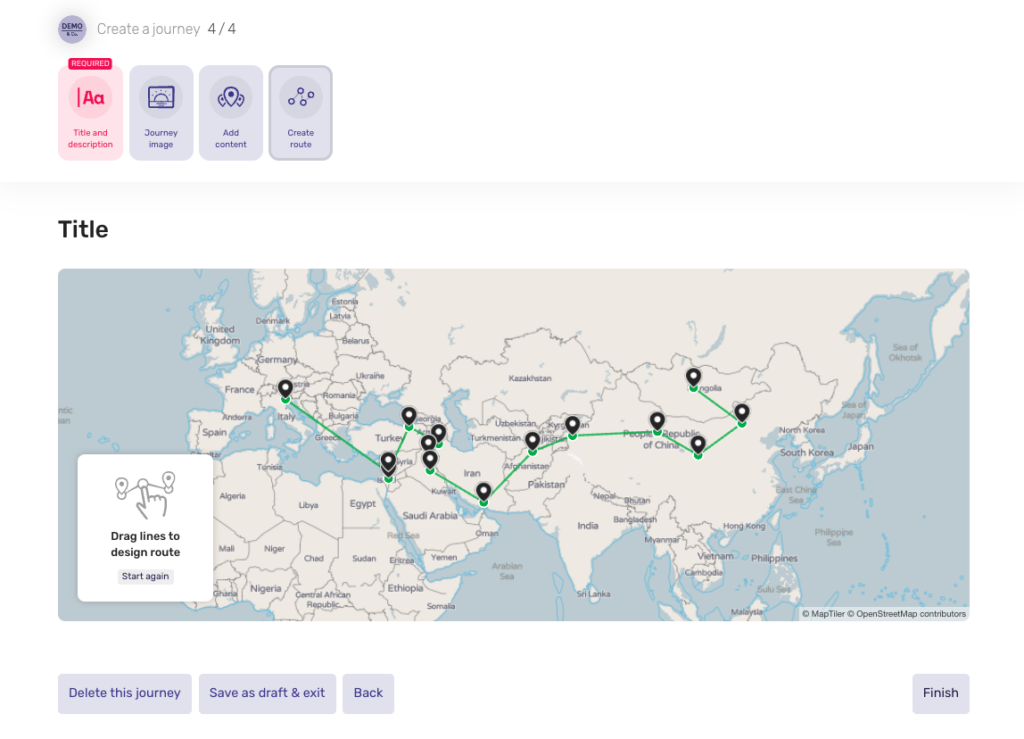
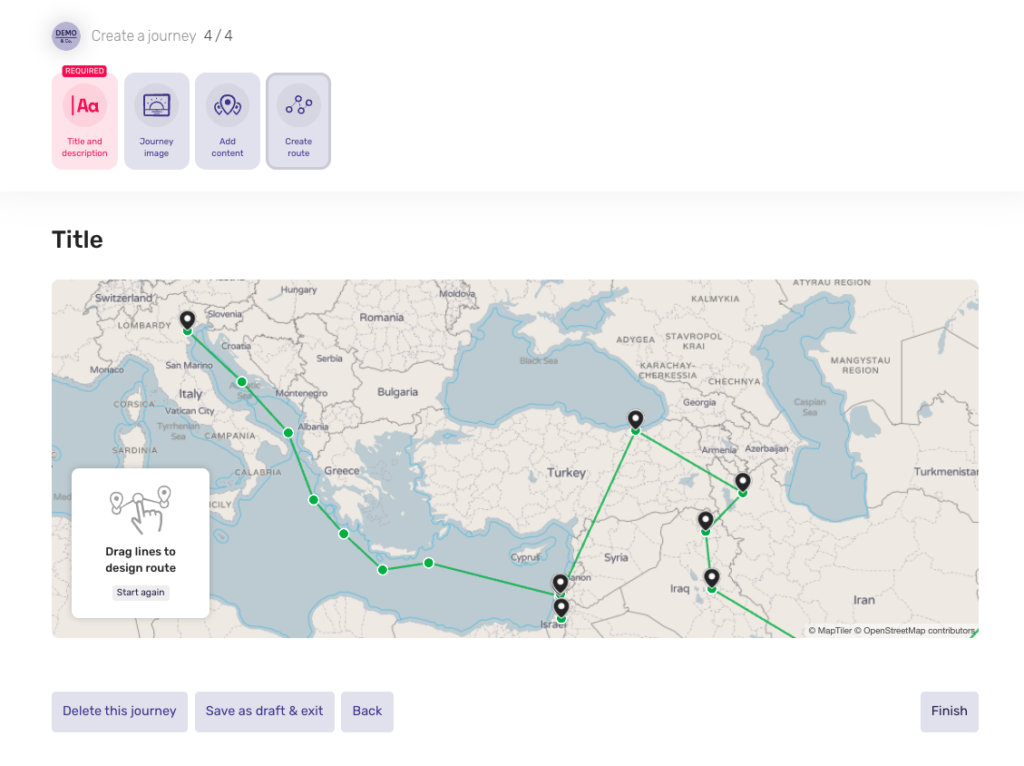
Journeys, formerly known as Routes, tell stories that took place over a series of locations. These could be the narratives of voyages, emigration, adventure – anything, really!

Journeys can be combined with Timelines to tell a story that makes use of spatial and temporal elements.
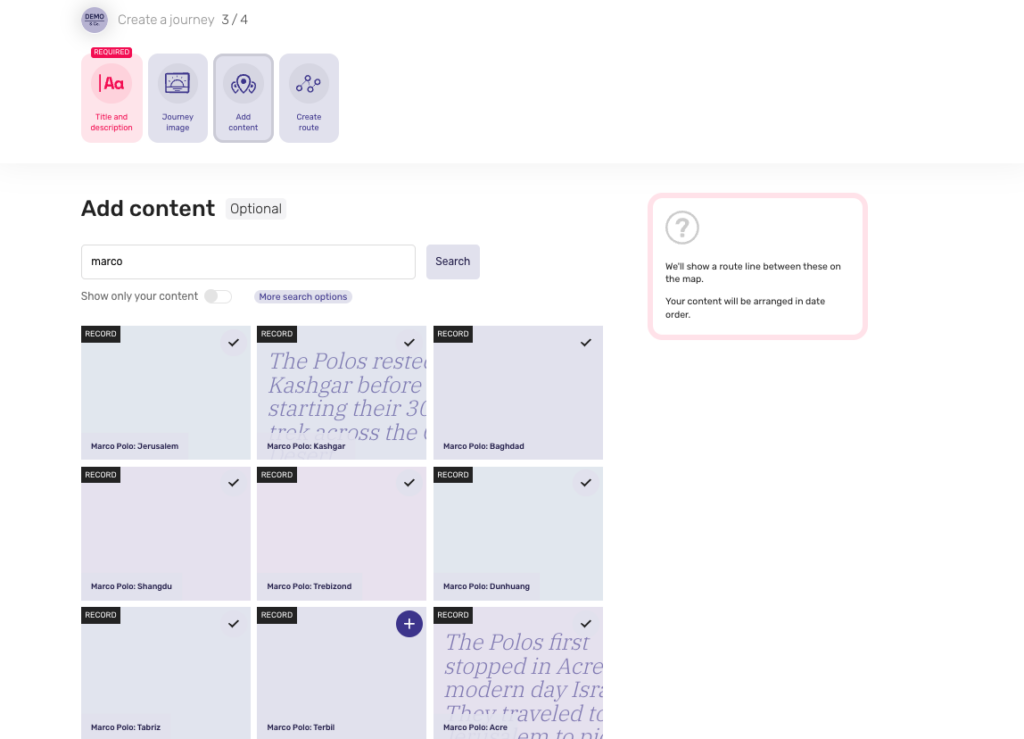
Journeys can contain RecordsOverlays, TrailsTimelines, Collections and even other Journeys.

Before you can create a Journey, you’ll at least need some Records.

They look like this:

A screenshot of an example Journey showing the travels of Marco Polo

A screenshot of an example Journey showing the travels of Marco Polo

Examples:

  • Wilhelm Pollak on the Refugee Map. This Journey also uses a Timeline.

Resources:

Logging in

Go to the home page of the Humap instance you’d like to contribute to and click Explore the Map

A screenshot of the Layers of London homepage

  • From the map home page, click the plus icon in the top right corner of the information tray
  • If you’re not logged in, log in now
  • If public signups are enabled, you can create an account
  • If signups are not enabled, you’ll need an invitation from the project owner to contribute

A screenshot demonstrating where to find the Contribute button on Humap

  • You will be taken to the Contribution home screen

Creating and managing Journeys via the Contribute system

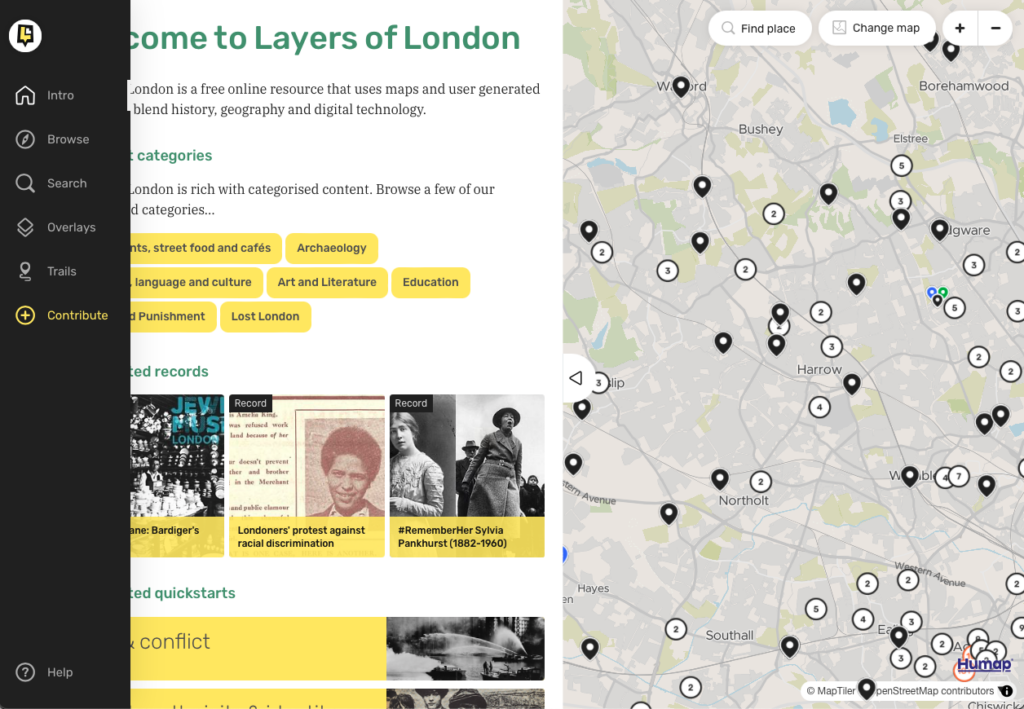
Different maps will have different types of content available to create.

A screenshot of the example Contribute dashboard

  • Click Journey

Introductory page

A screenshot of the first step of the journey creation process

  • You are now on an introductory page. When you’ve read it, click Begin
    • At any point in this process you can save a draft and exit, return to the previous screen, or delete your record

Add a name and description

  • Name your Journey in the Title text box and add a description in the box below. This will appear on the preview page for your Journey
  • Use the text formatting options to make text pop, and don’t forget to include paragraph breaks if you’re using a lot of text!
  • Click Next to move on

Add a cover image

A screenshot demonstrating how to Upload an image

  • Drag and drop an image file into the box, or click browse files to select an image from your computer
  • Click Next to start adding content to your Journey

Add content

A screenshot demonstrating how to Select content for your journey

  •  Use the search bar to find the items you want to add, or click “more search options” to look at pre-existing categories, such as location or topic
  • You can also choose to search for content that you have uploaded, by clicking the “show only your content” switch
  • For more specific subtopics, click the downwards arrow and select the subtopic you wish to find content about
  • Items will be ordered according to date
  • Click Next when you’re done

Draw a route line

A screenshot demonstrating the autogenerated route

  • A route will autogenerate between the content pins in direct, straight lines.

A screenshot demonstrating how to move the route line

  • You can then click and drag the line in order to customise the route

Final step

  • and there we go! From this screen you can either delete this Journey, save as draft and exit, go back, or publish the Journey

Send a message

How can we help?

We usually respond in a few hours