Records
What are records?
Most of the content on Humap comes in the form of records. These can be single pieces of a larger story, about an event, person, place – the only limit is imagination.
Records can also be organised into collections, trails, journeys, and timelines.
If you are planning on using taxonomies and taxonomy terms for your project, we recommend making them before you start creating records. This means you can tag the record with the appropriate terms as you go so you don’t need to come back and tag it later.
Published records will look something like this:

This tutorial is available in video and text/image.
Examples:
- Bomb Damage, Paternoster Square, 1941 on Layers of London
- The Coronation of George V on Coventry Atlas
- Mosey Hill on Scarborough Atlas
Resources:
Creating and managing Records
- Log in to your Humap website.
- Access the records dashboard by clicking records in the menu on the left side of the screen.
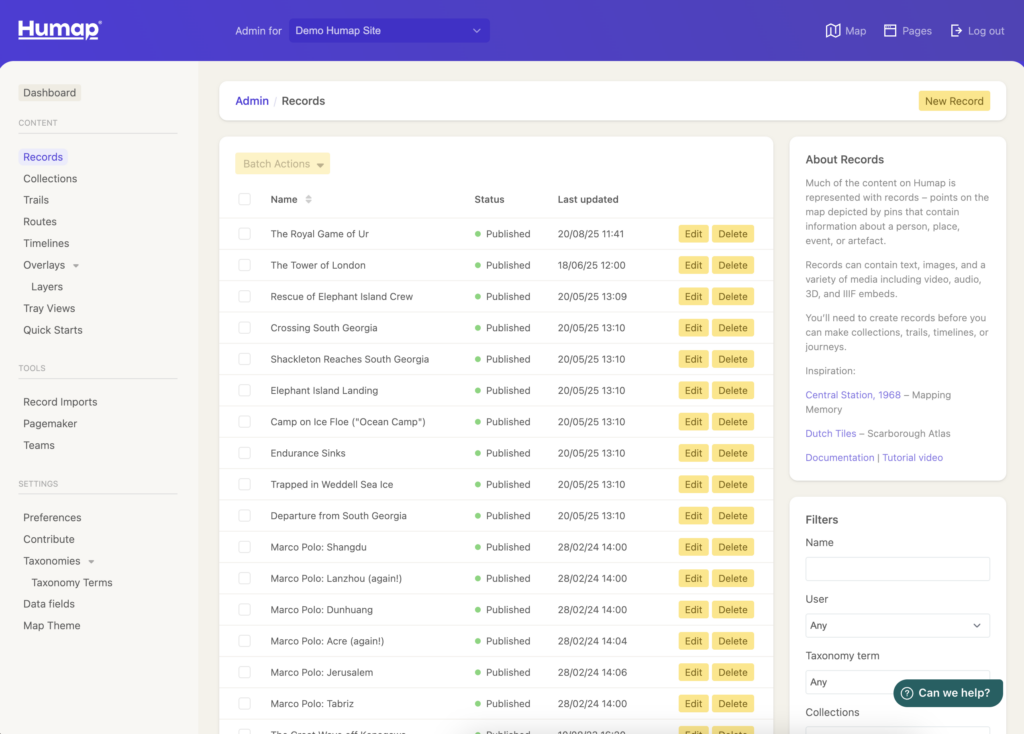
- Click New Record.
- You can save and exit this process at any time, and your record won’t be added to the map until you press Publish. You can also edit or Unpublish the record at any time.
- You do not need to create your record in the order we have laid out here, and you do not need to fill out every field.
Basic content
The basic building blocks of your record.
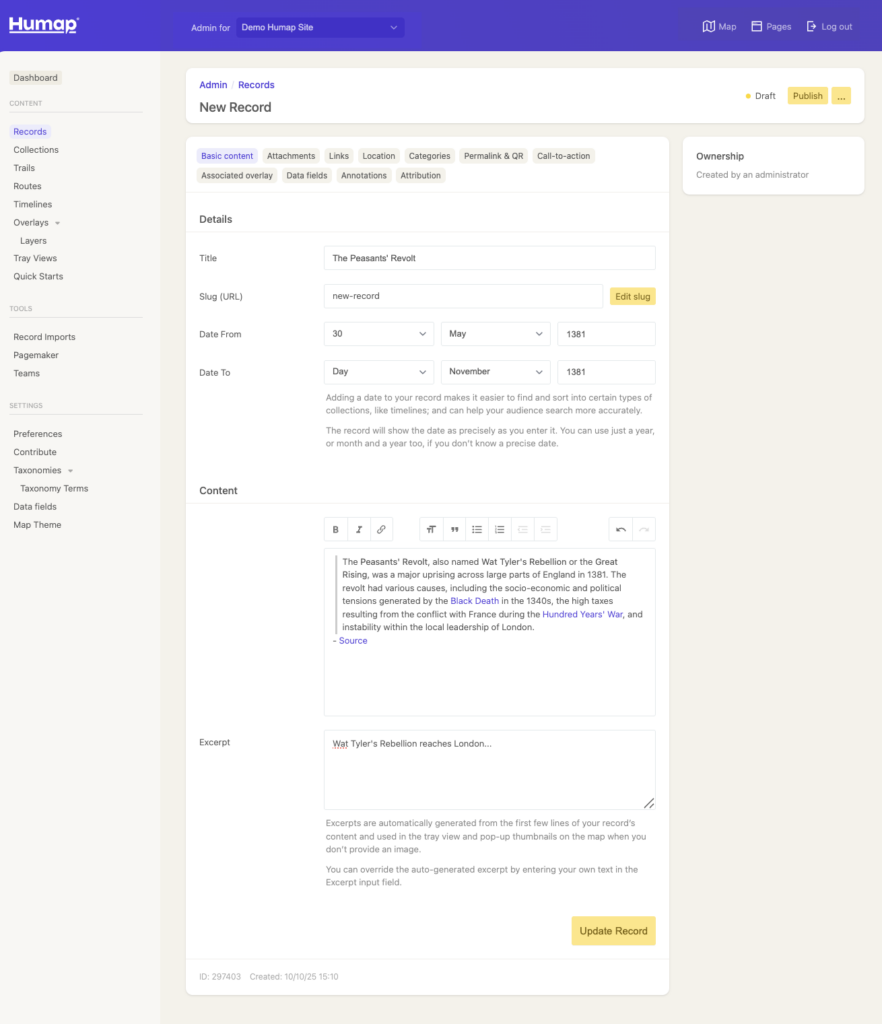
- Add your record title into the Title text box. The slug (URL) will auto-generated based on your title and you can change it after the record has been created.
- Use the Date To and Date From fields to add dates. These are not compulsory but make your record findable via the date searching tool and are useful for Timelines.
- The Content text box will be the body of your record. Use the formatting options in the toolbar to make your text pop, and remember to use frequent paragraph breaks if the record is text-heavy.
- The Excerpt will show on the preview of your record and on search engine results. If you leave it blank we will use the first few lines of text in the content field.
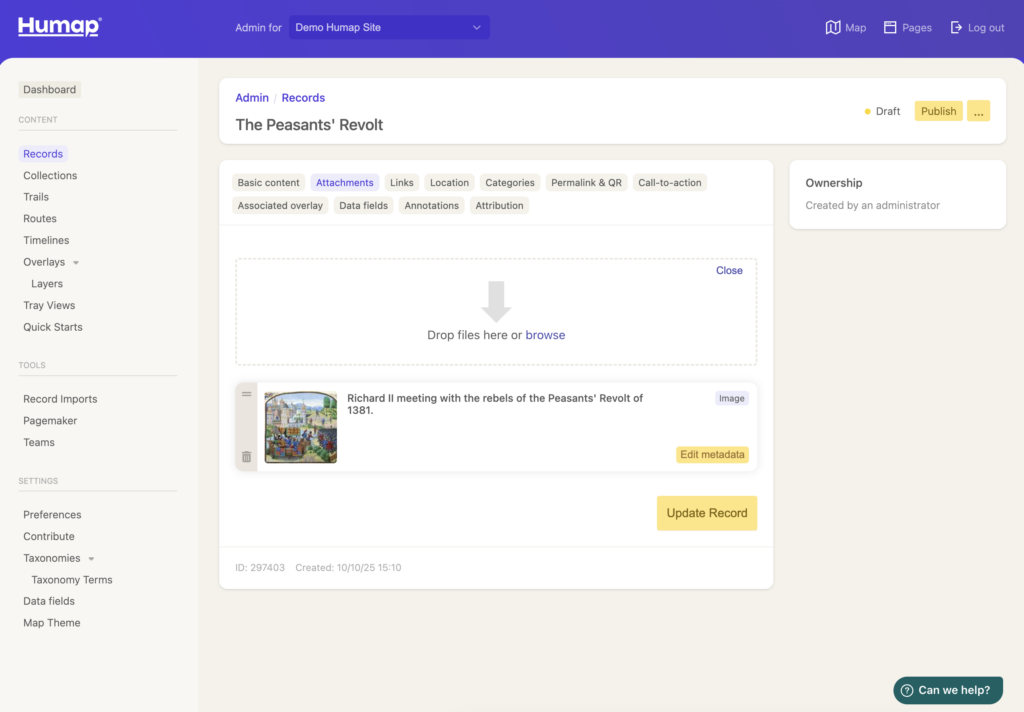
Attachments
This is where you can add media to your record.
We don’t host video or audio, but we can port in video/audio content from YouTube, Vimeo, Soundcloud, and Figshare.
We can also embed content from Sketchfab and IIIF manifests.
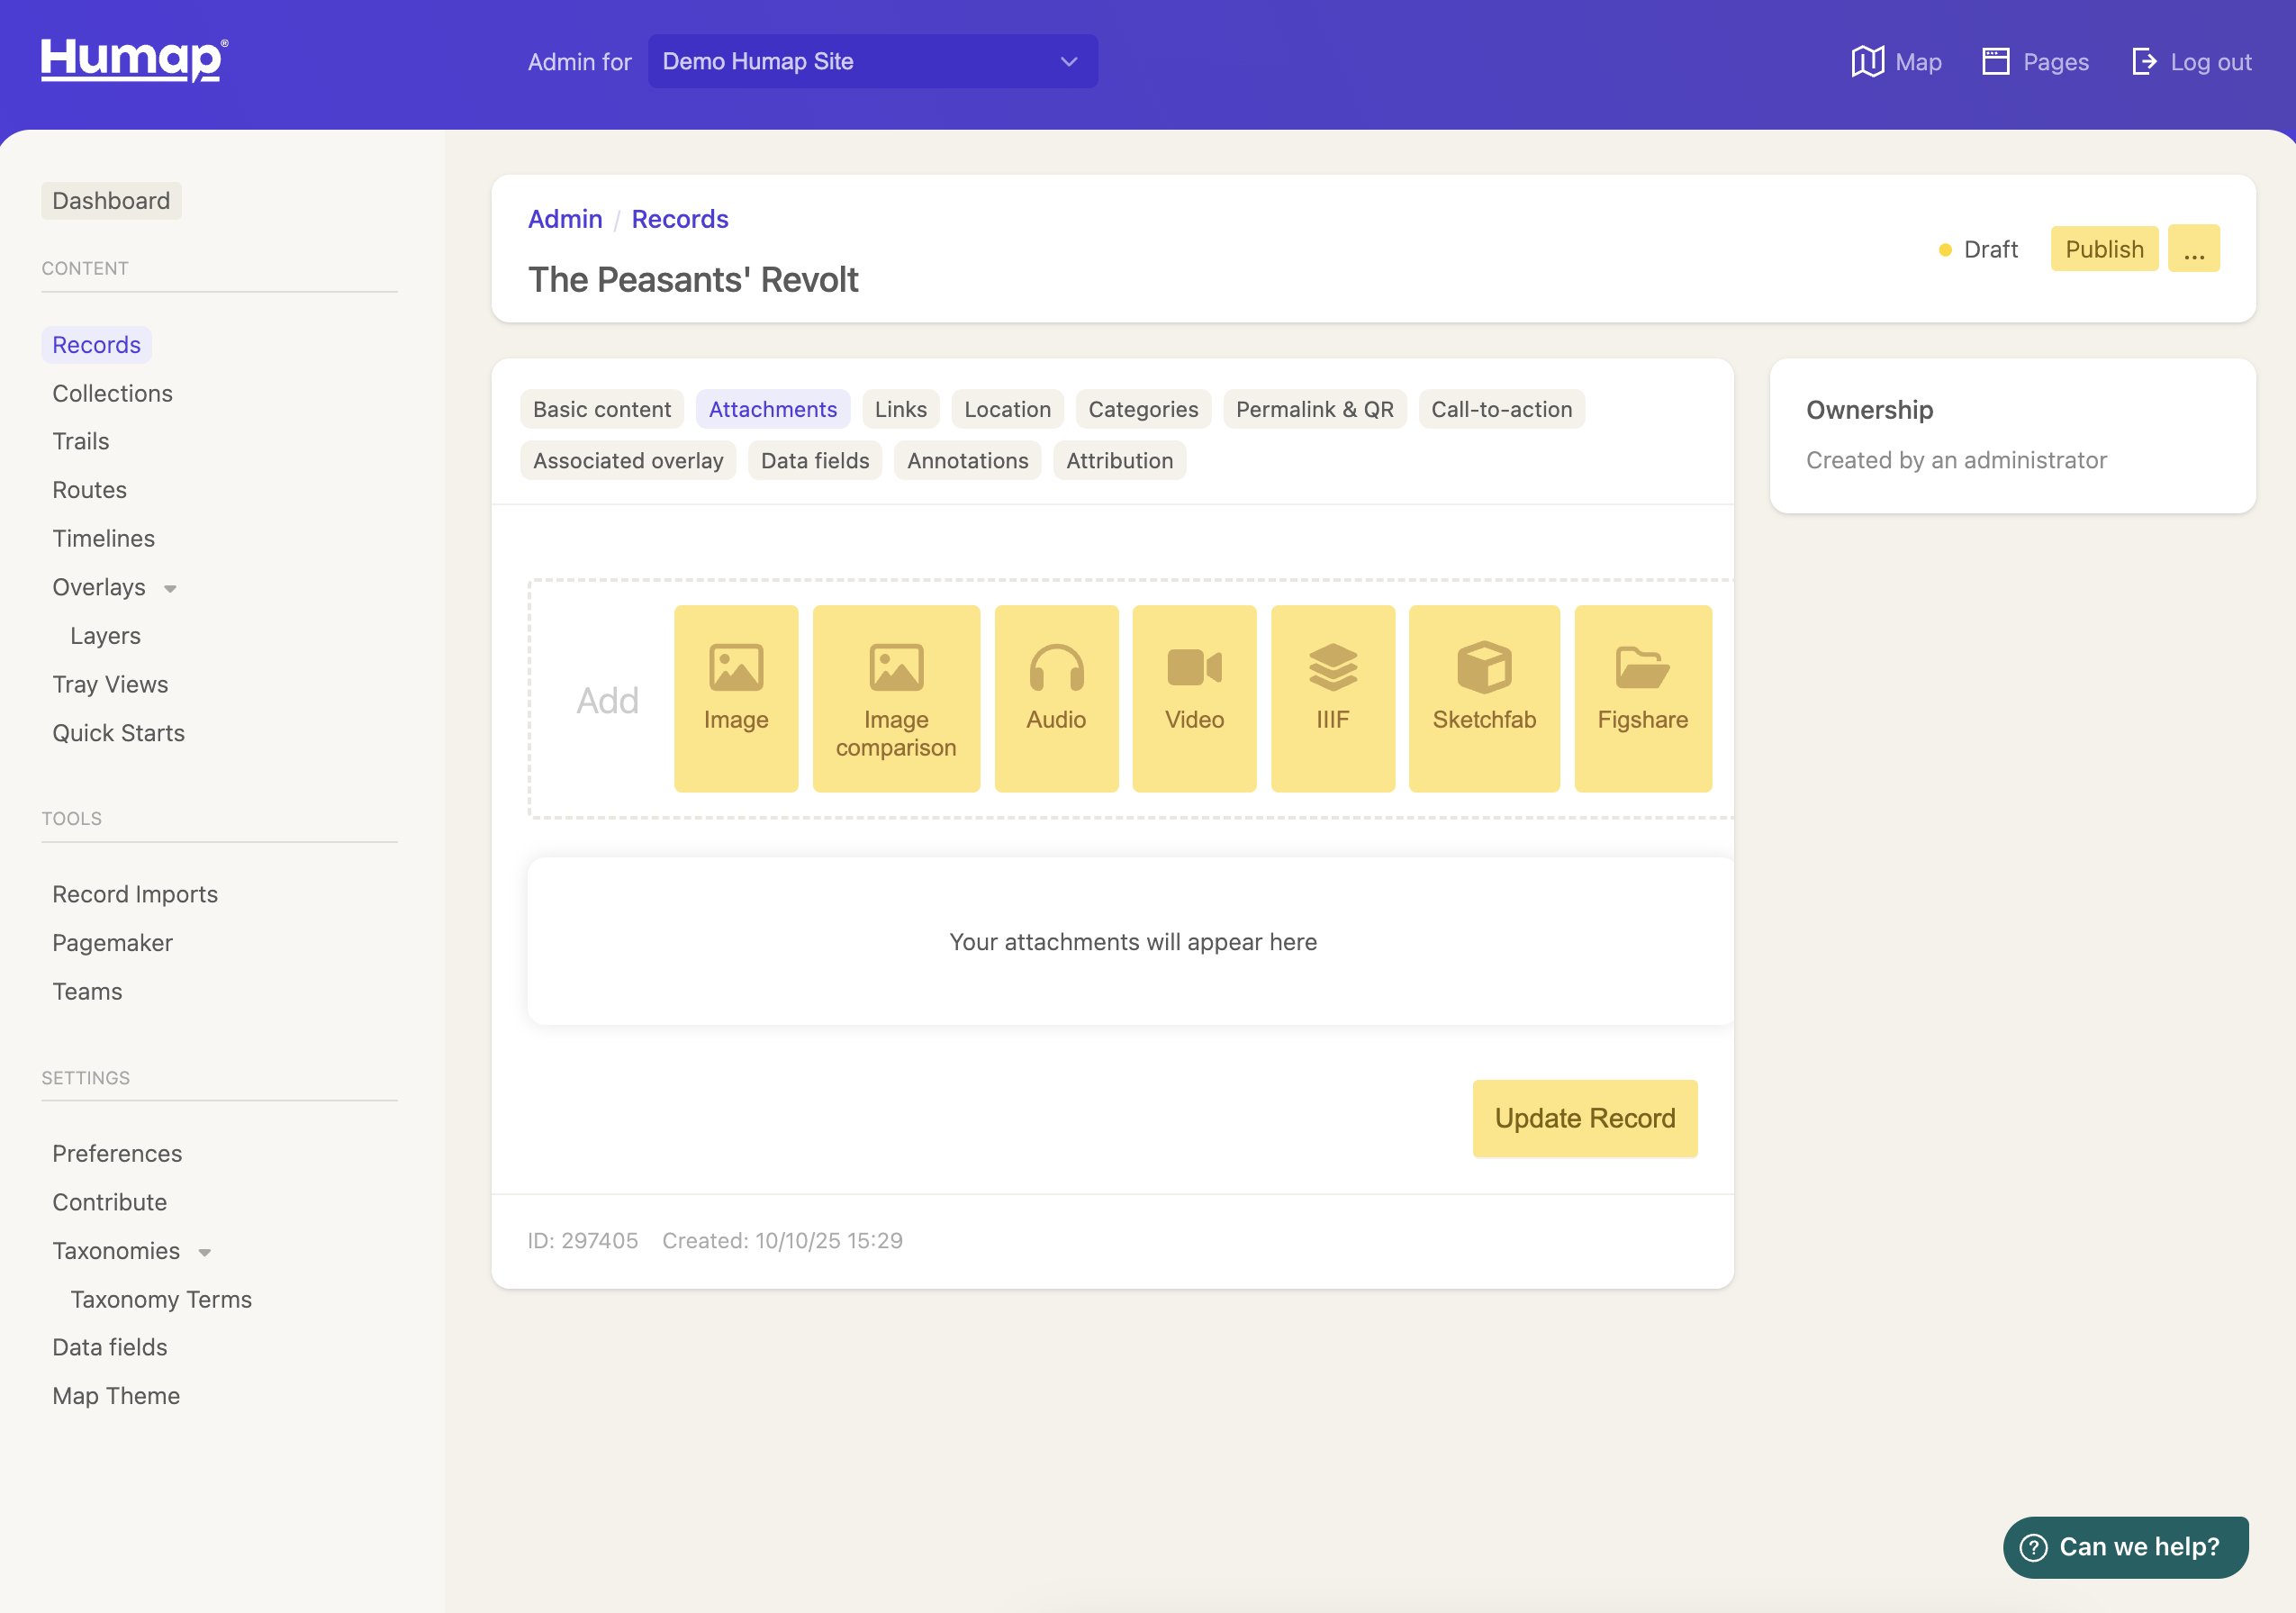
- To upload an image, click Add Image, select the image, and click Upload.
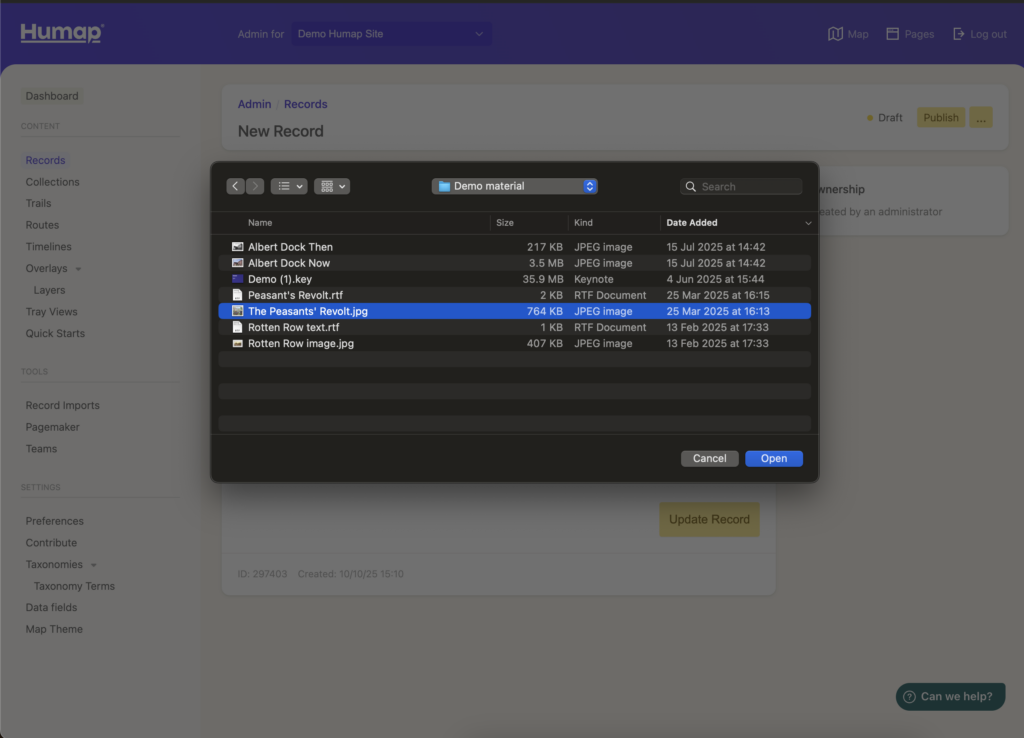
- Once the image is uploaded, click Add Metadata. On this screen you can add relevant image, such as credits and copyright information.
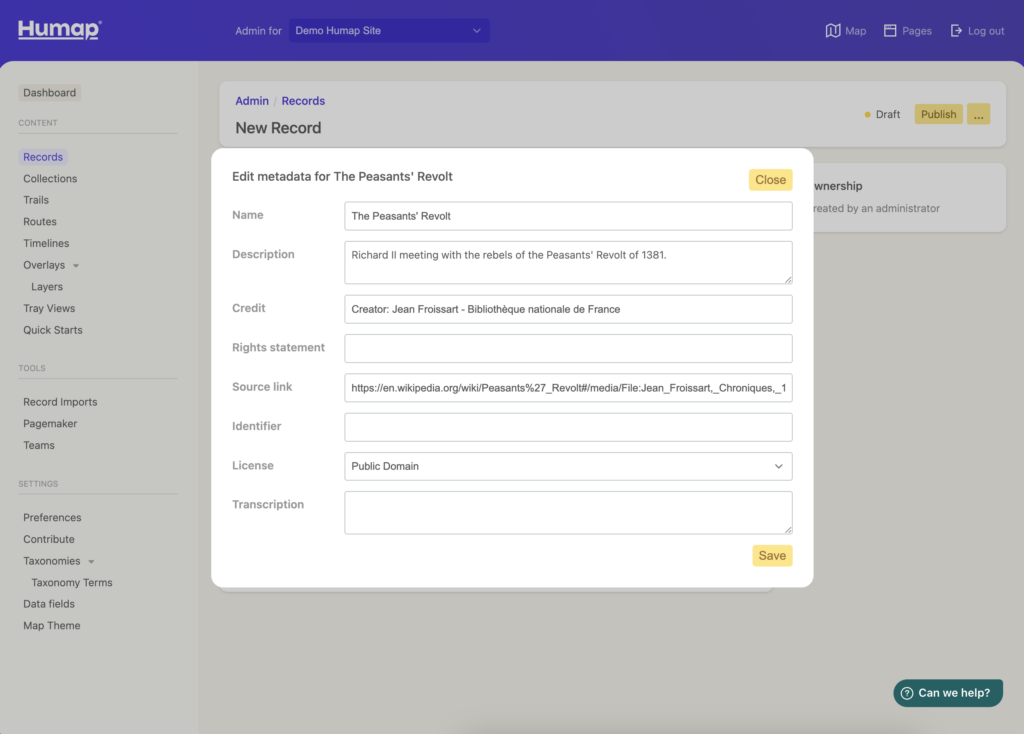
- Click Close in the top right of the browse box to return to this screen
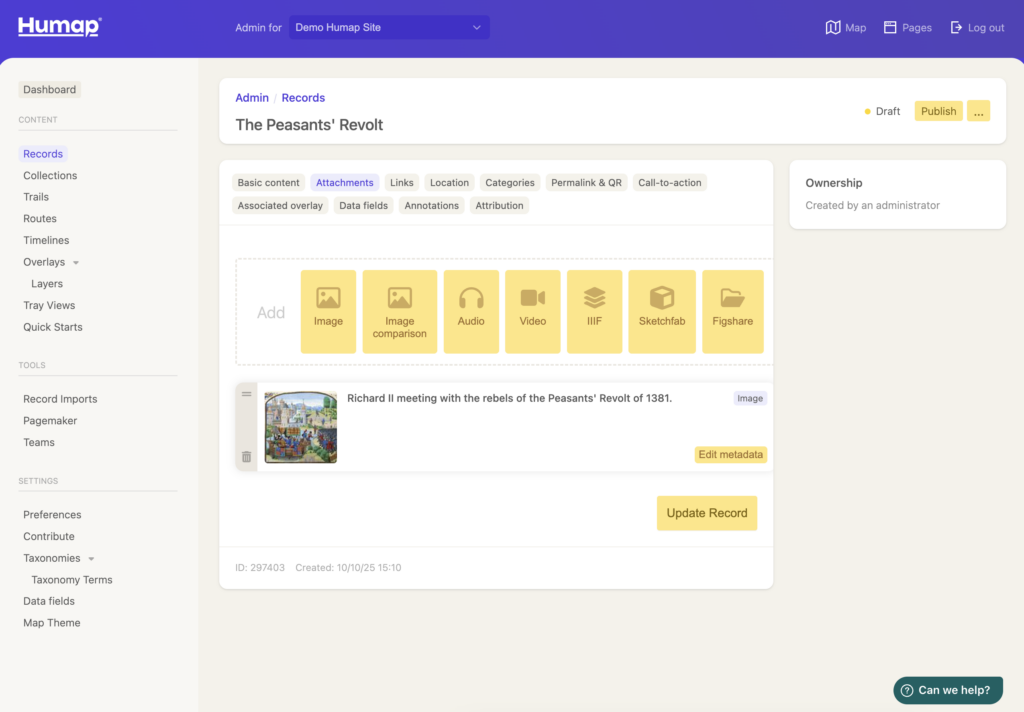
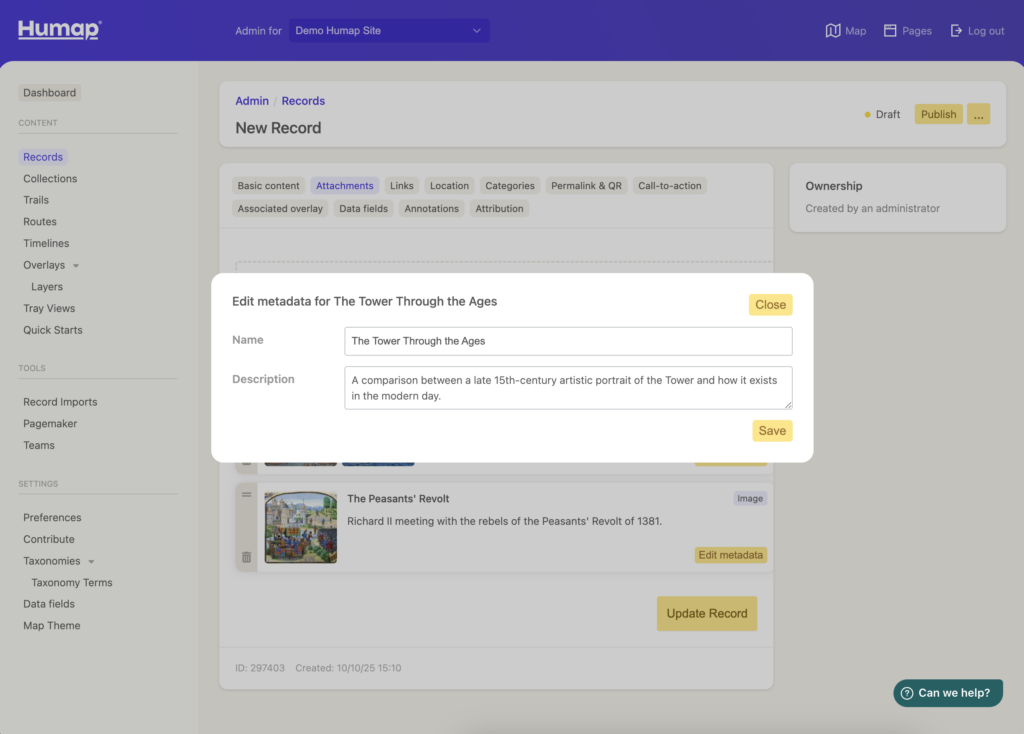
- To add an image comparison, click the button and upload two images. You can learn more about image comparisons here.

- Click Edit metadata to add the title and description.
- To add a YouTube link, click Close, Video, and then paste in a YouTube or Vimeo link.
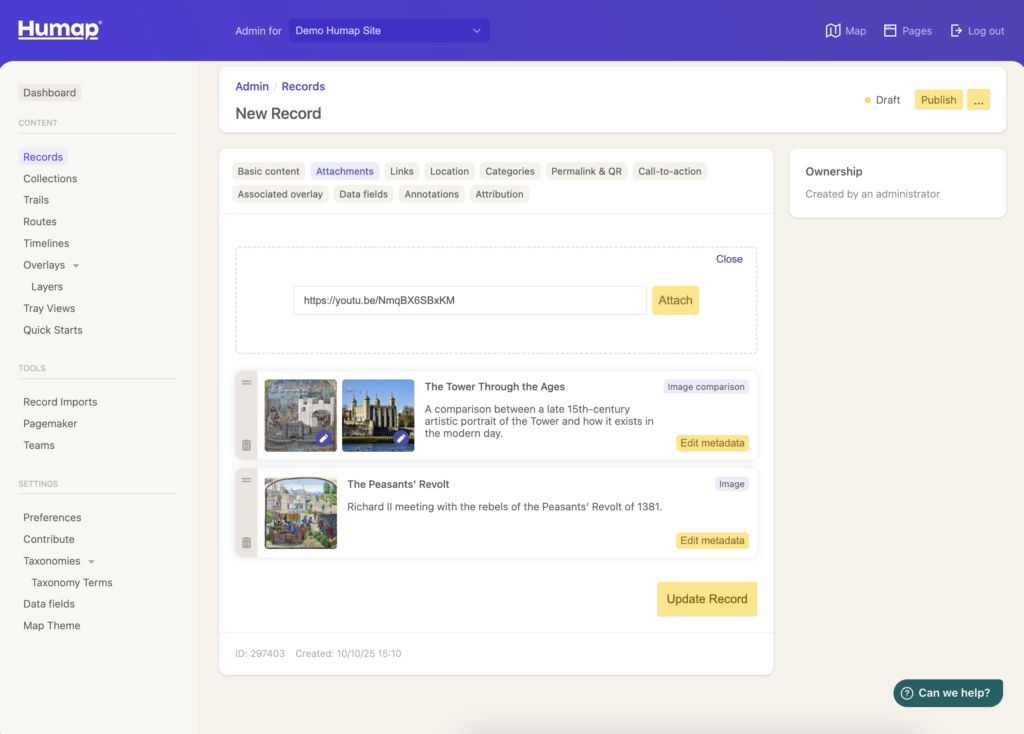
- The video will load in.
- For videos, audios, and Figshare items you will not be able to edit all of the metadata. To ensure proper crediting, some fields will automatically be populated by the URL source.
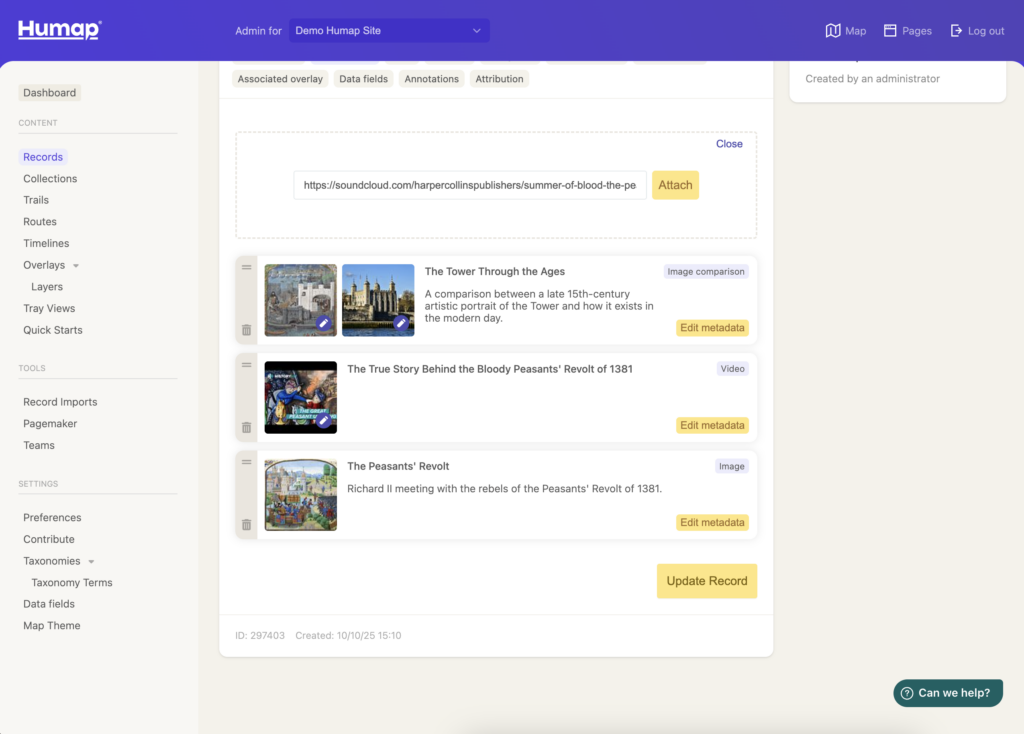
- To add audio, click Audio and paste in a Soundcloud link.
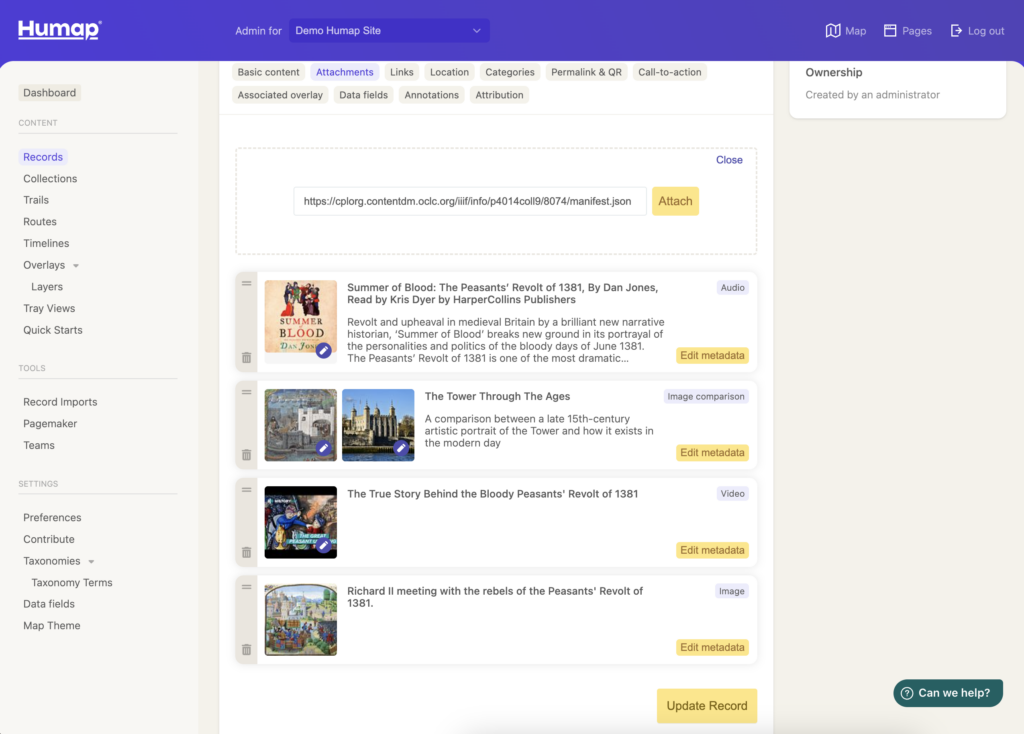
- To add IIIF, click IIIF and copy and paste the manifest into the box. The manifest is a URL that ends in manifest.json.
- To add a Sketchfab item, paste a URL into the box and. click Edit Metadata to add more information.
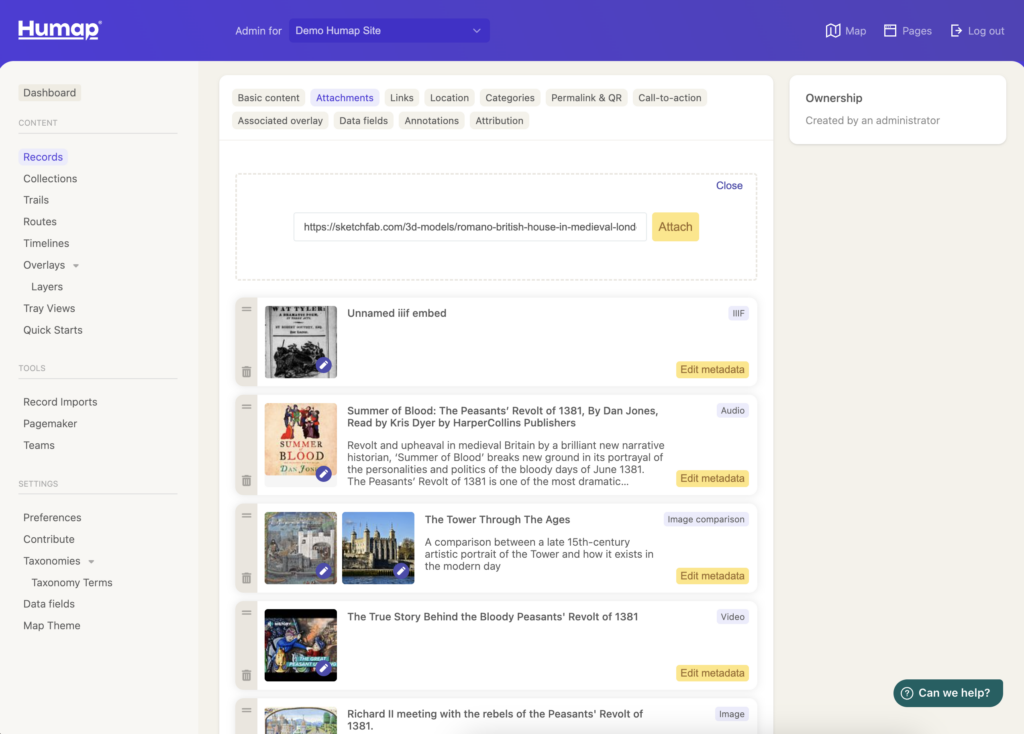
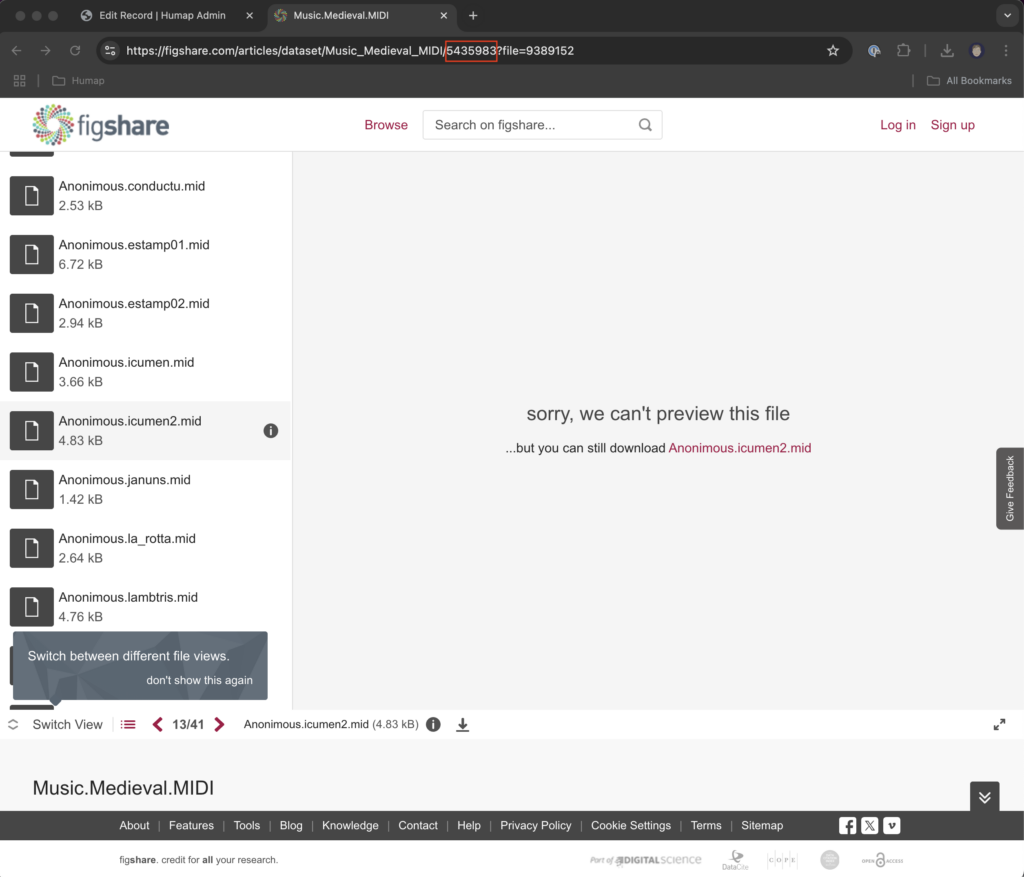
- To add a Figshare item, paste the ID into the box. The ID is a string of numbers within the URL:
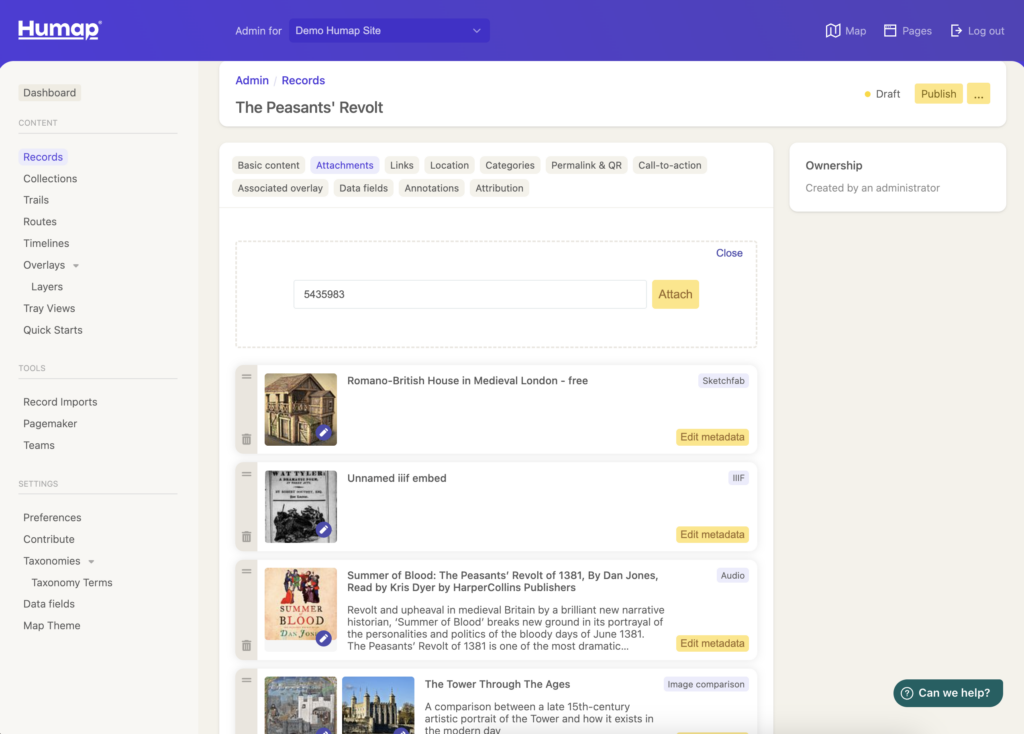
- You can then edit the metadata
- You can also add a thumbnail image by clicking the pencil in the bottom right of the media preview.
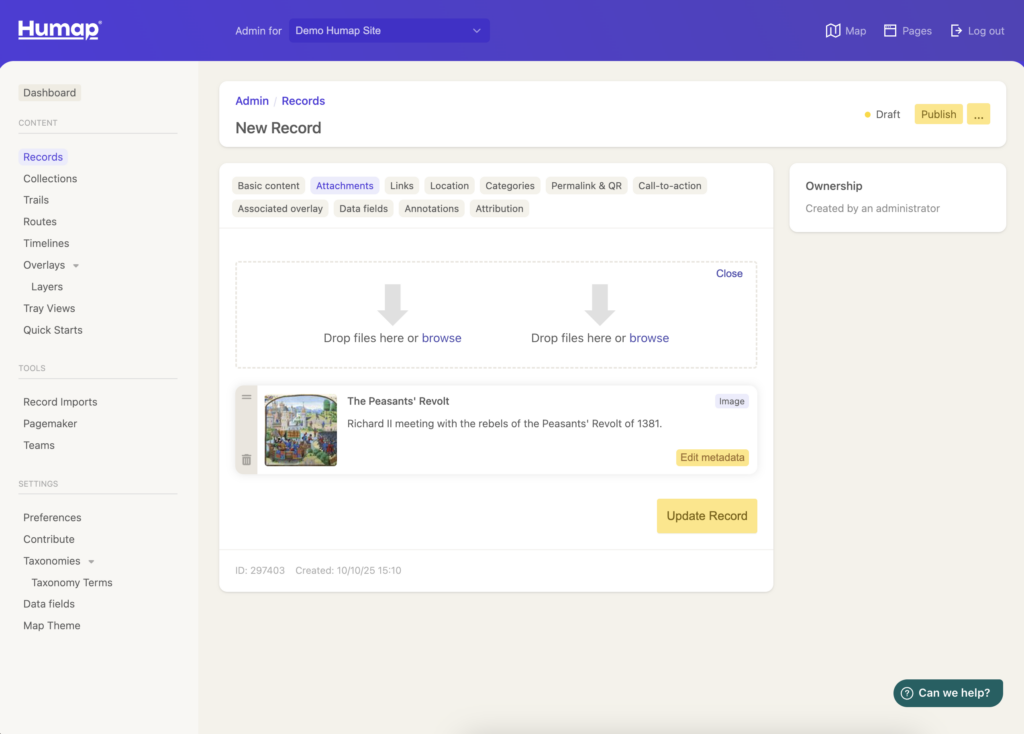
- To move the attachment order around, click the = icon at the top left of the media item you would like to move, and drag the mouse to move it.
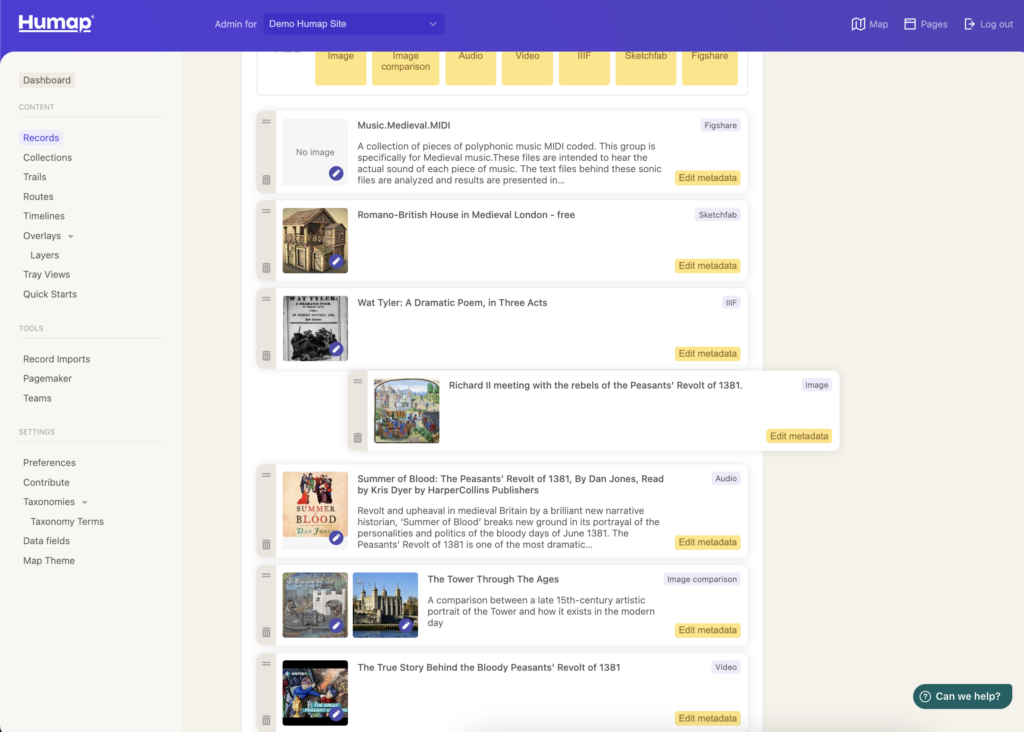
- You can place it above or below other media items in the order you would like them to appear in.
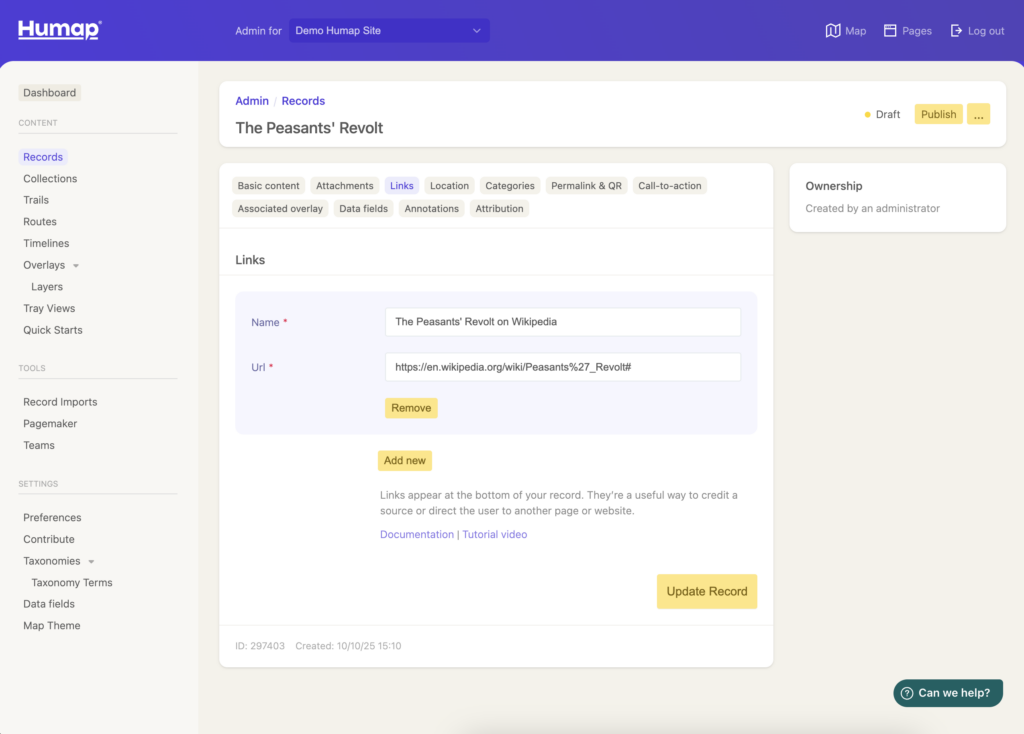
Links
Links are a useful way of directing your audience to other pages on the web.
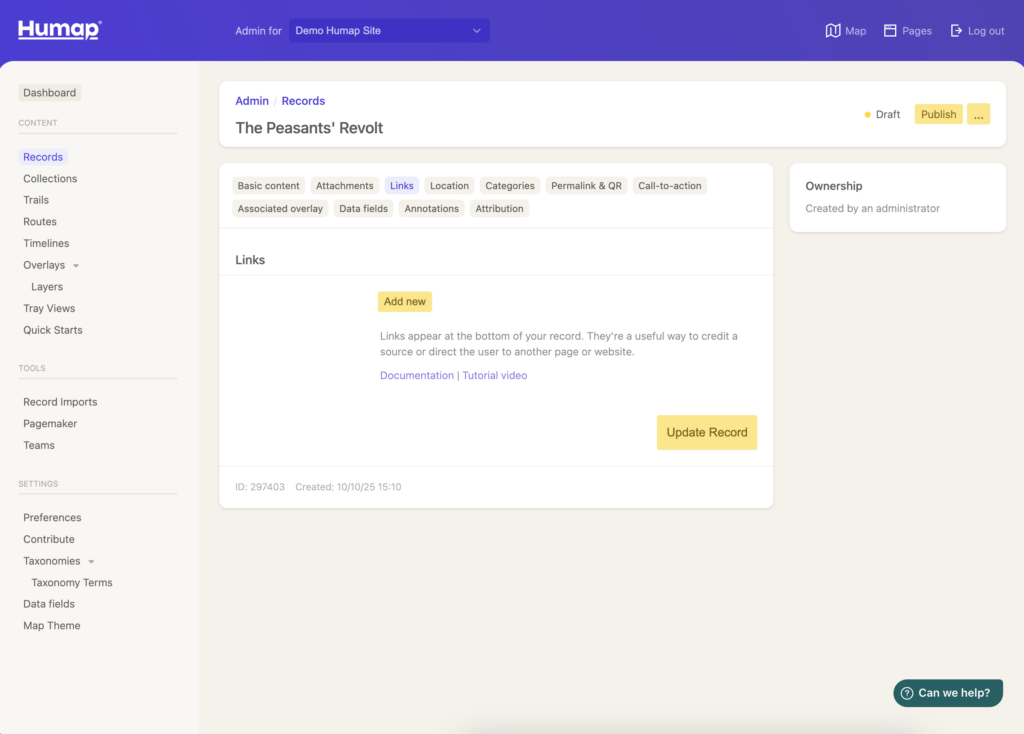
- Click Add New Link, add a name, and paste a URL into the box
Location
Records on Humap need a location, which is reflected in a black pin on the map.

- Use the text box in the map to search (via postcode or place name) or use latitude and longitude by typing in the lat/long fields below the map.
- When you’ve found the location, click the map to drop the red pin.
- A record can only have one location, but if you change your mind you can come back and move it.
Categories
The categories page is where you can tag your record with taxonomy terms to make it easier to find.
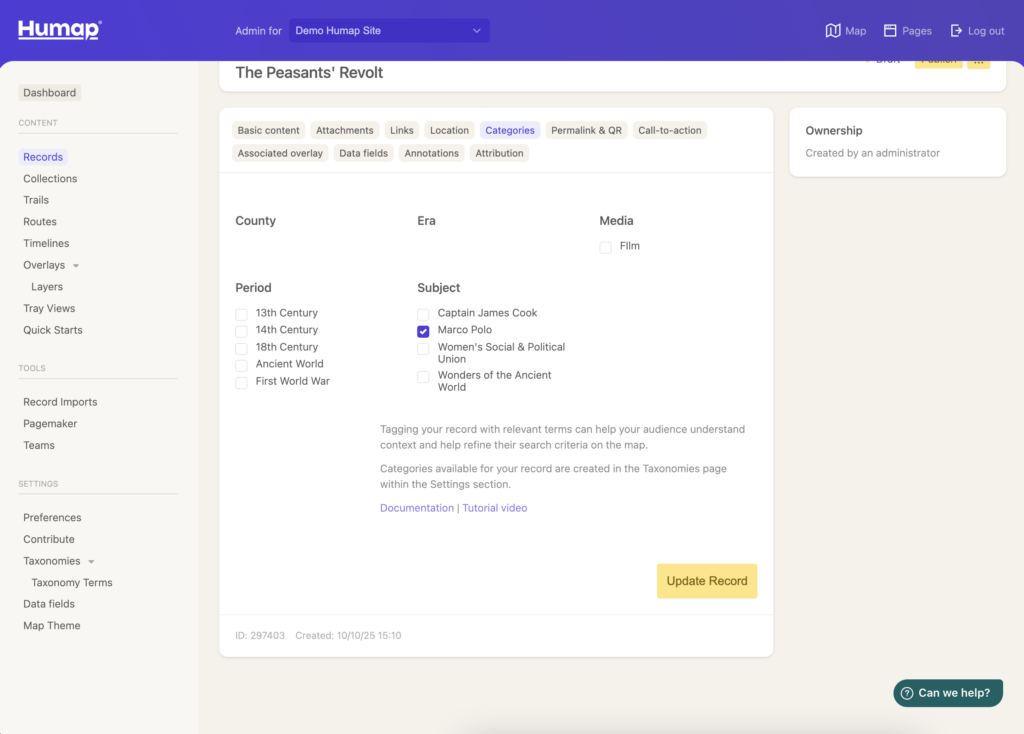
- This page lists the taxonomies and taxonomy terms defined on your Humap project.
- Click the boxes that are relevant to your record.
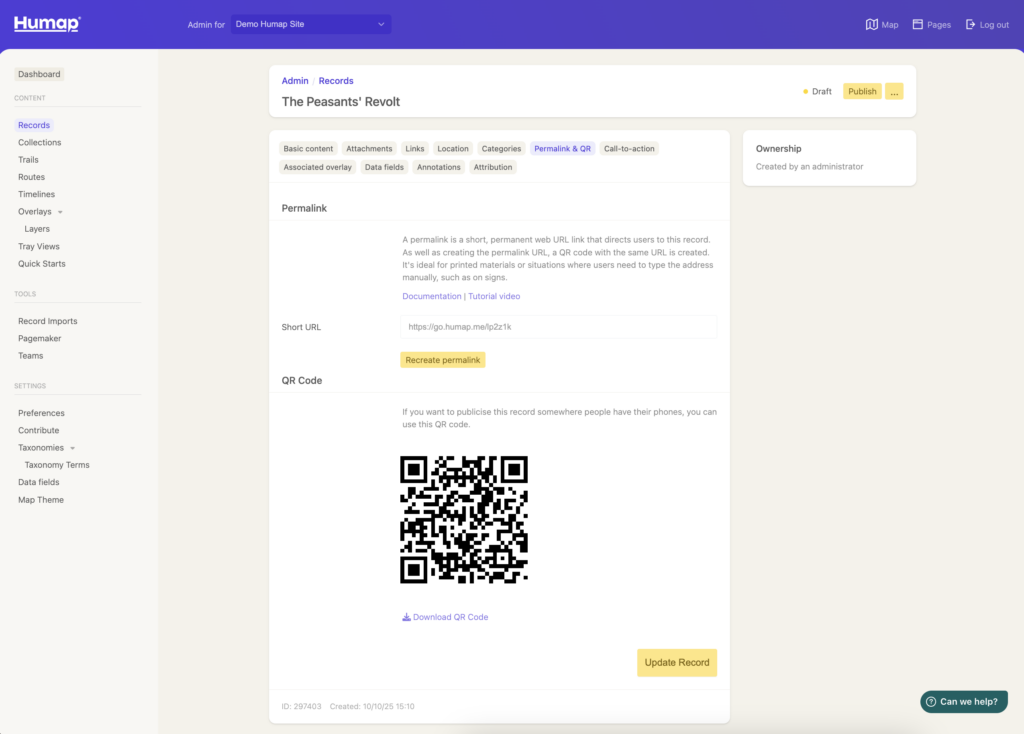
Sharing
Use this page to generate two tools that make your Humap easy to share: a permalink and a QR code.
Permalinks are short links which will always redirect to your record page. QR codes can be used to link your record to a physical space, like a gallery label or a plaque.
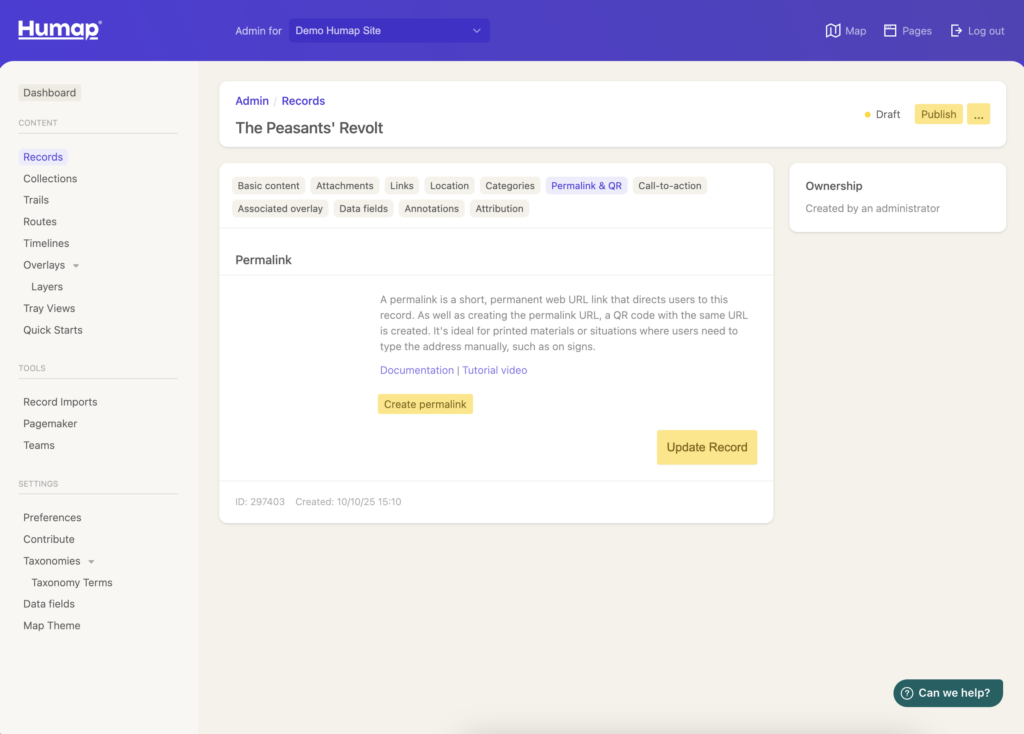
- Create a permalink and a QR code for your record by clicking Create Permalink.
CTA Block
A CTA (Call to action) is used for getting reactions from your users.

- To create one, you need a title, description, button text, and a URL for the button to send the user too.
- You will need to fill out every field if you would like a CTA.
Associated Overlay Group
Associating an overlay group to a record means that it will automatically load in when a user clicks into that record. This is great for adding extra context to the record and engaging your user.
You will need to have created some overlays and overlay groups before you can associate them to a record.
Overlays Wizard – QGIS export & ArcGIS Online guidance
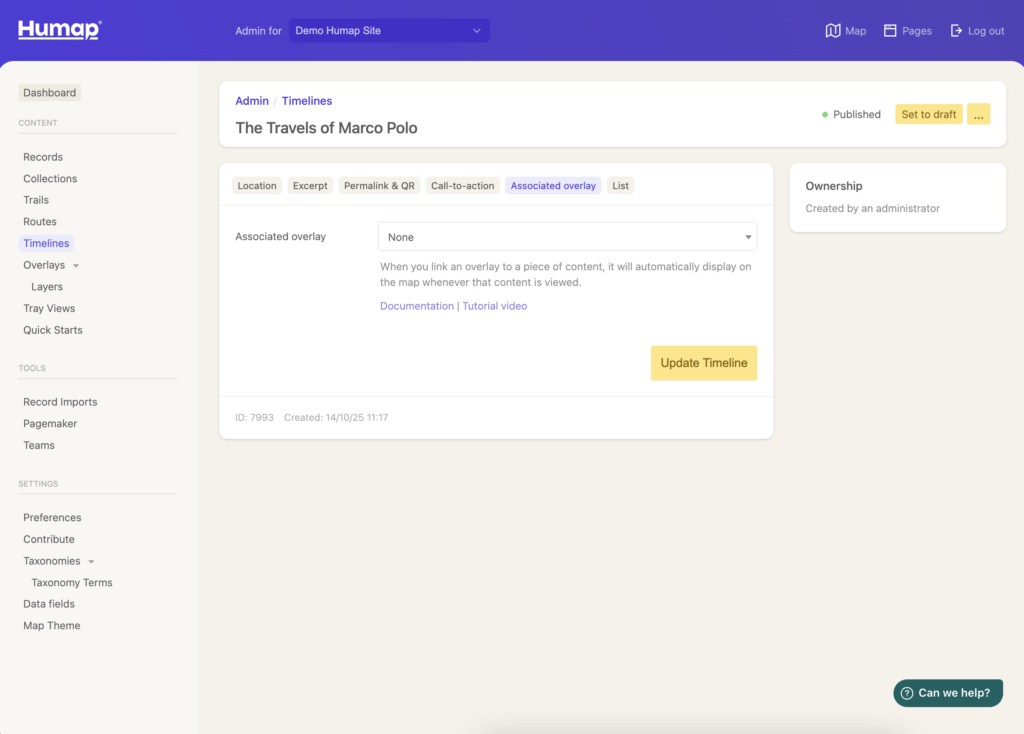
- Use the dropdown menu select which overlay group you would like to be associated with this record.
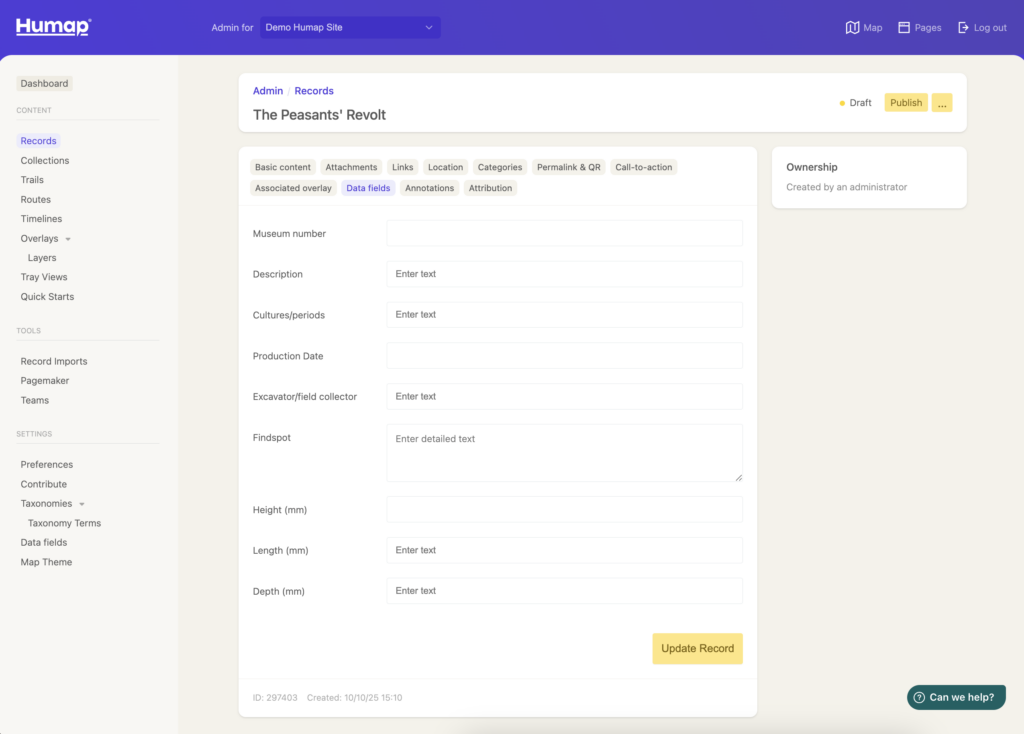
Data Fields
- If you have data fields enabled, you can fill out the table here. Learn more about data fields.
Annotations
You can add annotations here, if the feature is enabled. Learn more about Annotations.

Attribution
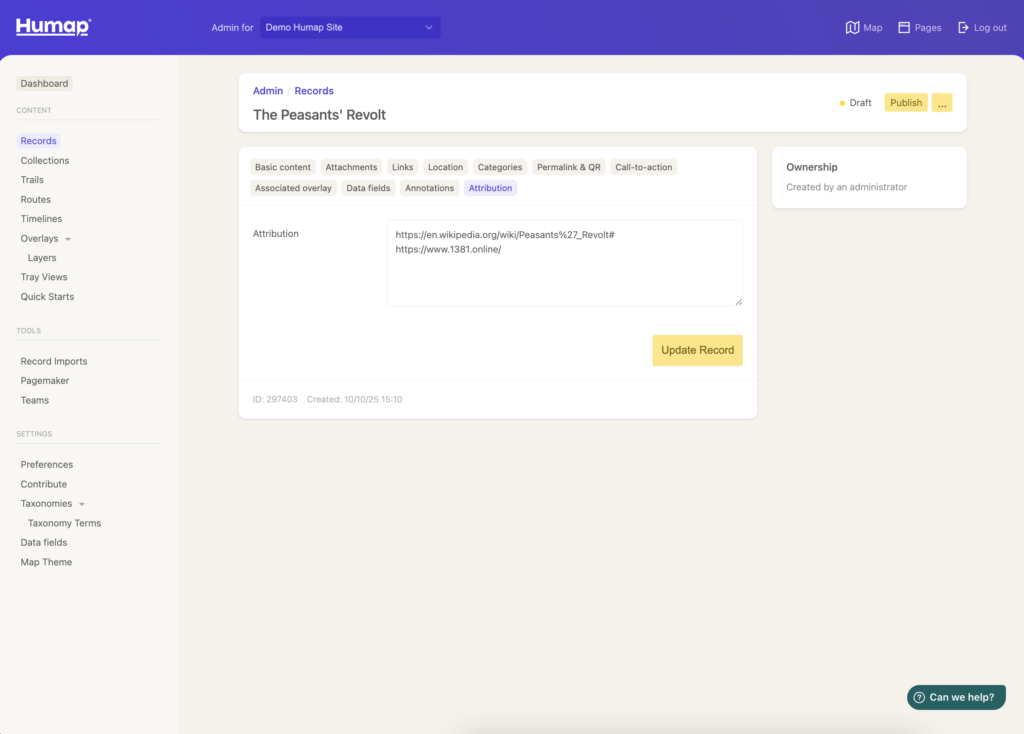
Lastly, you can add any more attributions that may be relevant to your Record.
When you’re finished, click Create Record or Update Record.
You’ll need to click Publish before you can see your record on the map.
If you would like to publish, unpublish, or export multiple records you can select them by clicking the tick box next to the record name and then clicking the Batch Actions drop down menu. You can then select which action to take.
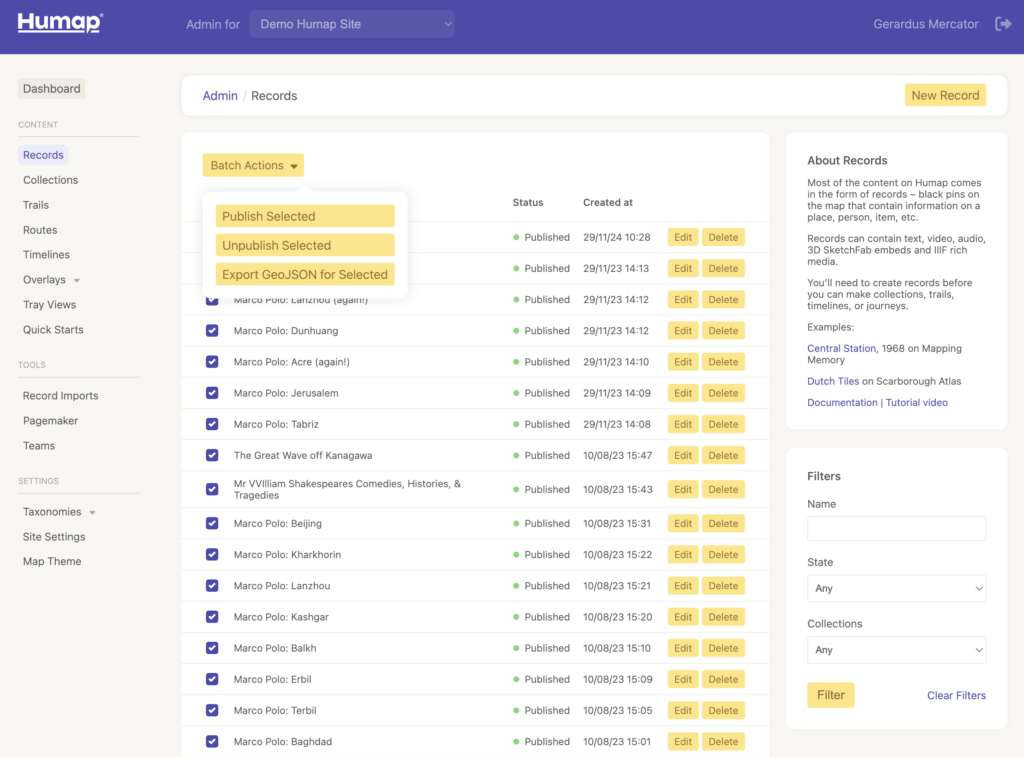
You can also use the search box on the right of the screen to find specific records. The Name field is for free text searching, the State drop down menu allows your to search published, unpublished, or all records, and the Collections dropdown menu allows you to search within specific collections.