Collections
What are collections?
Collections are groups of content, united by a common theme.
A collection could be about the life of a historical person, a genre of music, a type of building, a religion.
Collections help you turn content into stories, and makes it easier for your audience to navigate your content.
Collections can contain records, overlays, trails, timelines, journeys and even other collections.
Before you can create a collection, you’ll at least need some records.
Published collections will look something like this:
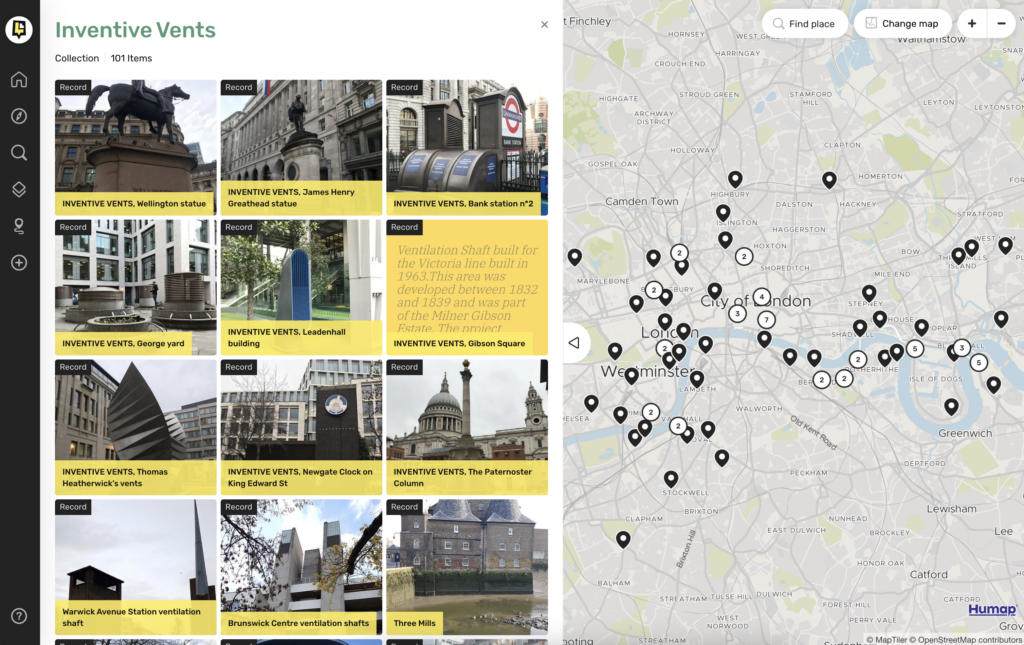
Examples:
- Inventive Vents on Layers of London
- Albert Dock on Mapping Memory
- Coventry Heroes on Coventry Atlas
Resources:
Creating and managing a collection
- Log in to your Humap website.
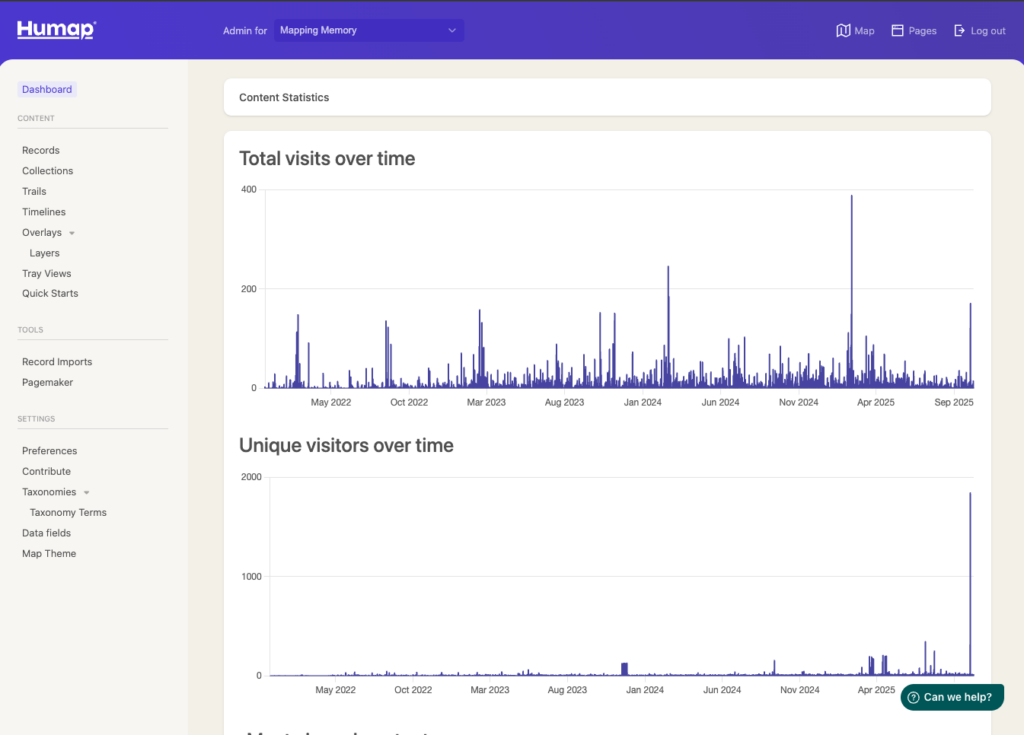
- Click Collections in the menu on the left to get to the collections dashboard
![]()
- Click New Collections or create one, if you haven’t made any collections yet.
- This will take you to the trails creation wizard, which is the same interface Contribute users have access to.
- As an admin user you will have a range of Advanced options not available to Contribute users, such as the creation of QR Codes.
Introductory page
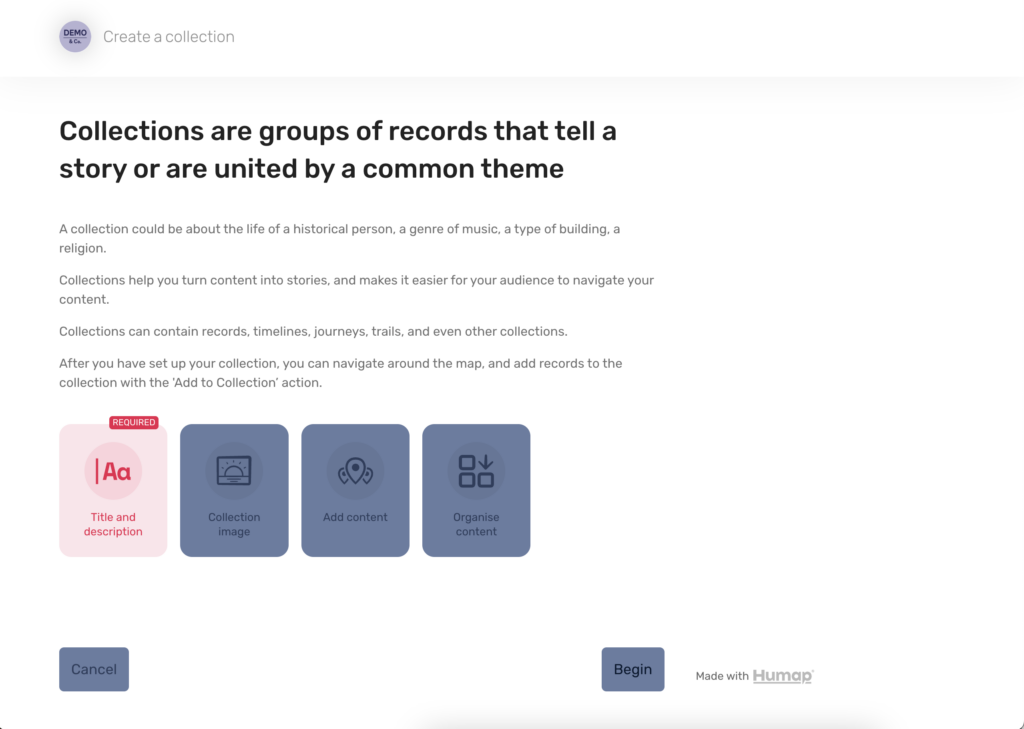
- You are now on an introductory page. When you’ve read it, click Begin.
- At any point in this process you can save a draft and exit, return to the previous screen, or delete your record.
Add a name and description
- Type the name of your collection in the top text box, and a description in the larger box underneath.
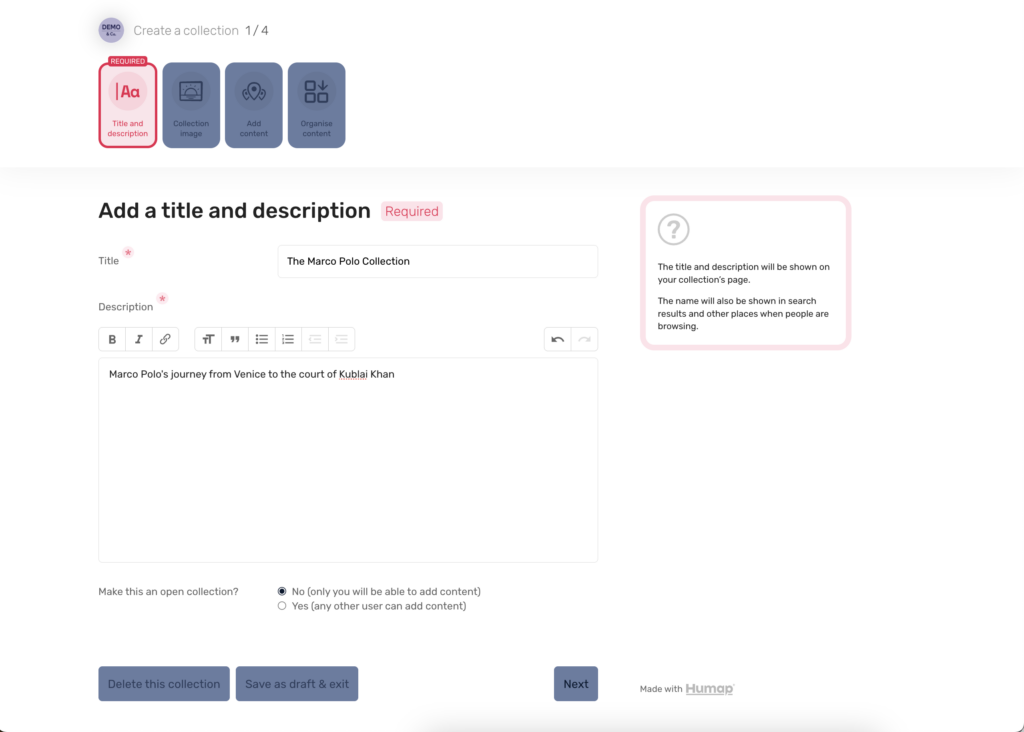
- When you’ve named and described your collection, click Next.
Add a cover image
- To add an image click Browse files, then select the image you would like to upload.
- You do not need to add an image, but it will make your collection stand out.
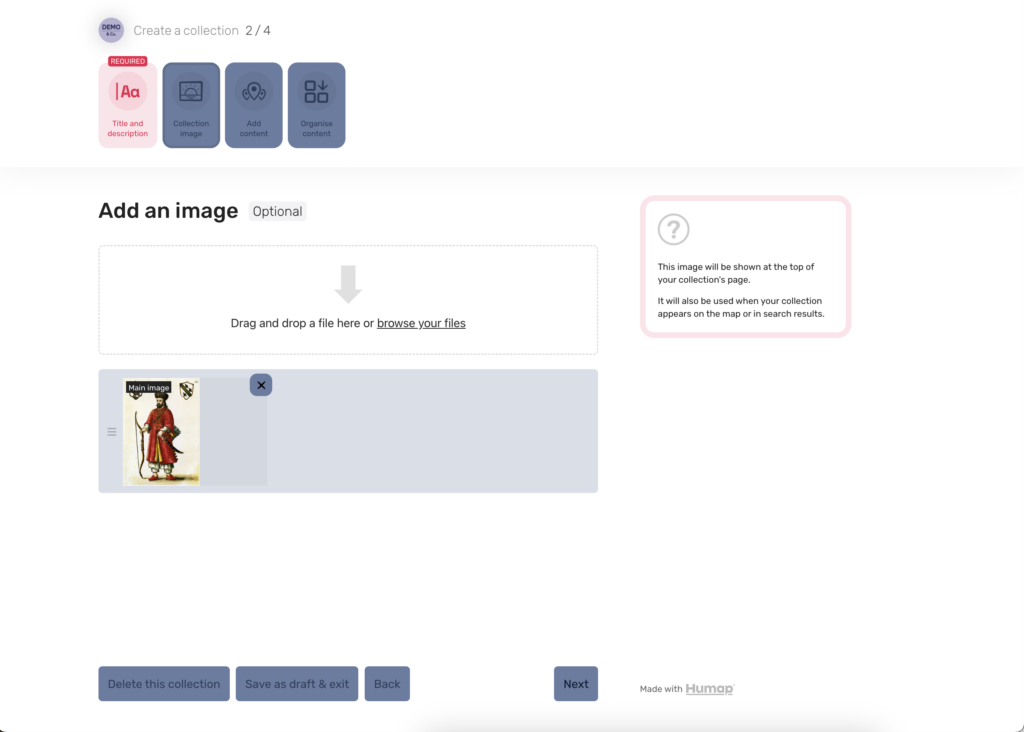
- Press enter, or click open or upload depending on your machine.
- You can only pick one cover image, so pick one that’s eye-catching and interesting.
Assign to a team
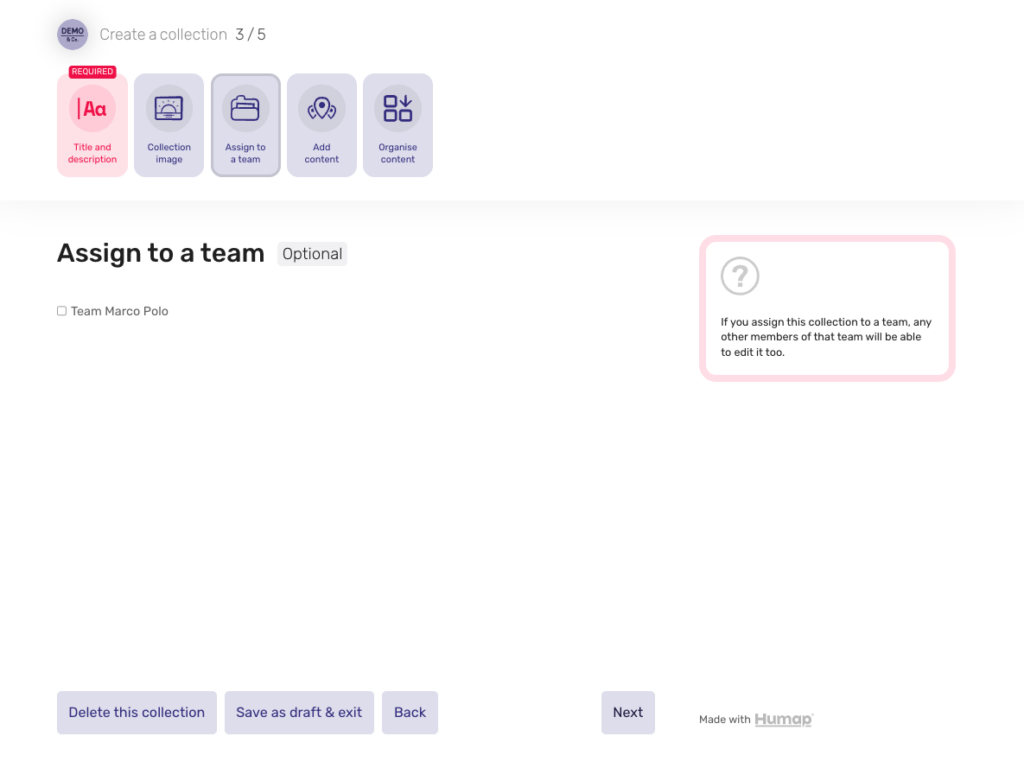
- If you add a collection to a team, other members of that team will be able to edit and add things to this collection. Teams are an optional extra feature you’ll need to switch on in the subscriptions platform, and you need to be a member of a team for this window to appear.
- To select a team, click the tick box and then Next.
Add content
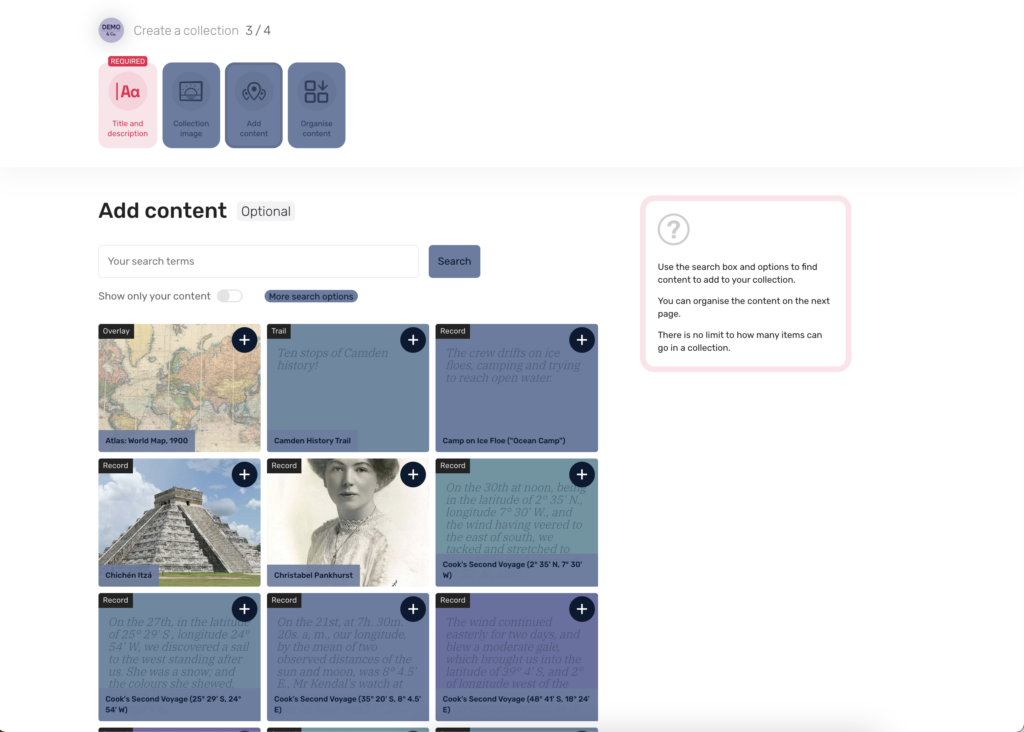
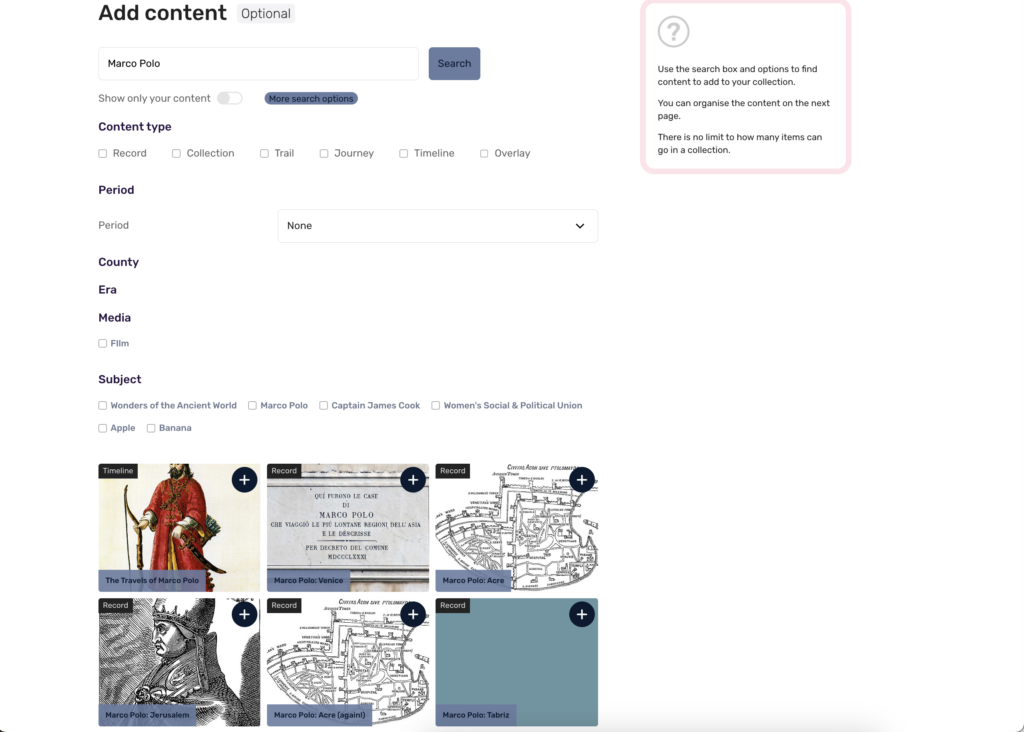
- Use the search bar to find the items you want to add, or click “more search options” to look at pre-existing categories, such as location or topic.
- You can also choose to search for content that you have uploaded, by clicking the “show only your records” switch.
- For more specific subtopics, click the downwards arrow and select the subtopic you wish to find records about.
- Click the plus icon in the top left of the record image to add it to your collection, and click that same button again to unselect something.
- Click the forwards arrow beneath the record preview in order to see the next page of results.
- You can add as many items as you like, and you can come back to it after you’ve published it to add or subtract items.
Item order
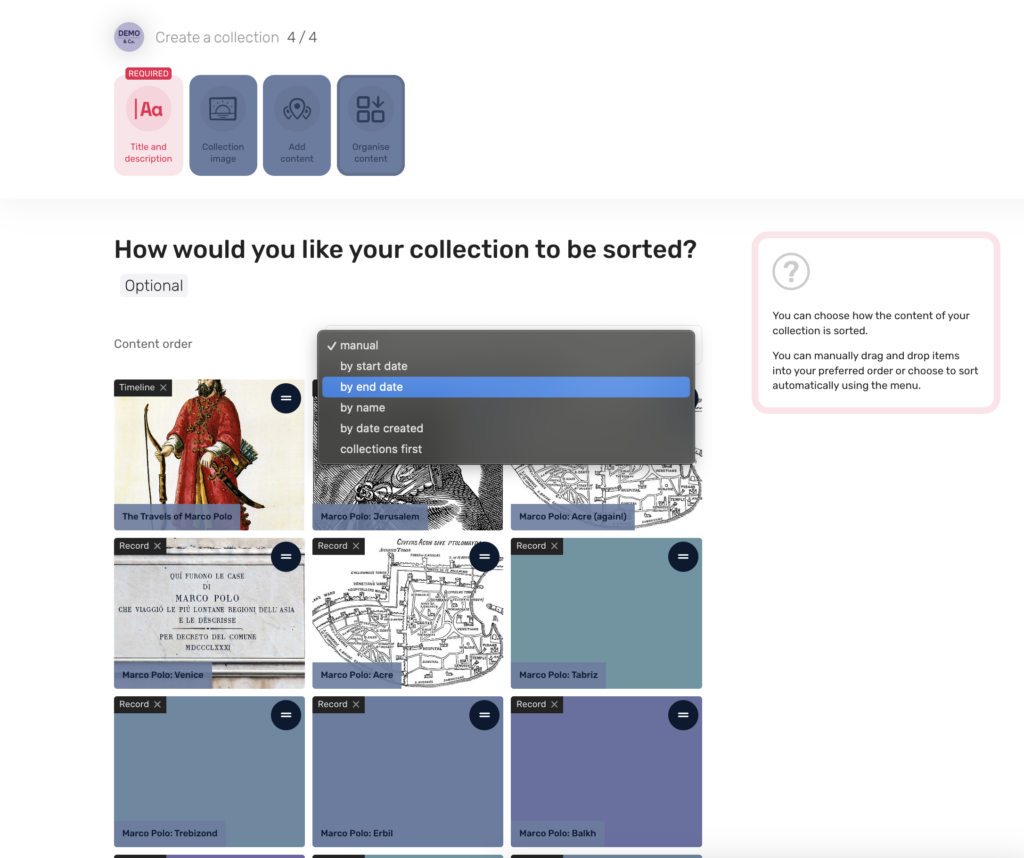
- Click the dropdown menu and select how you would like to order your collection.
- If you are manually organising your collection, select manually and then use the two lines icon to drag and drop the items into the desired order.
- Alternatively you can order the items my start date, end date, name (alphabetically), latest created, or by having collections show up first by selecting the appropriate options.
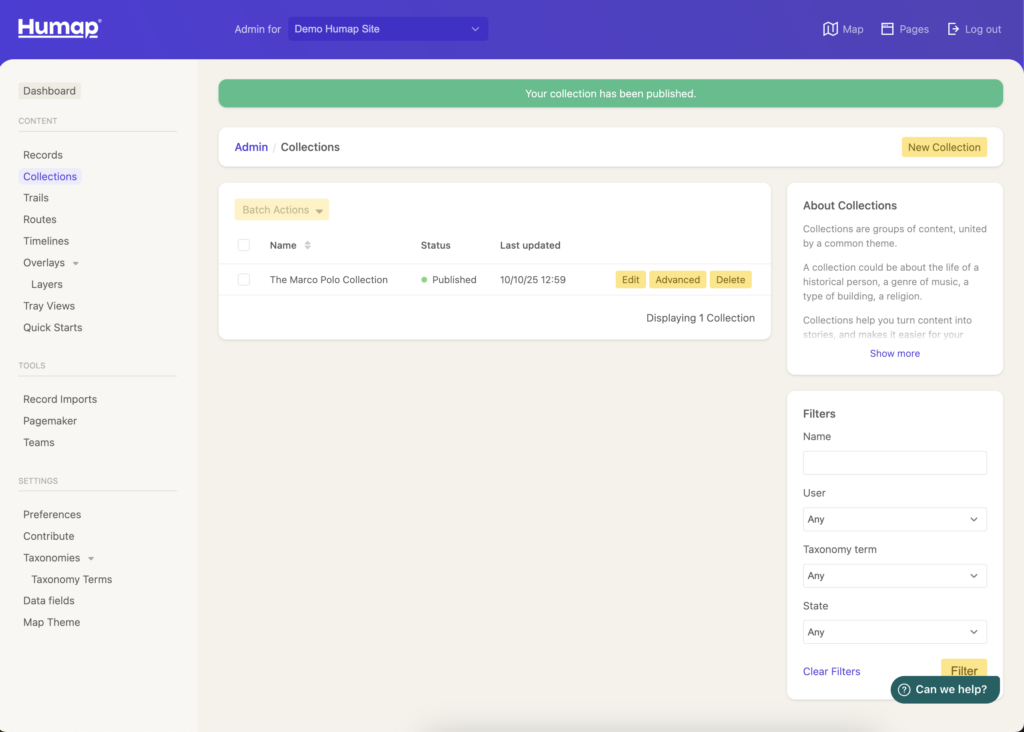
Your collection has been completed! You can now publish it or save as a draft.
Advanced options
Back on the collection dashboard in the admin area, you’ll see a button labelled Advanced next to created collections:
- Clicking Advanced will take you to this screen:
Location
Selecting a location here will place a pin on the map for this collection.
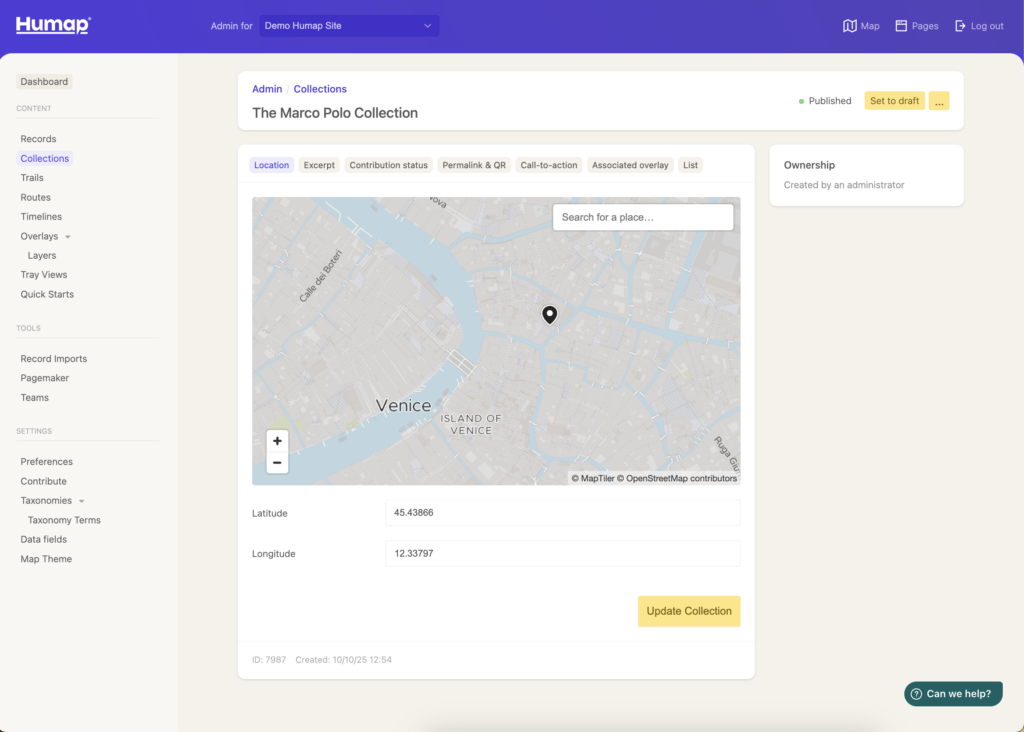
- Use the address field or the lat/long fields to find the location where you would like to place your pin.
- Click the map to drop the pin.
- Click elsewhere to move it.
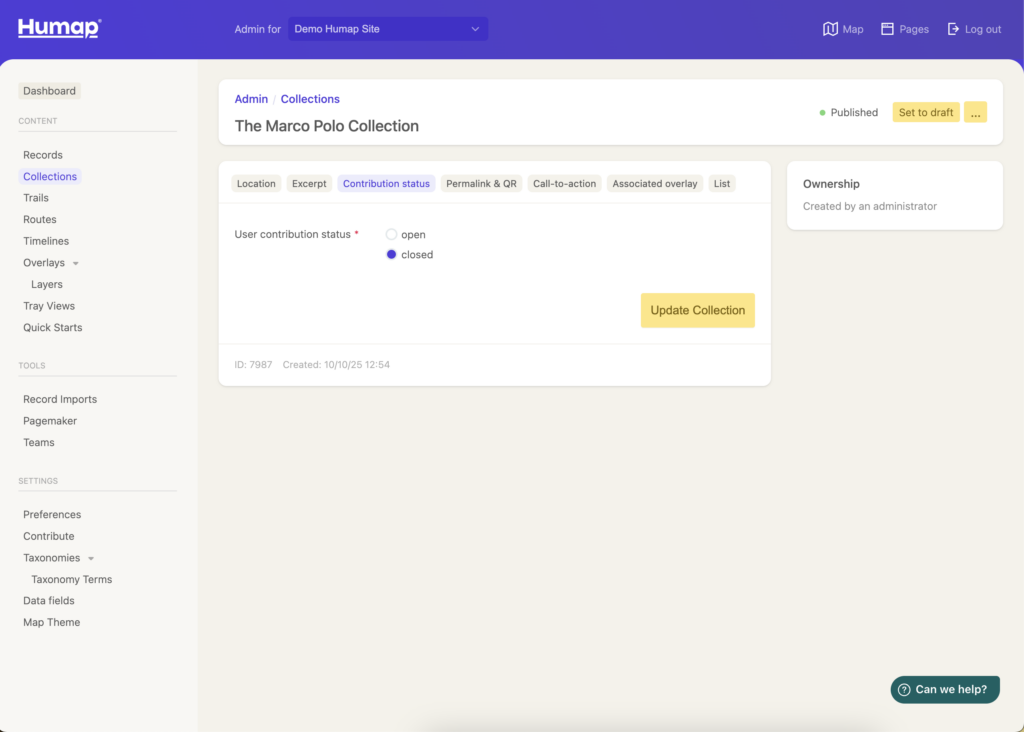
Contribution status
Would you like other people to be able to add to this collection? A closed collection can only be edited by its creator, people with admin level permissions, or, if it has been a assigned to a team, members of that team. An open collection can be edited by anyone.
Sharing
Use this page to generate two tools that make your Humap easy to share: a permalink and a QR code.
Permalinks are short links which will always redirect to your record page. QR codes can be used to link your record to a physical space, like a gallery label or a plaque.
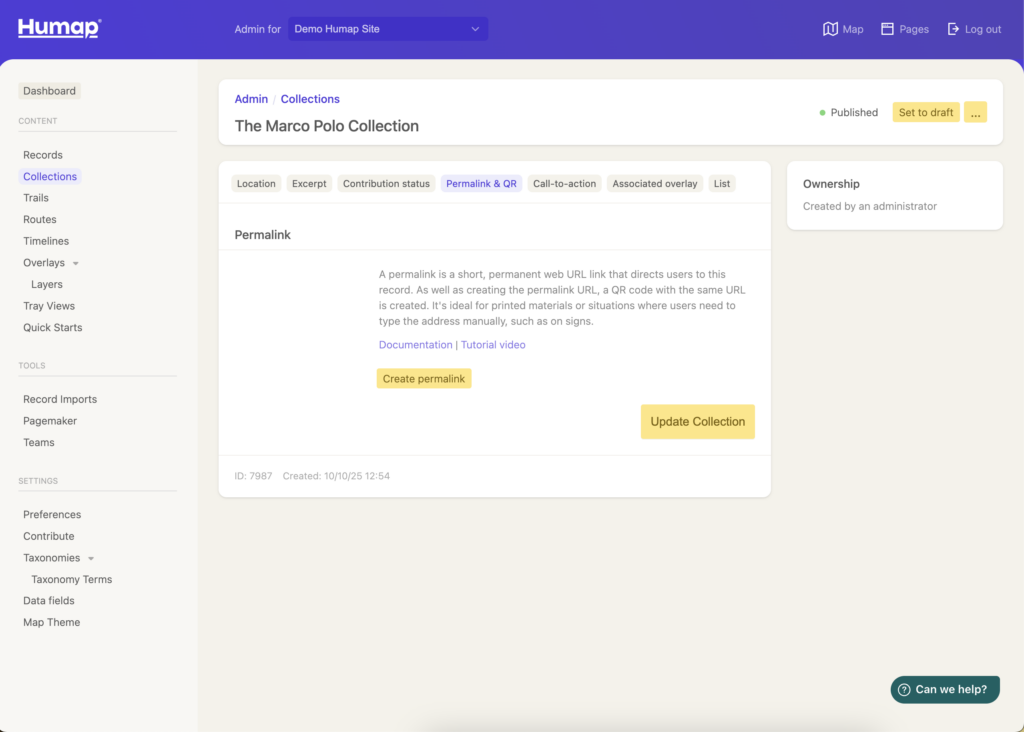
- Click Create permalink for a permalink and QR code to be generated for this collection.

CTA Block
On the CTA Block page you can create a call to action. Calls to action are used to direct your audience to a specific webpage.
Calls to action live at the bottom of a piece of content on Humap and look like this:

- To create one, go to the CTA Block page:
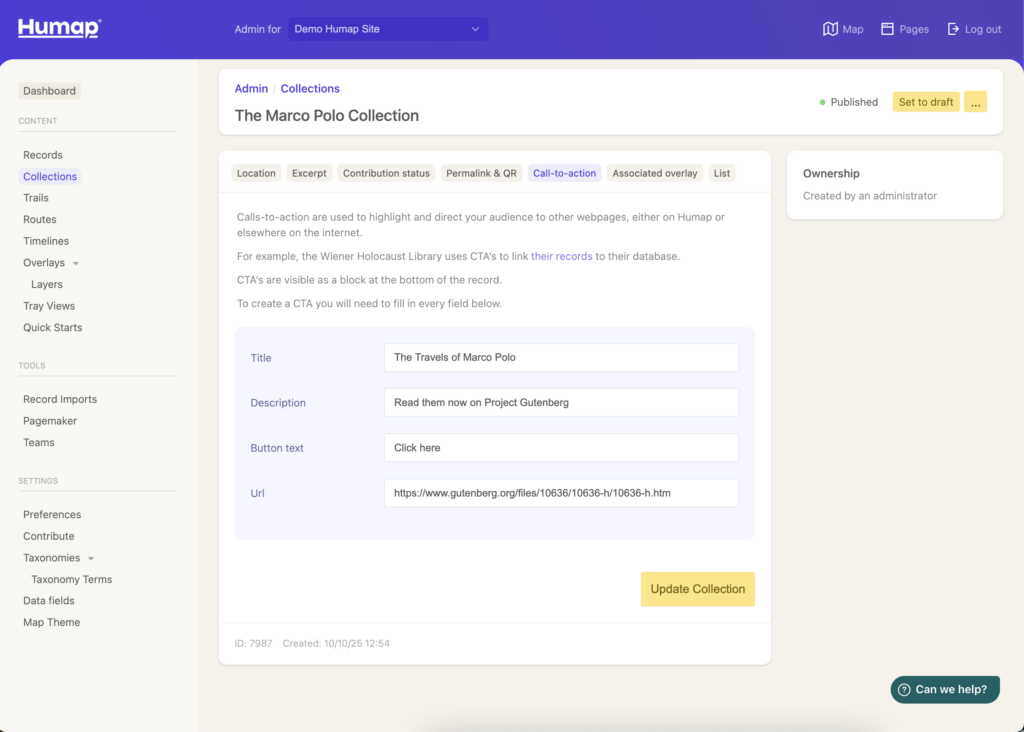
- Fill in the fields, and click Update Collection.
Associated Overlay Group
Associating an overlay group to a Record means that it will automatically load in when a user clicks into that record. This is great for adding extra context to the record and engaging your user.
You will need to have created some overlays and overlay groups before you can associate them to a record.
Overlays Wizard – QGIS export & ArcGIS Online guidance
- To associate an overlay, use the dropdown menu to select the desired one and click Update Collection.

List
Lists on Humap appear on the search and browse pages. You an use this dropdown menu to change its layout.

Your collection is now finished! It won’t be visible until you click Publish. You can come back at any time to edit, unpublish, or delete this collection.