Journeys
What are journeys?
Journeys, formerly known as routes, tell stories that took place over a series of locations. These could be the narratives of voyages, emigration, adventure – anything, really!
Journeys can be combined with timelines.
Journeys can contain records, overlays, trails, timelines, collections and even other journeys.
Before you can create a journey, you’ll at least need some records.
Examples:
- Wilhelm Pollak on the Refugee Map. This journey also uses a timeline.
Resources:
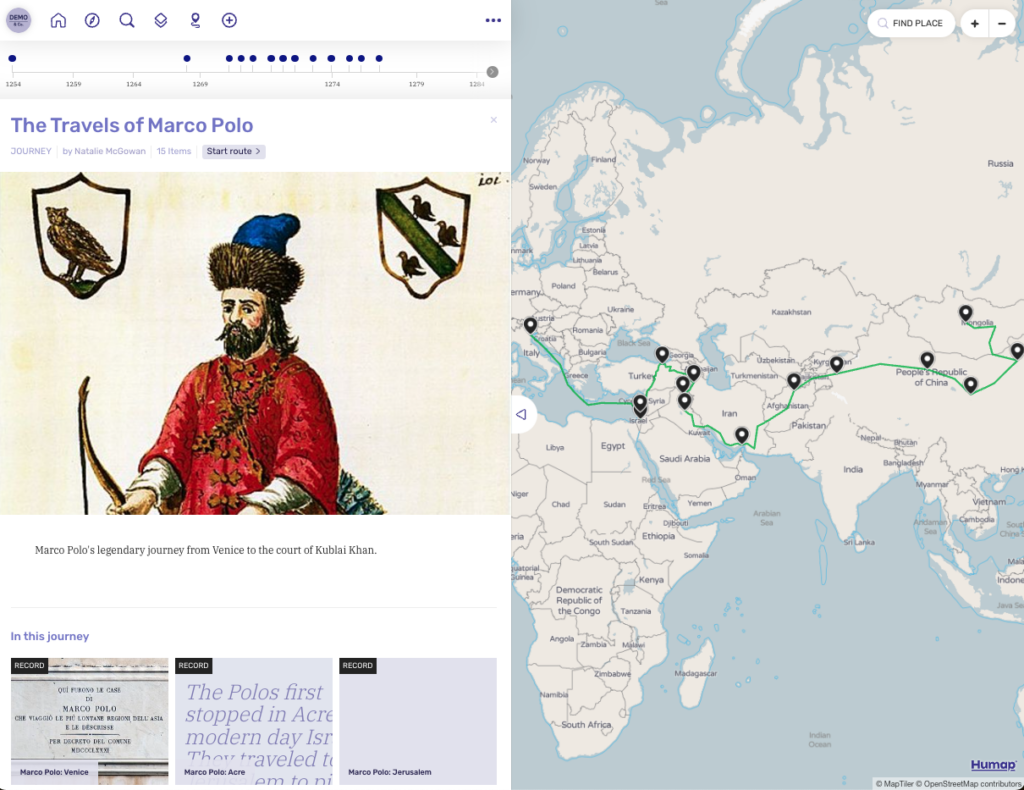
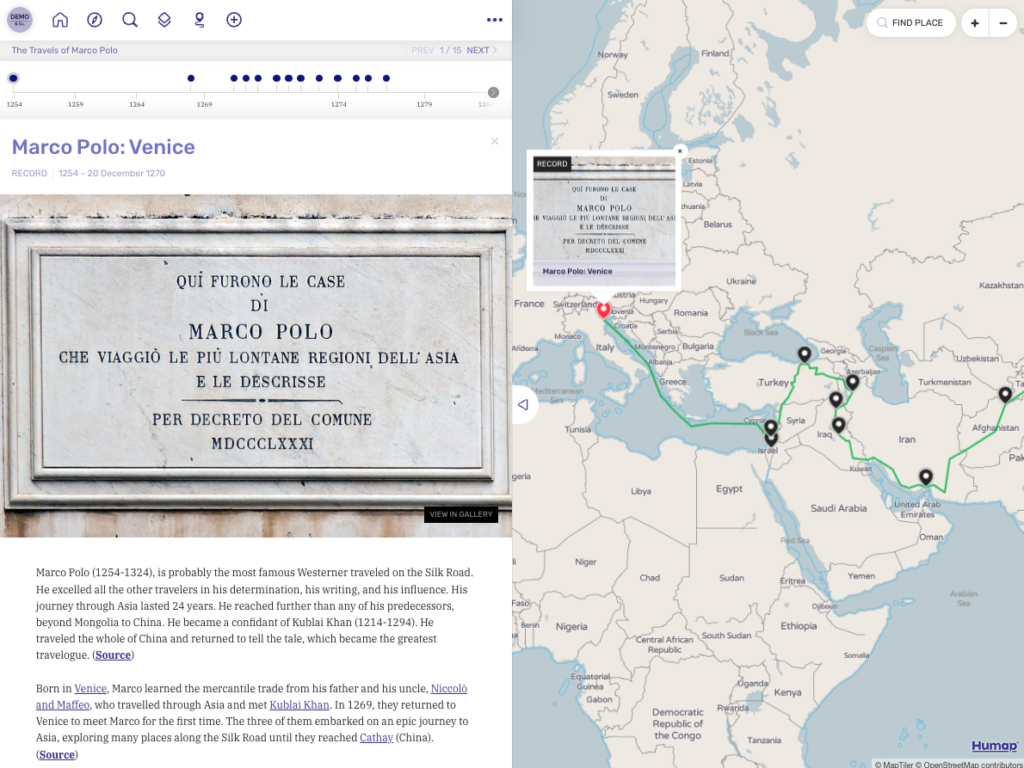
They look like this:
Creating and managing journeys
- Log in to your Humap website.
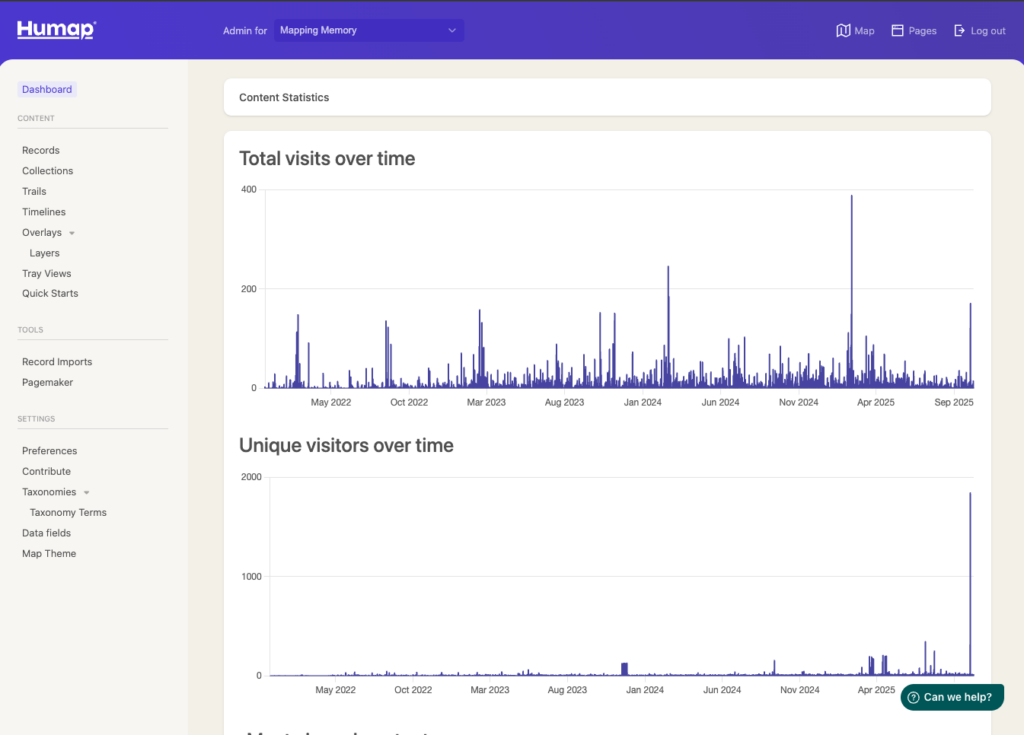
- This takes you to the home screen of Humap’s content management system:
- The pages that make up the content management system are listed on the left.
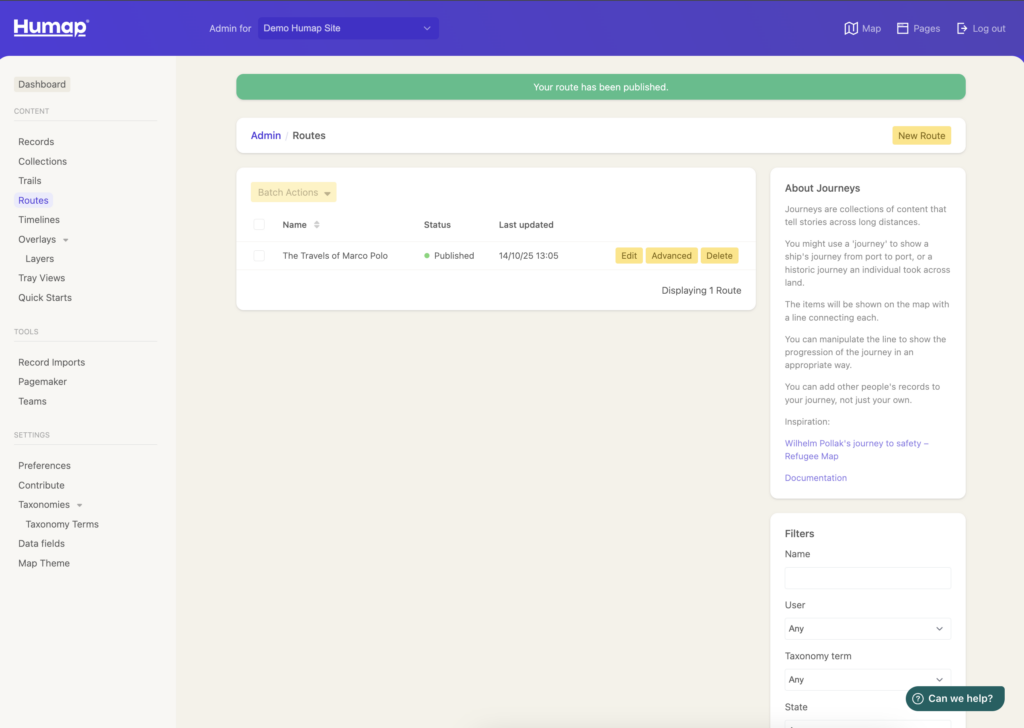
- Click Routes to reach this screen:
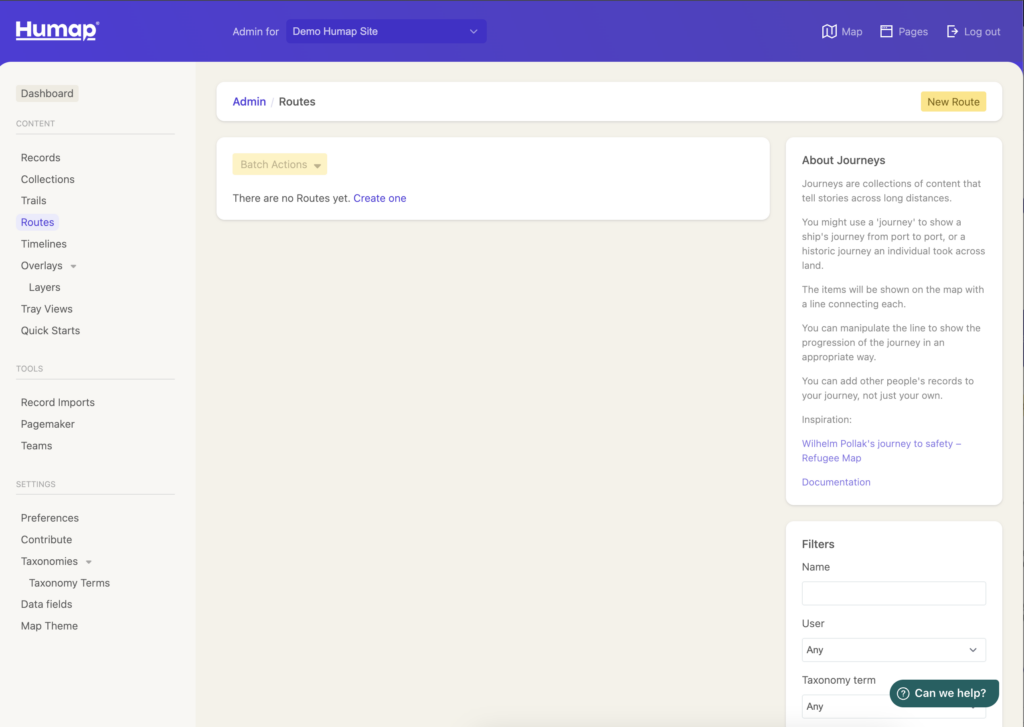
- Clicking New Route or create one will take you into the journey-creation wizard. This is the same system that the public can use for creating journeys via the Contribute system. As a project admin level user, you will have access to some advanced options that Contribute only users won’t have.
Introductory page
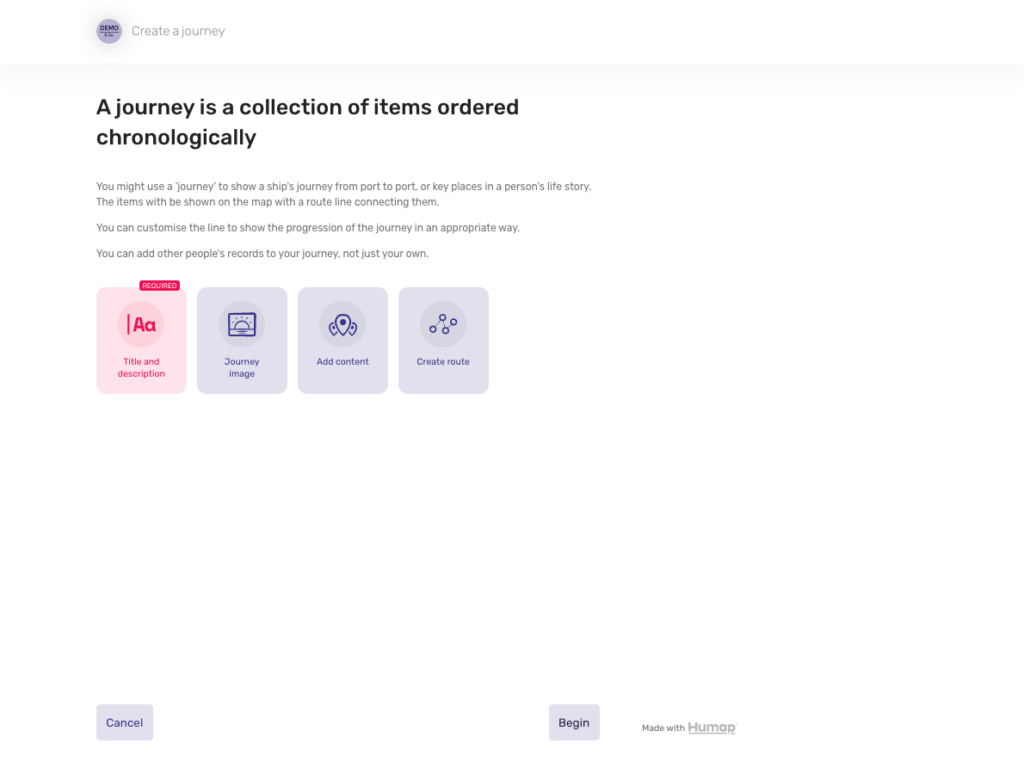
- You are now on an introductory page. When you’ve read it, click Begin.
- At any point in this process you can save a draft and exit, return to the previous screen, or delete your record.
Add a name and description
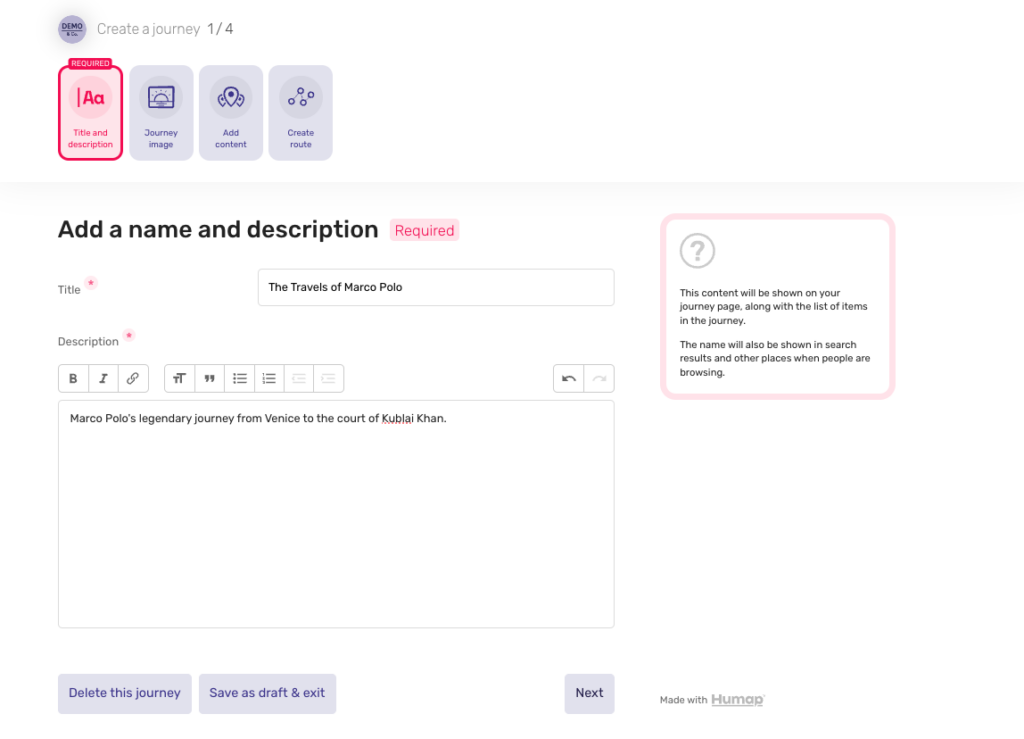
- Name your journey in the Title text box and add a description in the box below. This will appear on the preview page for your journey.
- Use the text formatting options to make text pop, and don’t forget to include paragraph breaks if you’re using a lot of text!
- Click Next to move on.
Add a cover image
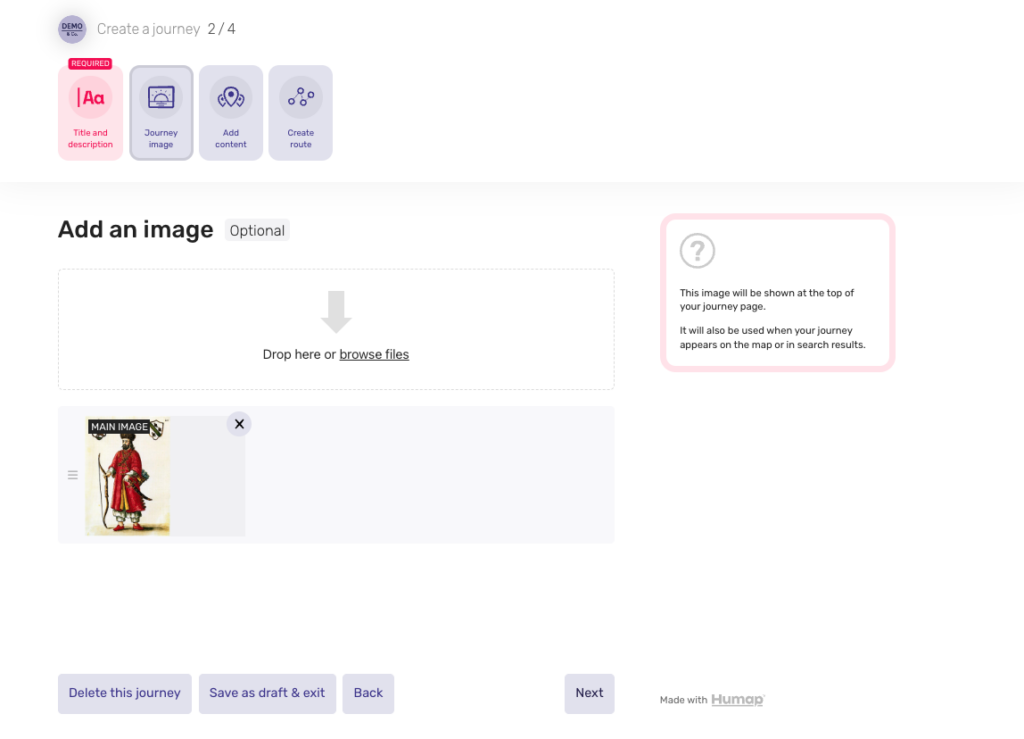
- Drag and drop an image file into the box, or click browse files to select an image from your computer.
- Click Next to start adding content to your journey.
Add content
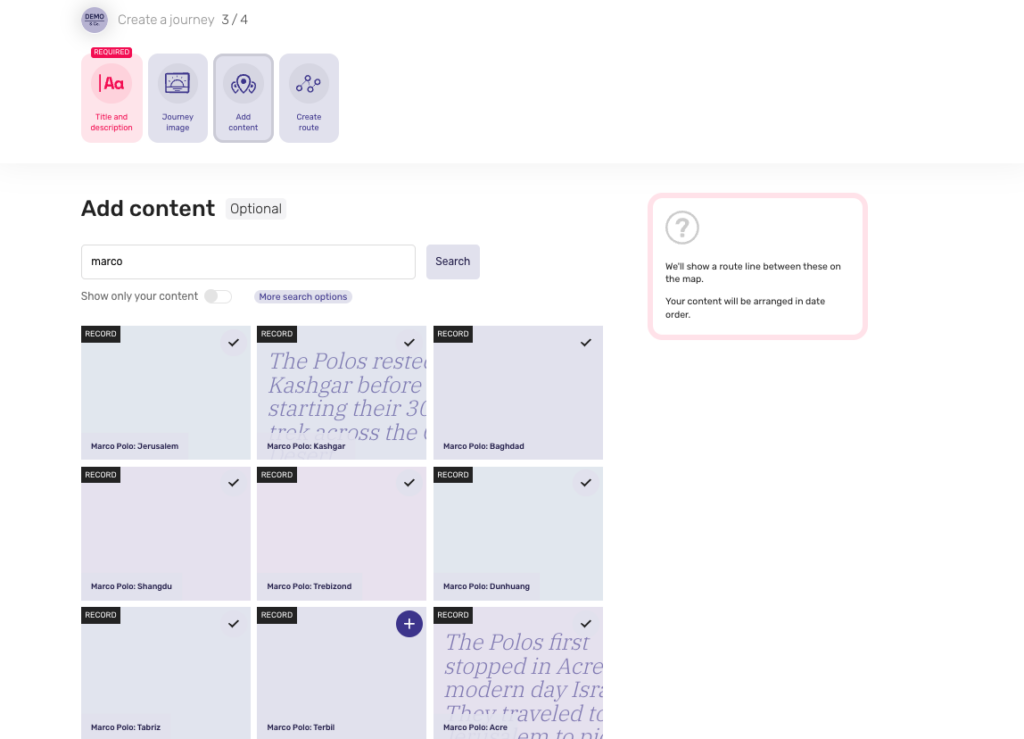
- Use the search bar to find the items you want to add, or click “more search options” to look at pre-existing categories, such as location or topic.
- You can also choose to search for content that you have uploaded, by clicking the “show only your content” switch.
- For more specific subtopics, click the downwards arrow and select the subtopic you wish to find content about.
- Items will be ordered according to date
- Click Next when you’re done.
Draw a route line
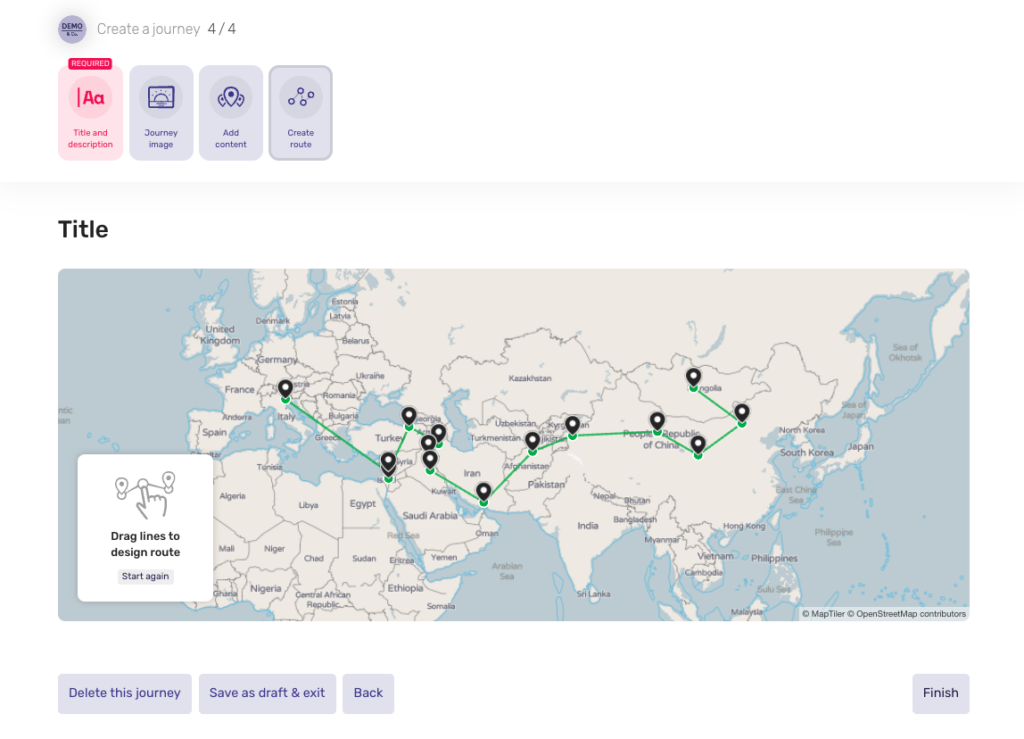
- A route will autogenerate between the content pins in direct, straight lines.
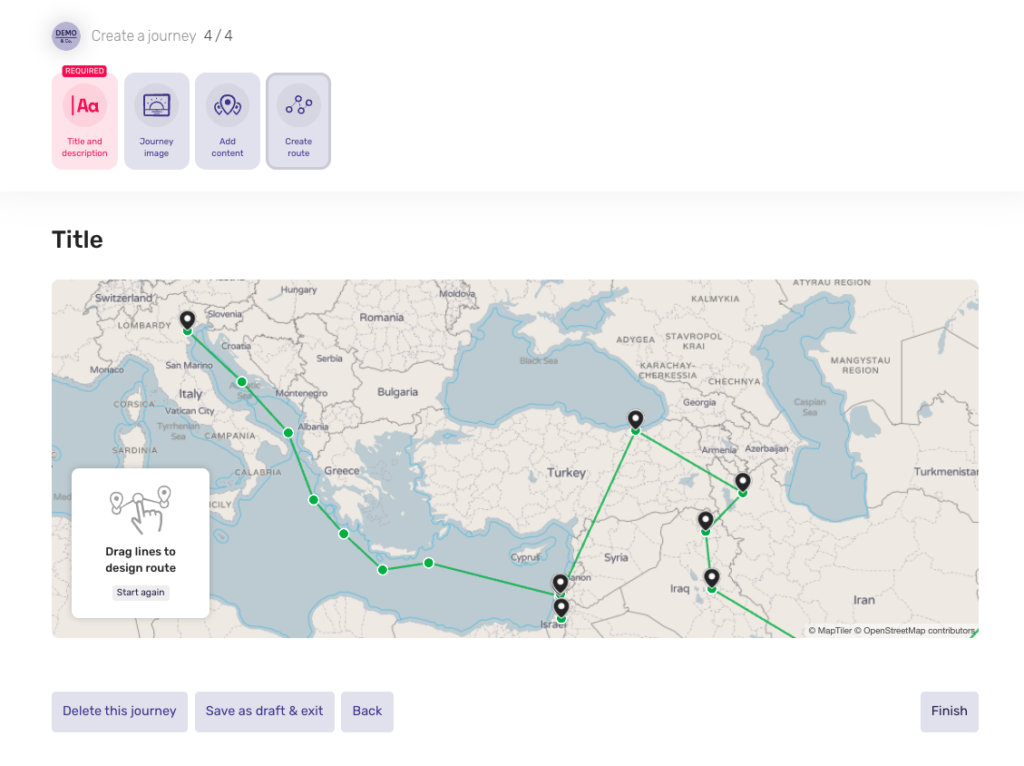
- You can then click and drag the line in order to customise the journey.
Final step

- and there we go! From this screen you can either delete this Journey, save as draft and exit, go back, or publish the journey.
Advanced Options
When you’re making a journey via the admin CMS and not the Contribute system, you also have access to some advanced options.
You can change the location of the pin, create a permalink and QR code, a call to action, associate an overlay to this journey, and customise the list view.
Location
You can add a pin to the map for your journey here.
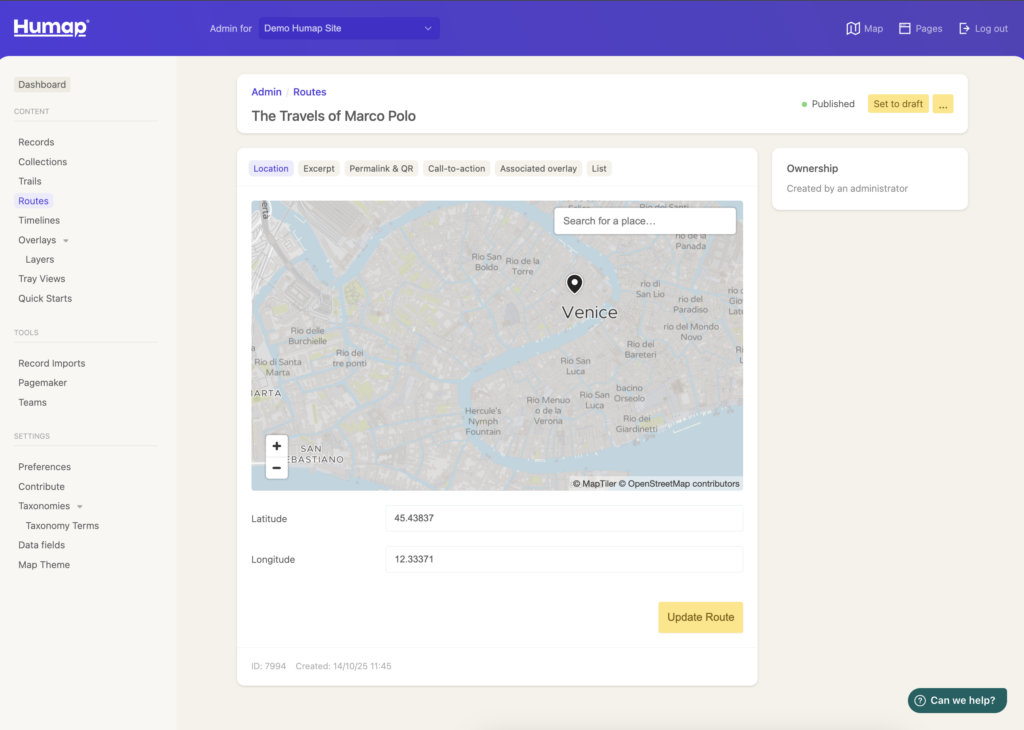
- Type in the search box in the map to find a location, and click on the map to drop the pin. Click elsewhere to move it, and click Update Journey to see the change reflected on the published timeline.
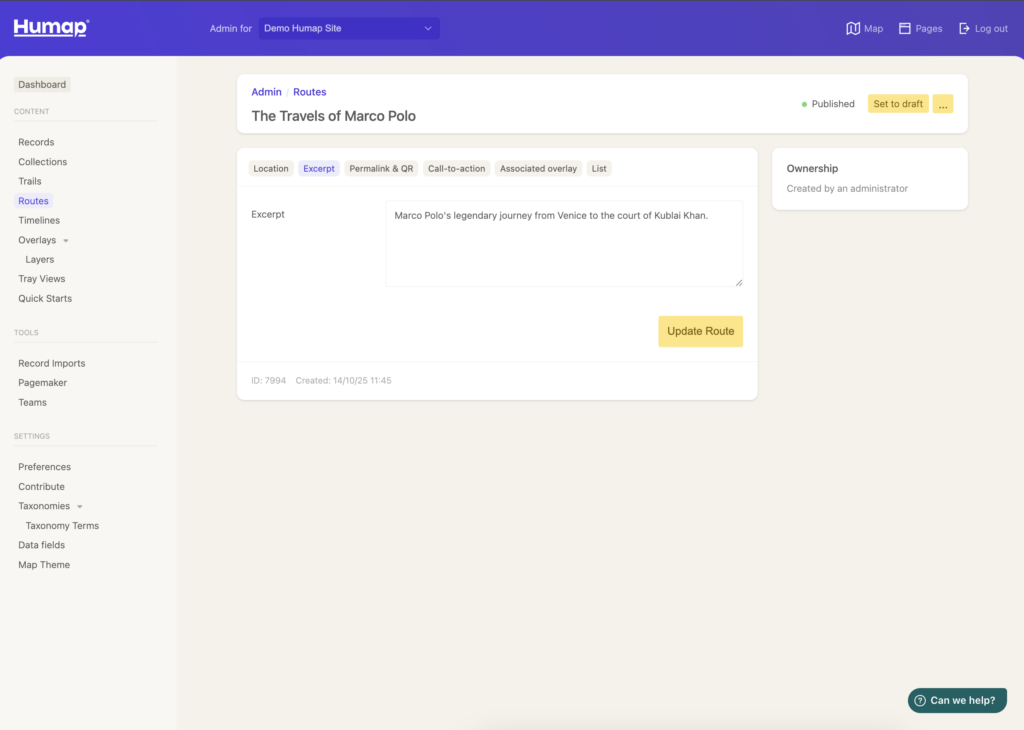
Excerpt
- You can add an excerpt here by typing in the box.
- Excerpts appear on search and browse pages if there is no cover image for that item.
Sharing
Use this page to generate two tools that make your Humap easy to share: a permalink and a QR code.
Permalinks are short links which will always redirect to your Journey page. QR codes can be used to link your Journey to a physical space, like a gallery label or a plaque.
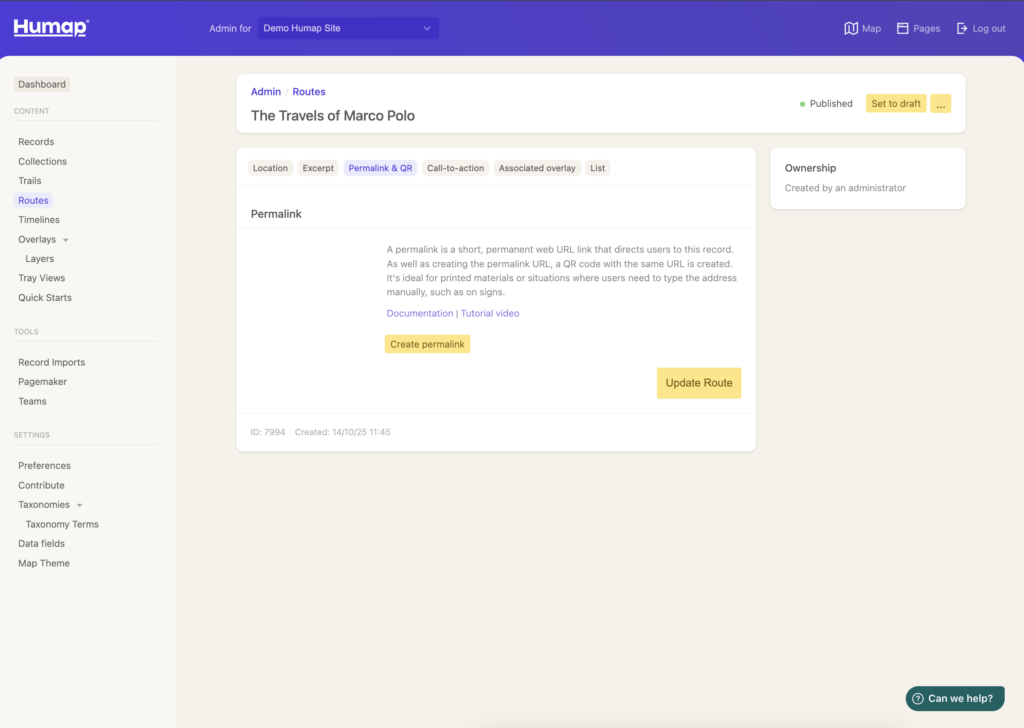
- Clicking Create permalink will generate a permalink and QR code. You need to have published your journey to use this feature.
Call-to-action
Calls to action are used to direct your audience to a specific webpage.
Calls to action live at the bottom of a piece of content on Humap and look like this:
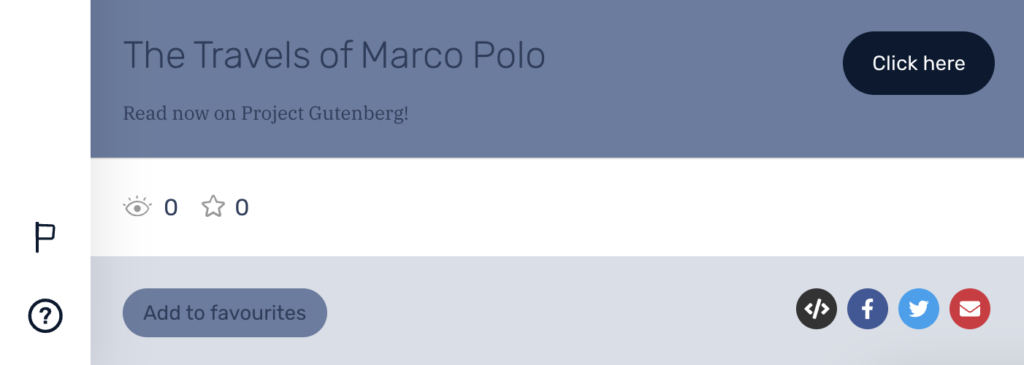
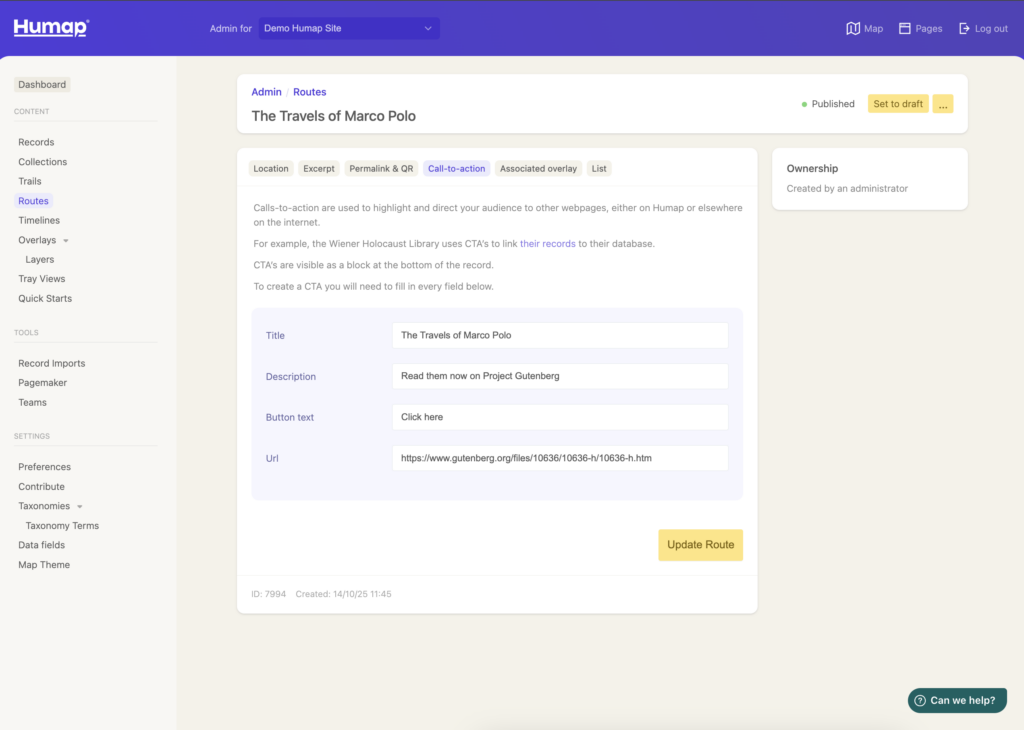
- Fill in the fields, and click Update Journey.
Associated overlay group
Associating an overlay group to a journey means that it will automatically load in when a user clicks into that journey. This is great for adding extra context to the Journey and engaging your user.
You will need to have created some overlays and overlay groups before you can associate them to a journey.
Overlays Wizard – QGIS export & ArcGIS Online guidance
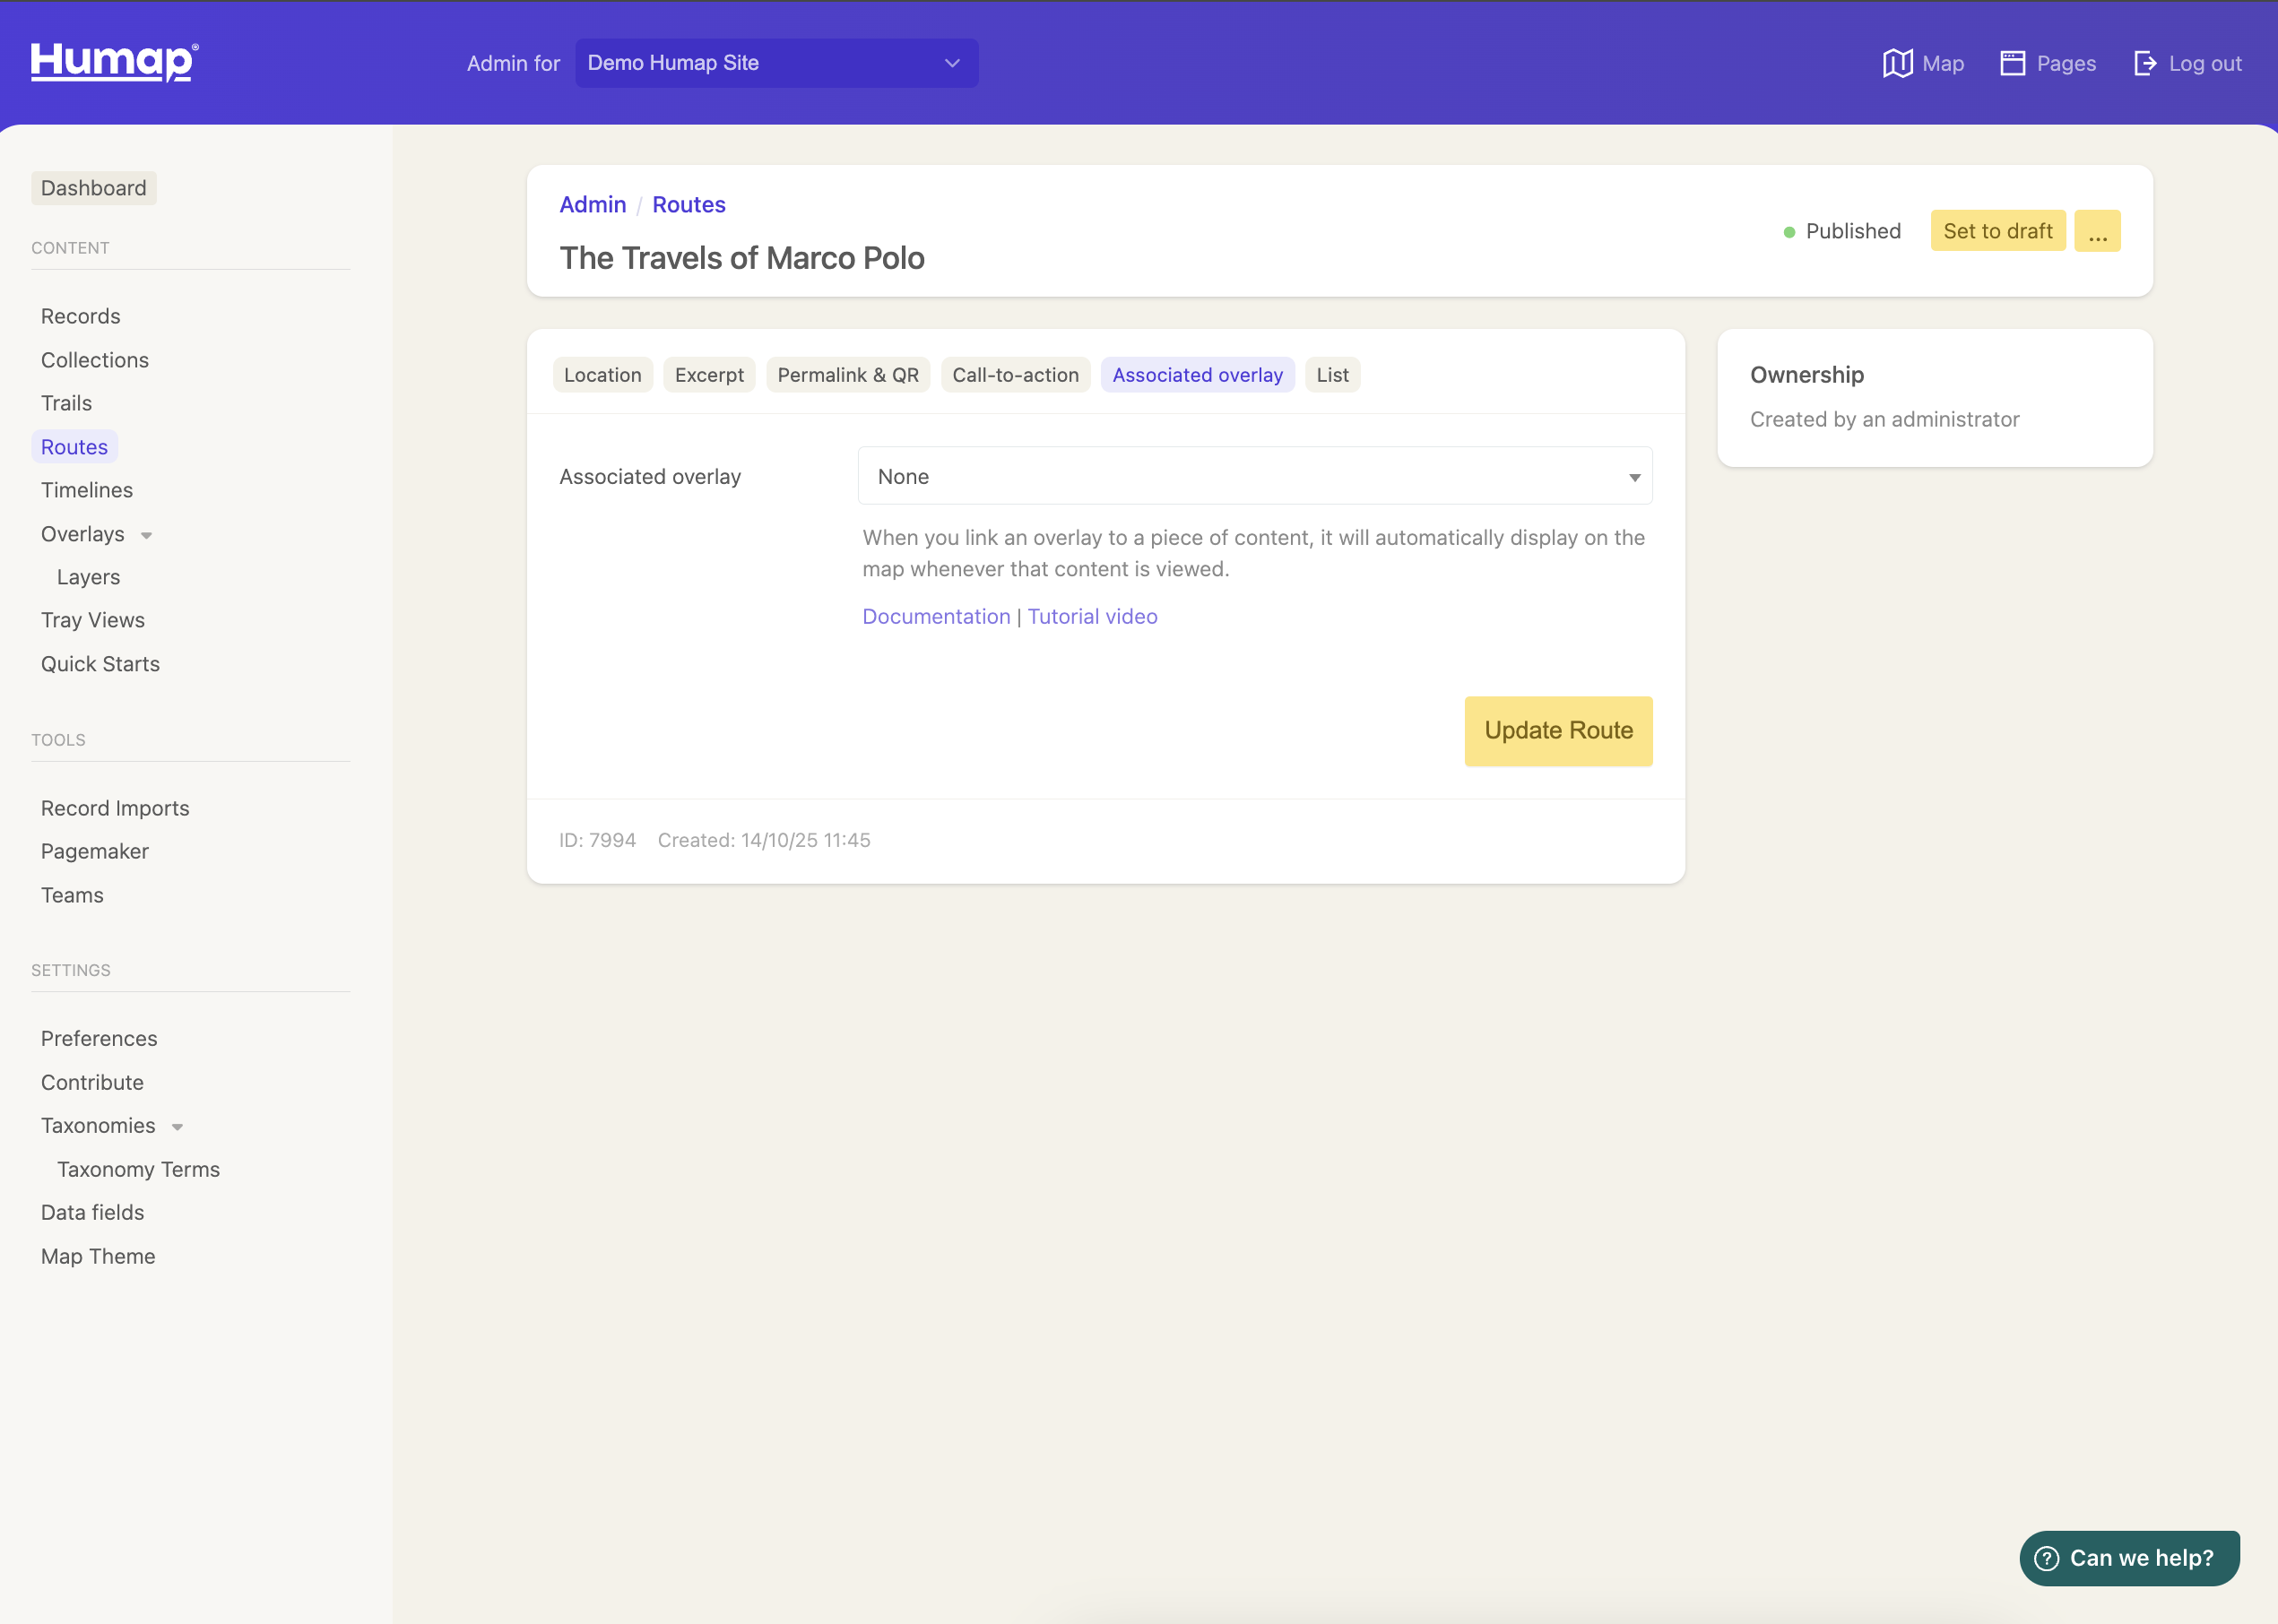
- Use the dropdown menu select which overlay group you would like to be associated with this journey.
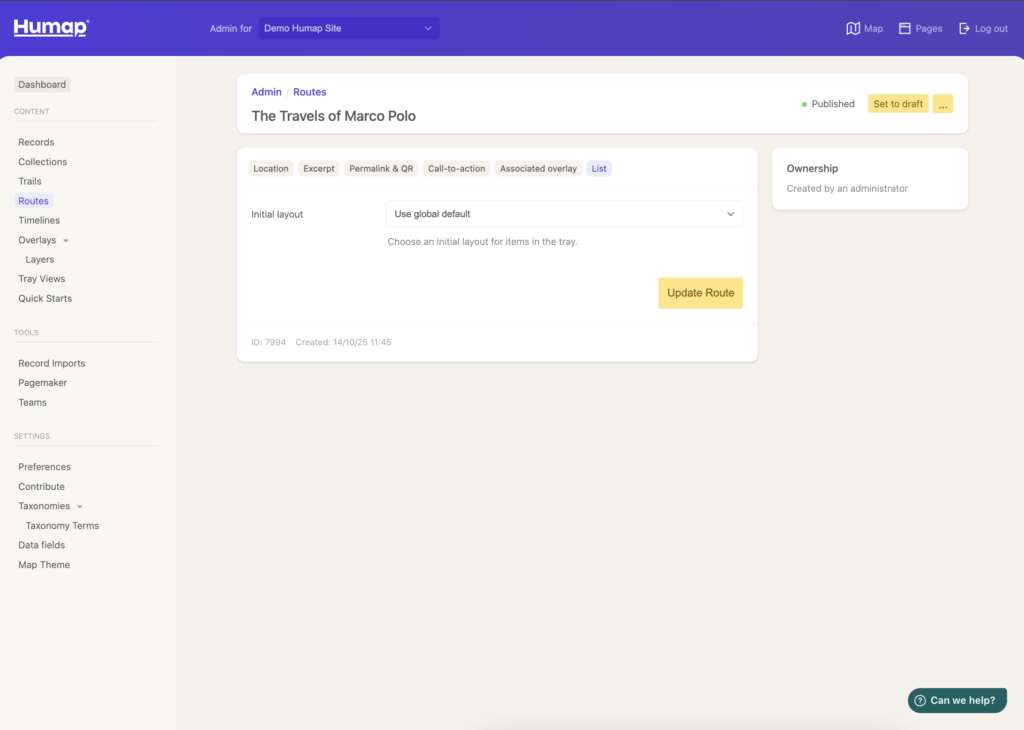
List
- Use the dropdown list to customise how items appear in this trail.
You’ll need to have clicked Publish Journey before your Journey will show up on the map.