Teams
What are teams?
Teams are spaces for individuals to work together on pieces of content. If you are in a team with other users, and content has been assigned to that team, anyone else in that Team team edit that content.
This tutorial is for creating teams via the Contribute system. Instructions for creating Teams through Admin are also available.
Example:
- Dark Earth, Hidden London on Layers of London
Resources:
Logging in
Go to the home page of the Humap instance you’d like to contribute to and click Explore the Map

- From the map home page, click the plus icon in the top right corner of the information tray
- If you’re not logged in, log in now
- If public signups are enabled, you can create an account
- If signups are not enabled, you’ll need an invitation from the project owner to contribute

- You will be taken to the Contribution home screen
Creating and managing Teams via the Contribute System
- Click teams

Introductory page
- At any point in this process, you can save a draft and exit, or delete your team. You can also revisit previous pages to edit or check your work
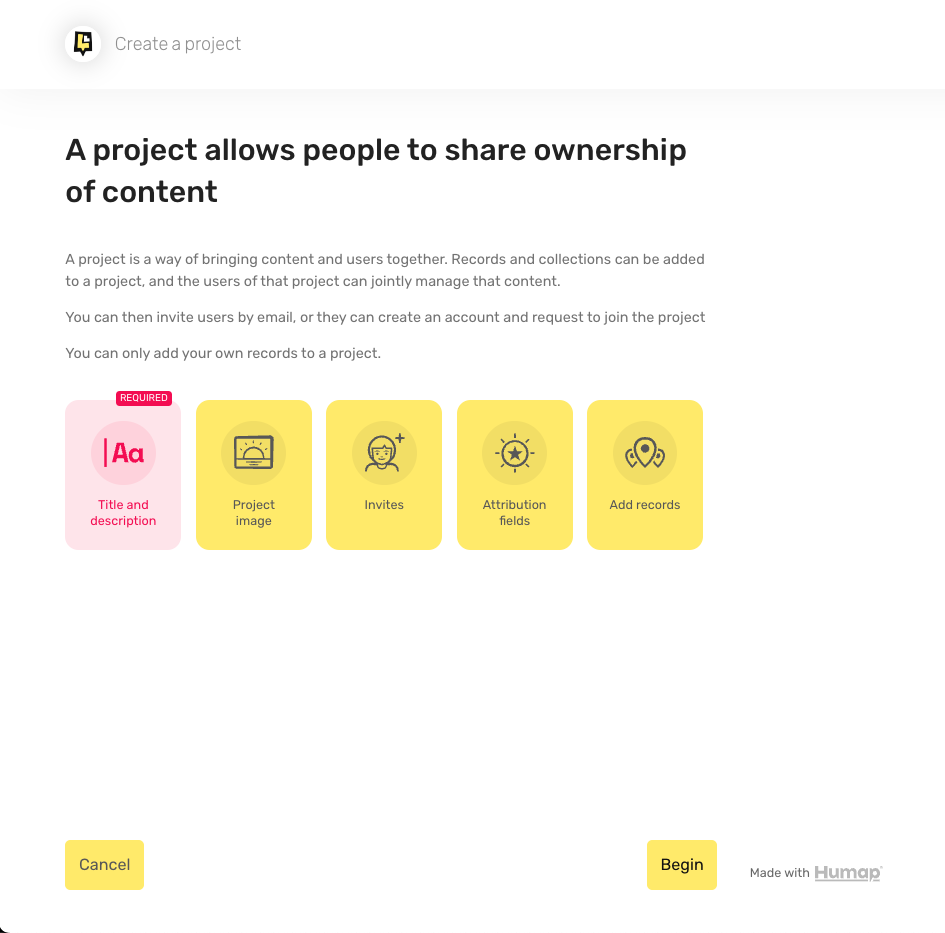
- You are now on an introductory page. When you’ve read it, click Begin
Add a name and description
- The first thing we need is a name and a description of your team. This will be public!
- Type the title into the top text box, and the description text into the larger one below. There are a range of text formatting options available to make your text pop.
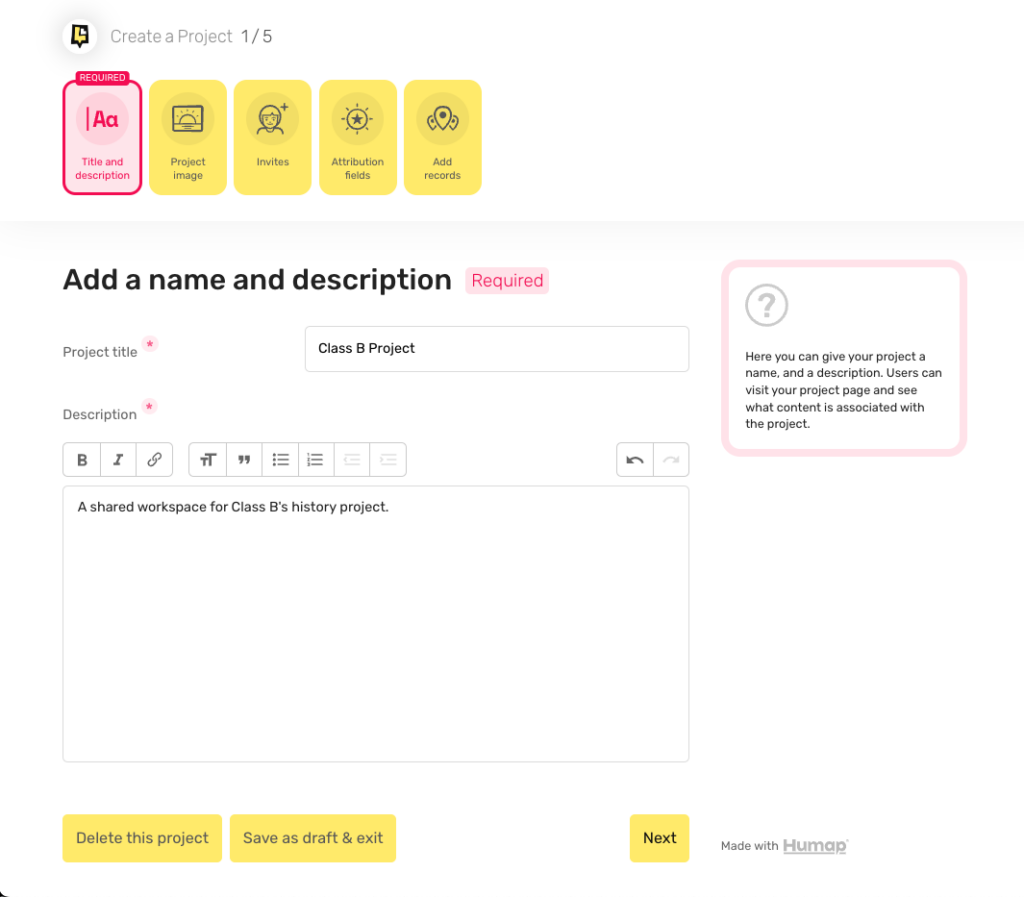
- When you’ve finished your description, click Next
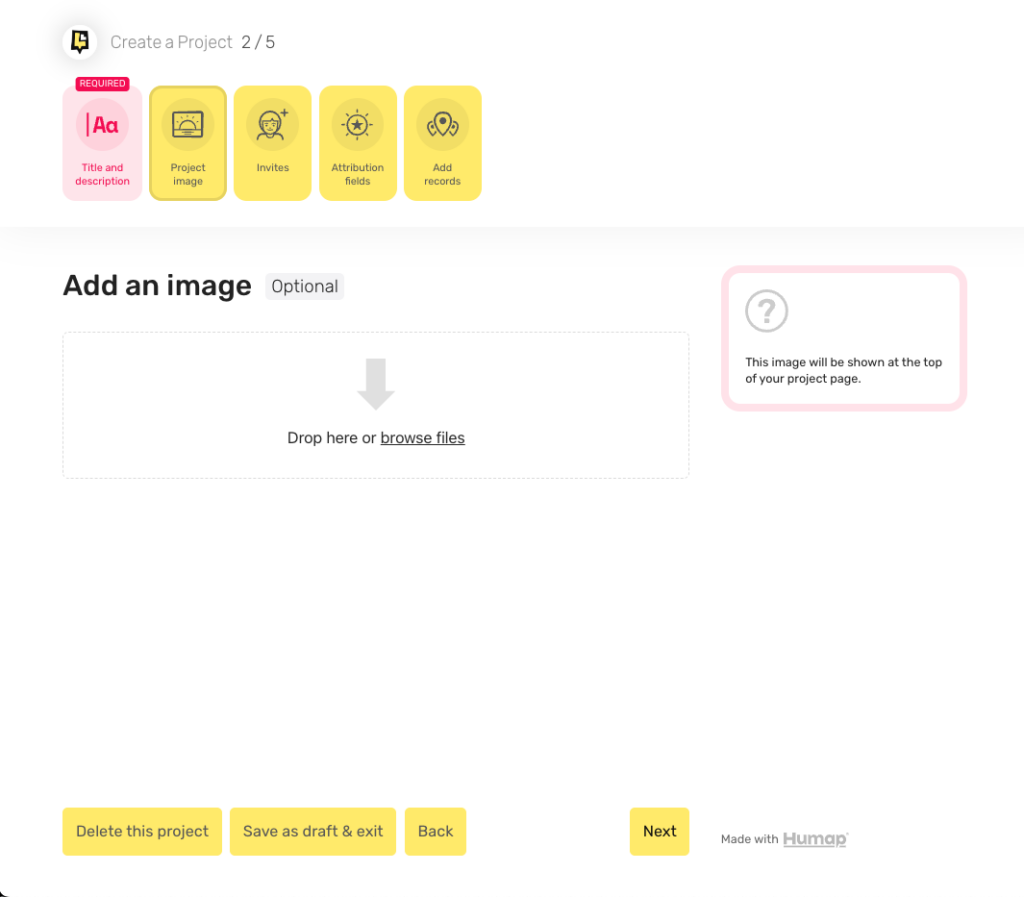
Add a cover image
- On this page you can add an image for your team. It will be shown at the top of your team page
- Click Browse Files to upload an image
- Select the image you want to upload
- Press Enter on your keyboard or click the Open or Upload button (depending on your computer)
- Alternatively, drag and drop the image file into the upload box
- Once the image is uploaded, click Next
Add people to your team
- Type your invitees email into the email address bar. Make sure you have their permission to do this first!
- You can add as many people as you like
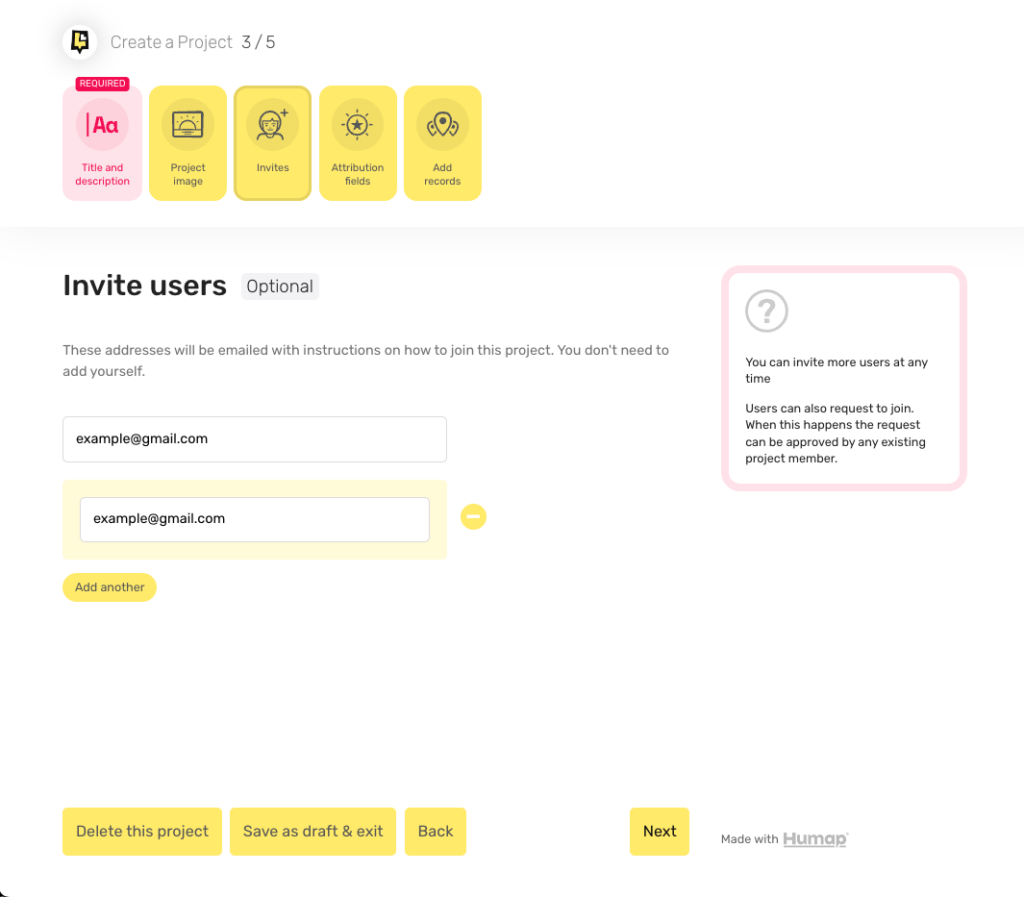
- To remove someone, click the minus button next to their email
- Once the project is finished, email invites will be sent to the listed addresses
- You can add more people when editing the published team
- People can request to join, but they must be approved by an existing project member before joining
Custom attribution fields
This page is primarily for institutions or groups that already have their own internal cataloguing systems for data.
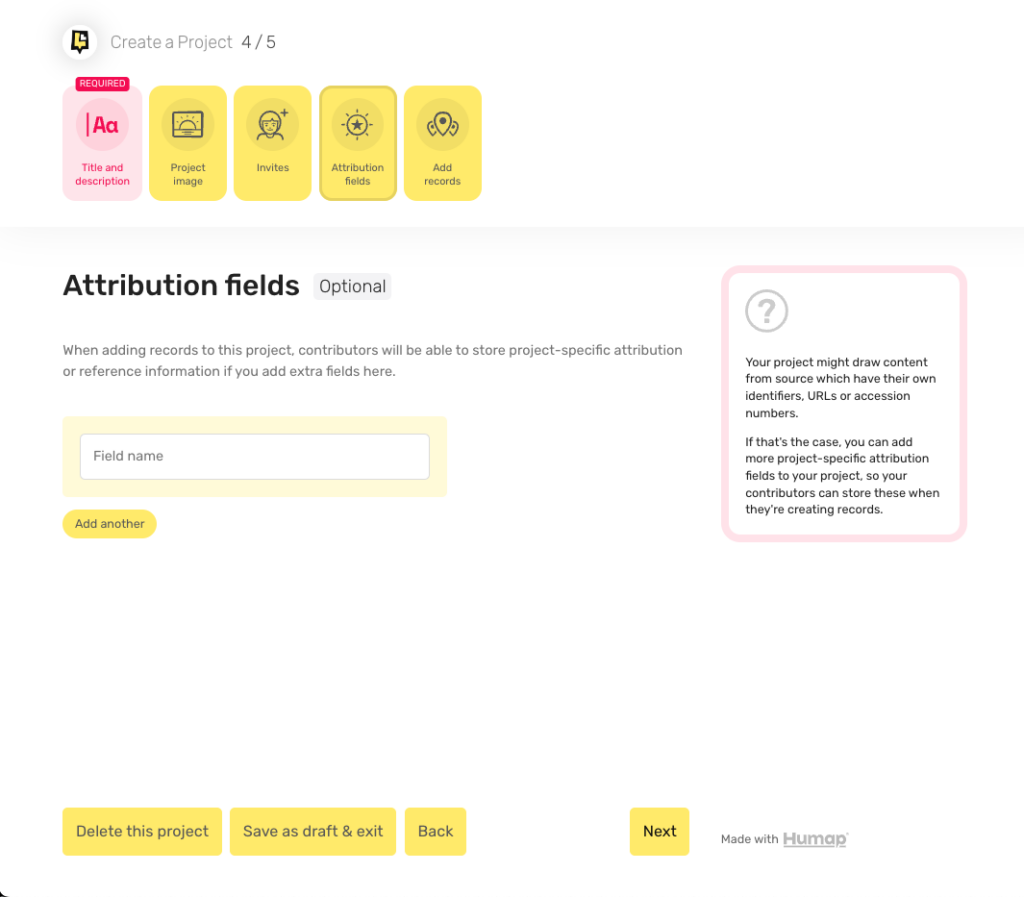
- Name the custom attribution field by typing in the Field name box
- This will become live when the team is published
- You can add as many as these as needed
- To remove one, click the minus button. You can also edit or remove them later
Add content to your Team
Now it’s time to add some content items to your project. You can only add content that you have published.
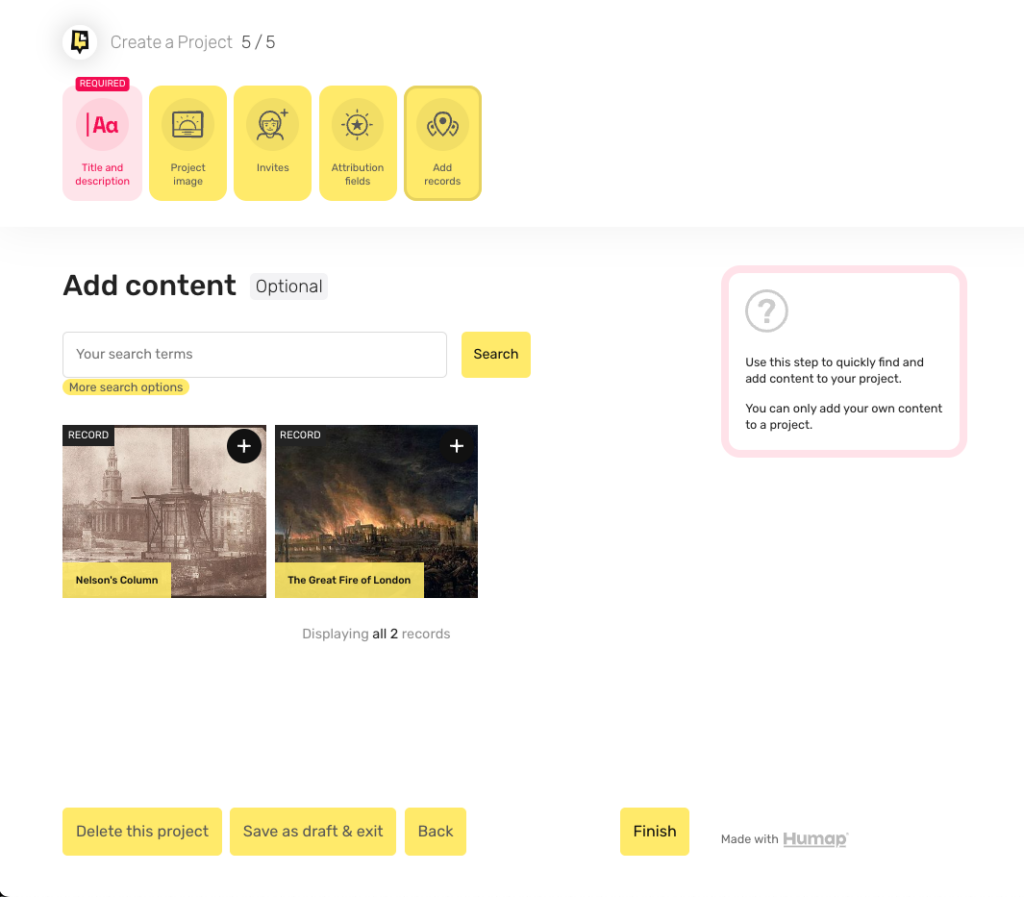
- Your content will appear below the search bar
- To select an item, click it. To deselect, click again
- Use the search bar to find items to add
- Click “More Search Options” to browse categories like location or topic
- For specific subtopics, click the downward arrow and select a subtopic
- To deselect a subtopic, click the tick-box again
- Once all desired items are added, click Next
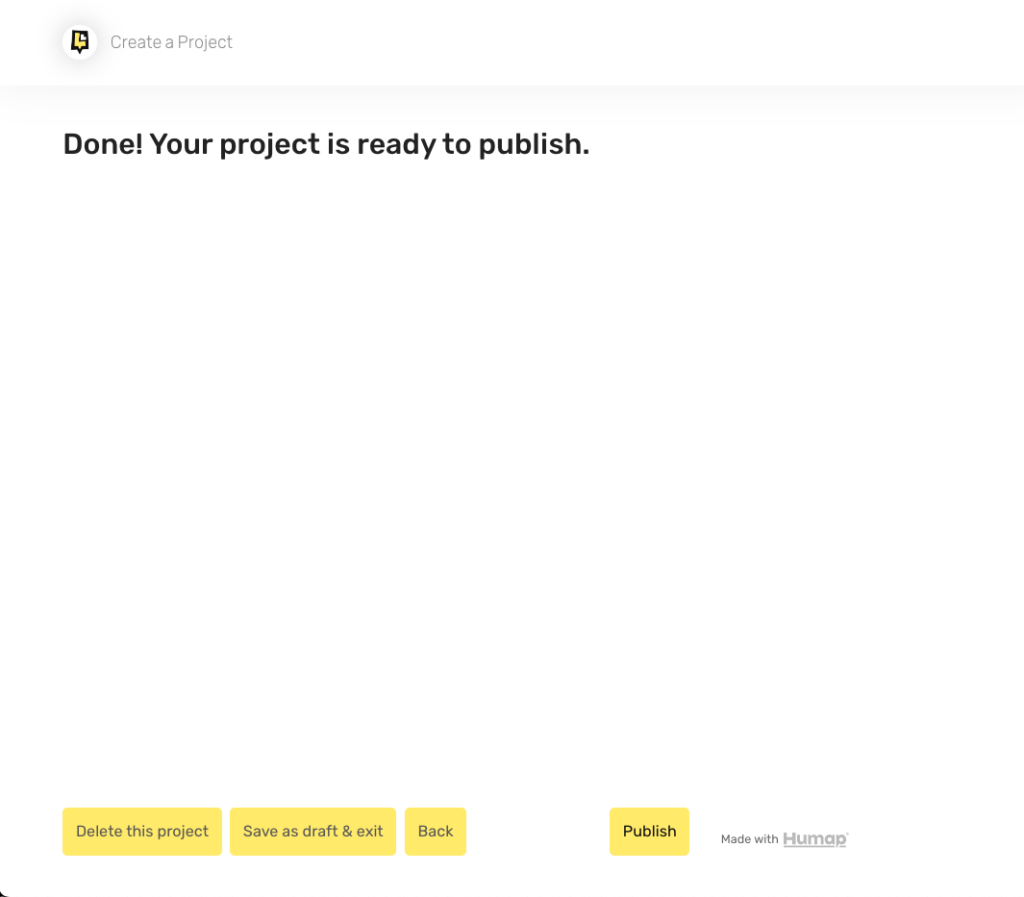
- On the final screen, you can:
- Delete the project
- Save as draft and exit
- Go back to edit your work
- Click Publish to add your project to the map